


_1726835161814.505.jpg?mode=crop&width=200&height=200&format=webp&quality=90)
A Comprehensive Camera Bag Guide to Astrophotography
Astrophotography can be one of the more challenging photographic genres, and it's also one of those areas where having the right equipment can make quite a dramatic difference to the results you can get. Wide-angle lenses with fast apertures, a camera that handles high ISO well, a sturdy tripod that won't vibrate in the wind - these move from being nice-to-haves to being quite important kit for getting images you'll be happy with.
This guide covers what I've found works well after years of photographing the night sky around Australia, from the essential camera gear through to the small accessories that can save your entire shoot.
.jpg)
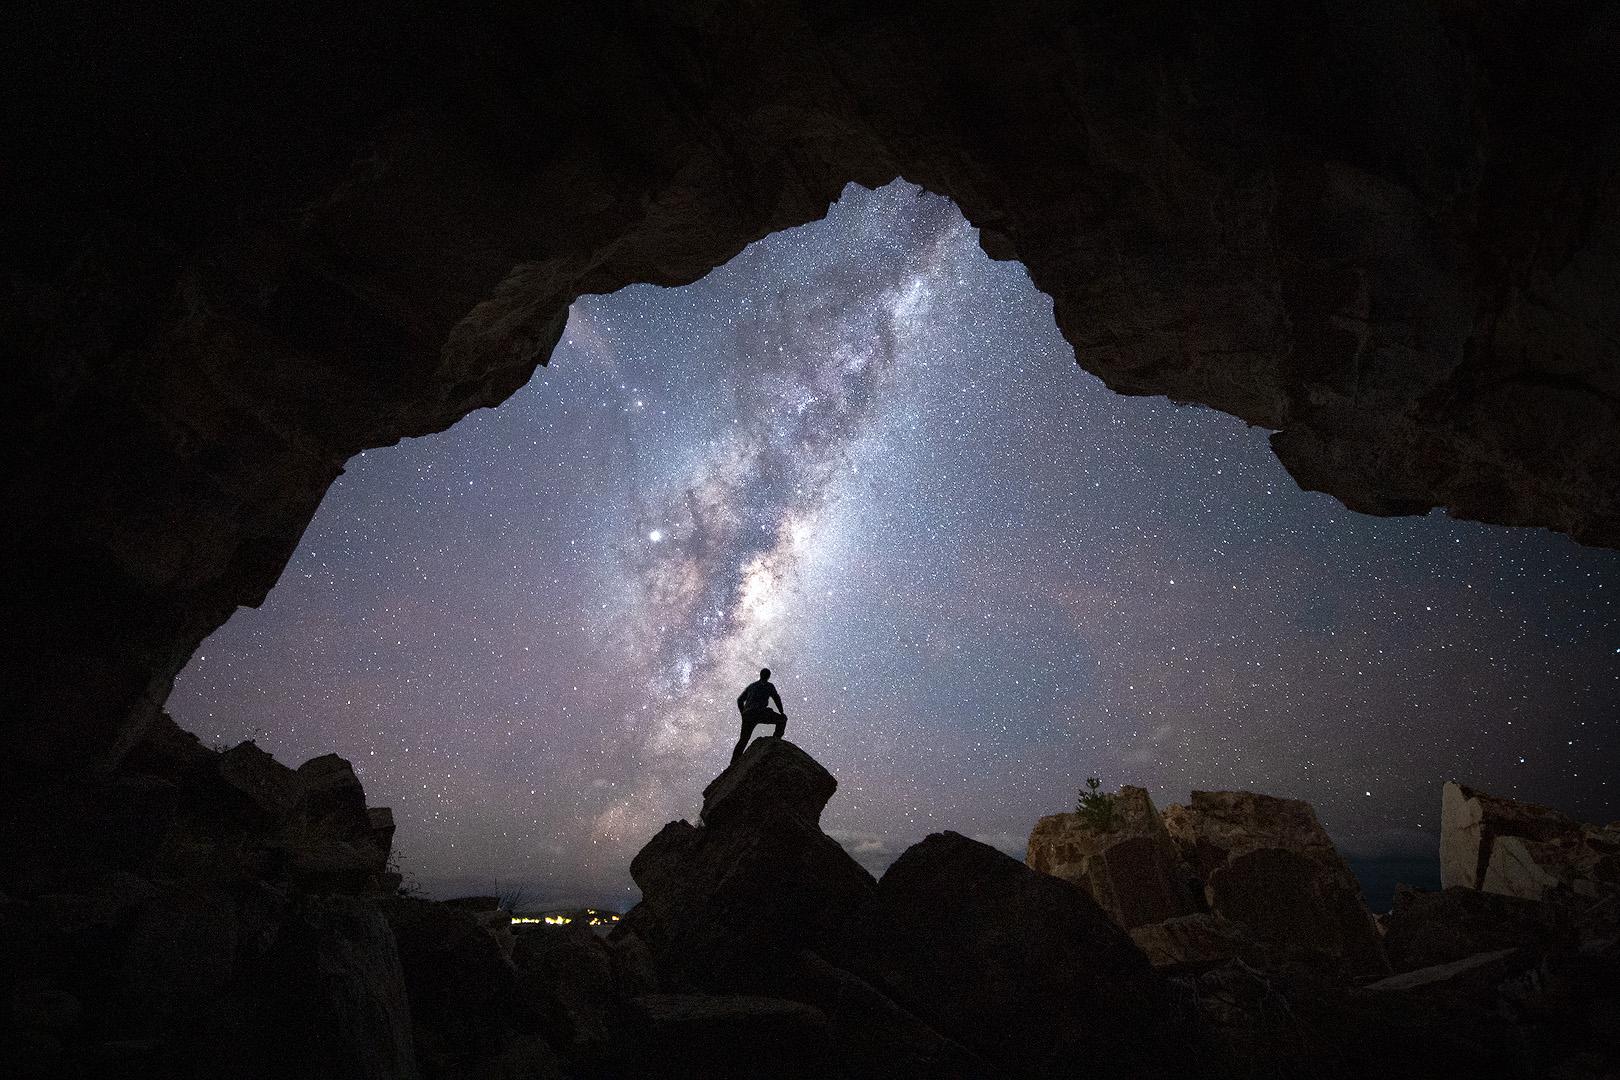
The Hat Trick - Aurora, Milky Way and bioluminescence at South Cape Bay, Tasmania
Sony α7R IV, FE 16-35mm F2.8 GM, f/2.8, 30s, ISO 6400
1. Essential Astrophotography Camera Gear
Choosing the right camera
When it comes to cameras for astrophotography, you want something that performs well in low light, and I've found that generally any of the Alpha 7 series cameras work very well. I regularly use the Alpha 7R V and the Alpha7 IV for my night work, and the Alpha 7 III is also fantastic. The key thing is having a camera with reliable high-ISO performance and decent battery life for those longer night sessions when you're out there for hours.
Wide-angle lenses for the night sky
Wide-angle lenses are pretty much essential for astrophotography because they let you capture more of the sky whilst including interesting foreground elements in your composition. Fast apertures - somewhere between f/1.4 to f/2.8 - are important because they help gather enough light during the relatively short exposures we typically use to keep stars sharp.
My favourite lenses for this work include the Sony FE 14mm F1.8 GM, the Sony FE 16mm F1.8 G, and the Sony FE 20mm F1.8 G. There's also the Sony FE 16-35mm F2.8 GM II and the Sony FE 12-24mm F2.8 GM - all of these are great matches for astrophotography. The prime lenses can open their aperture up a bit wider and let more light in, meaning more detail in the night sky and foreground. While using a prime lens will give better results. if you're already using a 16-35mm f/2.8 or a 12-24mm f/2.8, those will do fine too.
The importance of a sturdy tripod
Here's something that might seem obvious but it's worth mentioning - you want the heaviest tripod you can afford to carry. When we're doing astrophotography, we're often running time-lapses for aurora, star trails, or meteors. Having a sturdy tripod means you're not sitting there worried about it getting blown over if the wind picks up, which is especially important if you're going to leave the camera unattended for a while.
One tip I always follow: extend the legs first and avoid extending the centre column unless you absolutely need to. Raising the centre column shifts the centre of gravity higher, which makes it much easier for wind and other vibrations to affect the quality of your images. It also makes the whole setup easier to topple, which can happen surprisingly easily when you're on wet sand or uneven, rocky terrain. I always push down on the tripod after setting it up to test it and make sure it's sturdy.

Gear flat lay - cameras, lenses, accessories
2. Camera Bag Essentials
Choosing a bag that works for night photography
I really like having a camera bag that lets you access your gear from the back. What this means is you can keep the waist strap secured, swing the bag around to the front, and get your equipment out without having to take the bag off or put it down anywhere. When you're at the beach at 2am or navigating rocky terrain in complete darkness, not having to place your bag on the ground eliminates a lot of potential problems. You're not going to trip over it, you're not putting it down in water or on sharp rocks, and your gear stays protected.
Look for bags made from durable, hard-wearing materials. These do a solid job of keeping everything - dry sometimes without even needing a rain cover in light conditions - though having one available for rainier weather is always wise. The bag needs to handle dew and condensation, unexpected drizzle, salt spray, and the general wear that comes with remote location work.
Storage between shoots
Here's something that surprised me when I first learnt it: camera bags aren't actually good long-term storage for your gear. If you can help it, don't leave your camera bodies and lenses sitting in your bag between shoots. Bags can retain moisture from sessions and can be dust magnets too. Ideally, you'd use a dry cabinet or even a Pelican case with some silica gel sachets to store your lenses and camera bodies when they're not in use. If all you have is your bag, at least put some silica gel sachets in there to help soak up any extra moisture. It makes a real difference to how well your gear holds up over time.
Dealing with the weather and moisture
Condensation prevention is one of those things that often gets overlooked, but it can absolutely save your entire shoot. When you're shooting through the night, your lens temperature can drop below the dew point, and that's when condensation forms on the front element. Once that happens, it could cause your images to look cloudy and could potentially make them unusable - there's not much you can do about it in the moment, and your session is effectively over.
The solution is USB lens heaters, which you can readily find on eBay. You wrap them around your lens before condensation has a chance to form. You can also use hand warmers wrapped around the lens with a rubber band if that's what you've got on hand. The important thing here is prevention, because once moisture appears on the glass, it's generally too late.
Staying comfortable out under the stars
Night photography often means standing around in the cold for extended periods, and that cold can really catch you off guard. Always pack a decent head torch. Whilst a red head torch light might help preserve your night vision when getting around, if you're shooting with other photographers nearby, red light can wash across their images, and it's very hard to remove that red cast from a photo in post-processing. I often suggest finding a head torch with a really low brightness setting because you don't want to obliterate your night vision completely, and then the light can also be used for light painting the foreground. Bring more warm clothes than you think you'll need, because standing still under a clear night sky night gets cold much faster than you'd expect. A power bank helps keep your camera running during those longer sessions when you're out there for hours.
Organising small accessories
Keeping your smaller items organised saves a lot of fumbling around in the dark. I use a hard watertight case for my spare batteries and memory cards. Small, zippered pouches are handy for cleaning kits, spare cables and chargers. The key is knowing exactly where everything is without having to dig through your whole bag in the pitch black. The worst feeling is realising your spare battery is somewhere at the bottom of your bag when your battery just died and the aurora is going off.
3. Why it may be best to leave your filters at home
Here's something that might surprise you: the best filter for astrophotography is often no filter at all. I'd actually recommend removing your UV filter when you're doing night work. The reason comes down to how unforgiving astrophotography is when you're photographing tiny pinpoints of starlight. Any imperfection on a filter - smudges, dust, even minor scratches that you'd never notice during the day - causes visible streaking or smearing of stars in your images. You've paid up good money for those lenses, so it's worth removing any barriers that could compromise your image quality. Unless your UV filter is brand new or you're cleaning it meticulously and extremely frequently, you'll get noticeably better, sharper results without it.
When light pollution filters help
If you're shooting anywhere near urban areas, light pollution filters can help remove some of the yellows from sodium vapour streetlights. Whilst those older lights are being phased out, these filters still do a good job of giving you a cleaner night sky tone when you can't completely escape urban glow. When using one, leave your white balance set to daylight and let the filter handle the rest.
Star glow filters for constellation visibility
Some photographers use diffusion-style filters - sometimes called star glow or soft filters - that make brighter stars more prominent whilst dimming fainter ones. This mimics how our eyes perceive the night sky more naturally and can help make constellation patterns more visible in your images.
Gear flat lay - cameras, lenses, accessories
Sony α7 III, FE 16-36mm F2.8 GM, f/2.8, 20s, ISO 6400
4. Capture Techniques
Working out the right exposure time
Getting sharp, pinpoint stars requires understanding the relationship between your camera sensor, your lens focal length, and your aperture. There's a calculation called the NPF rule that helps determine your maximum shutter speed before stars begin to trail from Earth's rotation. You input your specific camera sensor, the focal length of your lens, and the aperture you're planning to use, and it calculates precisely how long you can expose before you start to see visible star movement in your images.
The old 500 rule - where you'd divide 500 by your focal length - used to be the standard approach, but with today's high-resolution sensors, it's not always reliable anymore. The Spot Stars calculator in the PhotoPills app accounts for your specific camera and lens combination and gives you much more accurate results. It's worth taking the time to work this out properly rather than guessing.
Composing in the dark with Bright Monitoring
One of Sony's most useful features for astrophotography is Bright Monitoring, and it really does make quite a big difference to how I work at night. I set it in the custom button settings to the C4 button - the trash or delete button on Sony cameras. When you activate it, the feature dramatically boosts the signal on your rear screen, essentially giving you night vision. You can actually see the Milky Way, aurora, and your foreground elements in real-time on the back of the camera without having to take a test shot first.
This really changes how you compose at night. Instead of taking a shot, waiting for it to process, checking the result, adjusting your composition, and then repeating that whole cycle again, you can compose precisely before you even press the shutter. It also means you're not constantly destroying your night-adapted vision by viewing bright playback images on your screen every few minutes. It's one of those features that once you start using it, you wonder how you ever managed without it.
Dealing with depth of field challenges
Because we're typically shooting wide open at night to gather as much light as possible, depth of field can become quite shallow if you've got something close to the front of your lens. Using wider angle lenses helps a bit because they're naturally more forgiving, but if you focus roughly a third of the way into your scene, you'll generally find that most of your image stays reasonably sharp from foreground through to the stars.
When you've got really close foreground elements, though, that's where focus bracketing becomes very useful. Sony cameras support focus bracketing even when you're working in manual focus mode, as long as you keep the autofocus switch on the lens itself set to AF. The way it works is you set your starting focus point manually using the distance scale on your lens, enable focus bracketing through the Drive menu, and the camera will then capture a sequence of shots from your starting point all the way through to infinity. Later, you can blend these frames together in post-processing software to get edge-to-edge sharpness throughout your entire composition.
Post-processing your night sky images
Processing astrophotography typically involves a few key steps. You'll generally want to adjust your white balance - somewhere around 3900 to 4200K tends to create natural-looking night tones that feel right. From there, it's about making selective adjustments to your foreground and sky separately, because they often need different treatment. The noise reduction tools in Lightroom are particularly good for this work, or other software like DxO Pure Raw can be very effective for removing additional noise in your images. Sometimes you'll want to stack multiple exposures together to reduce noise further, and there's dedicated software like Sequator that handles stacking really easily. For your final adjustments and polishing, Lightroom and Photoshop work well to bring everything together.
5. Top Australian Locations for Astrophotography
Finding great astrophotography locations comes down to escaping light pollution and finding interesting foreground elements or subjects. I'd recommend using lightpollutionmap.info to identify areas with dark skies, then look for interesting subjects - ruins, dead trees, reflections on lakes. There's a huge variety of subjects that can work well.
Planning around weather and moon phases
Before heading out, I always check a few things. Moon phase is probably the most important - you generally want to shoot within 5 days either side of the new moon or when the moon has set, otherwise strong moonlight will likely wash out the Milky Way and render the sky a blue colour. Apps like PhotoPills are great for planning when the moon rises and sets, and where the Milky Way will be positioned at different times.
Weather apps like Windy.com give you detailed cloud cover forecasts, and satellite imagery. For aurora, I keep an eye on space weather forecasts and apps like Glendale (aurora-alerts.uk) or SpaceWeatherLive.com to know when solar activity might produce a good show.
Finding locations around Australia
Looking around the country, there are plenty of well-known spots worth exploring. In Western Australia, Nambung National Park is about two hours north of Perth and home to the Pinnacles - thousands of limestone pillars rising from yellow sand that make for surreal compositions beneath the stars. Further south in the southwest corner, Sugarloaf Rock near Yallingup works particularly well in the later months of the year when the Milky Way sets in the west over the rock formation.
The Northern Territory offers some of Australia's most iconic outback landscapes. Uluru is spectacular for astrophotography - the sheer scale of it beneath a dark outback sky is something else entirely. The West MacDonnell Ranges near Alice Springs along the Larapinta Trail also provide dramatic red rock formations under genuinely dark skies.
South Australia has plenty of dark sky and outback to explore once you get away from the city lights. The Flinders Ranges have classic outback rock formations and wide-open landscapes, while Remarkable Rocks on Kangaroo Island works well for both Milky Way and aurora photography.
In Tasmania, Cradle Mountain is a south-facing location that's particularly good for aurora, though cloud can be an issue up there. The east coast around Freycinet often has clearer skies - you can shoot from Honeymoon Bay, Cape Tourville, or Sleepy Bay with views across to the Hazards. The Binalong Bay area further north often has clear skies as well. Cape Bruny Lighthouse is a favourite of mine for aurora, and the Tessellated Pavement at Eaglehawk Neck offers geometric rock patterns for foreground interest. Tasmania's southern latitude makes it prime aurora territory whenever solar activity picks up.
Victoria's coastline along the Great Ocean Road provides south-facing vantage points ideal for both Milky Way work and aurora hunting. Cape Schanck on the Mornington Peninsula and the granite pinnacles at Cape Woolamai on Phillip Island are worth exploring too.
Up the east coast into New South Wales, Warrumbungle National Park is Australia's first Dark Sky Park, with some of the darkest skies on the eastern seaboard. The area around the Breadknife and Grand High Tops provides dramatic rock formations beneath really dark night skies. The Blue Mountains offer accessible dark sky options closer to Sydney. Barrenjoey Lighthouse works well for Milky Way photography, and down near Bermagui on the south coast, Camel Rock and Horsehead Rock are good for night photography.
In Queensland, the Granite Belt region around Stanthorpe in the southeast has some interesting rocky terrain, and Lake Moogerah and some of the other inland lakes offer classic outback astrophotography opportunities with dead trees emerging from still water.
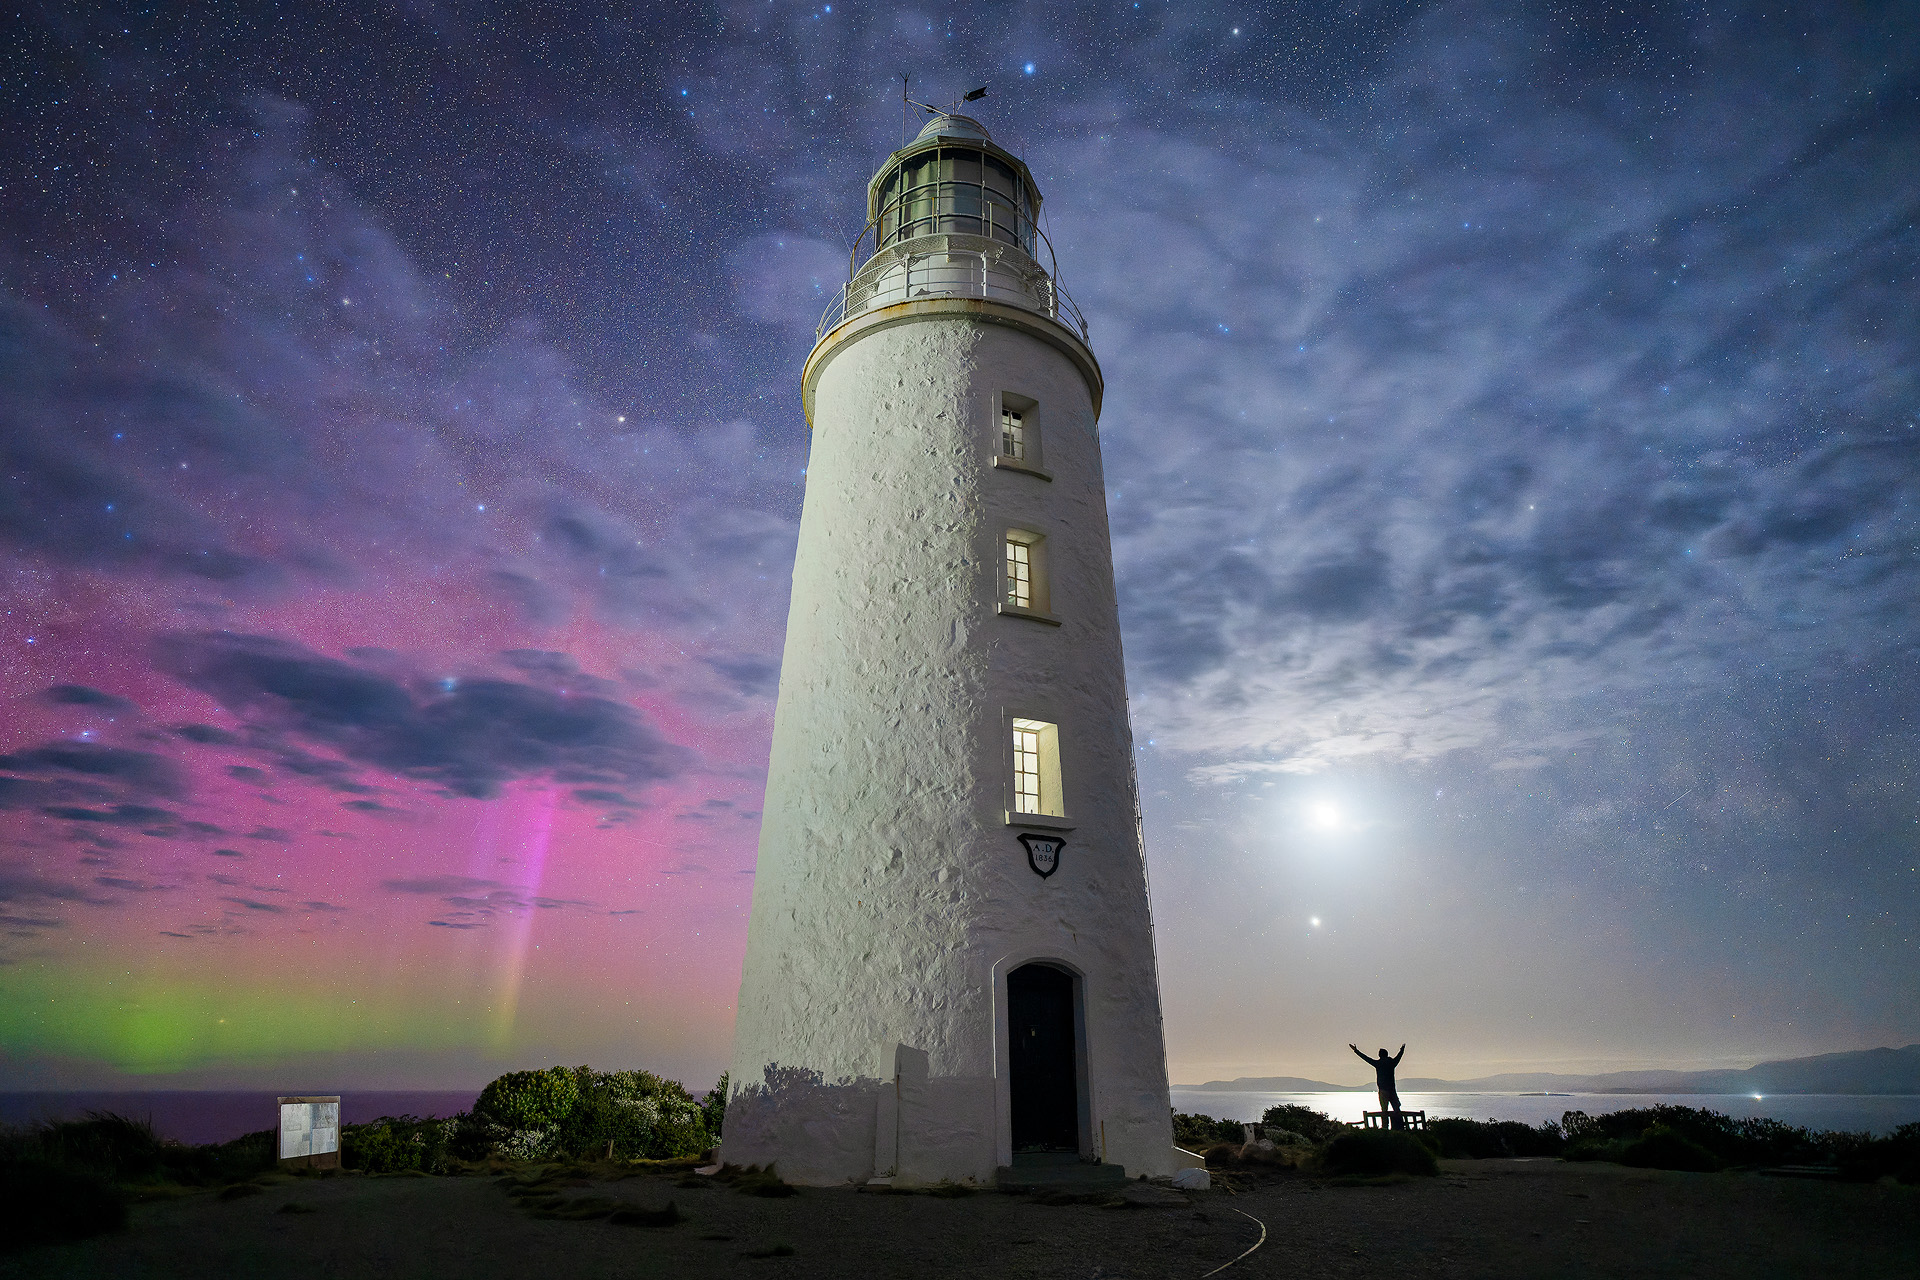
Cape Bruny Lighthouse with the aurora and moon
Sony α7R V, FE 20mm F1.8 G, f/1.8, 8s, ISO 2000
Staying safe and respecting locations
When you're visiting any location, it's worth arriving during daylight hours to scout your compositions and identify any potential hazards. Always let someone know where you're planning to go and when you expect to return - night photography in remote locations means you need to be sensible about safety. Respect any site restrictions that are in place and be mindful of wildlife in the area. Also always leave the place as you found it and practice Leave No Trace principles wherever you go - pack out everything you brought in, stay on designated tracks where they exist.
Light pollution is a growing problem for astrophotographers. I'm a big advocate for the work that organisations like the Australasian Dark Sky Alliance and Dark Sky Tasmania do. Their efforts help stop light pollution encroaching on the places we love to take night photos and mean we don't have to travel further and further to find genuinely dark skies.
I hope you've picked up a few useful tips here. The night sky is one of the most rewarding things to photograph, and there's nothing quite like standing out there on a perfectly calm, clear night watching the Milky Way rise. Get out there and give it a go.
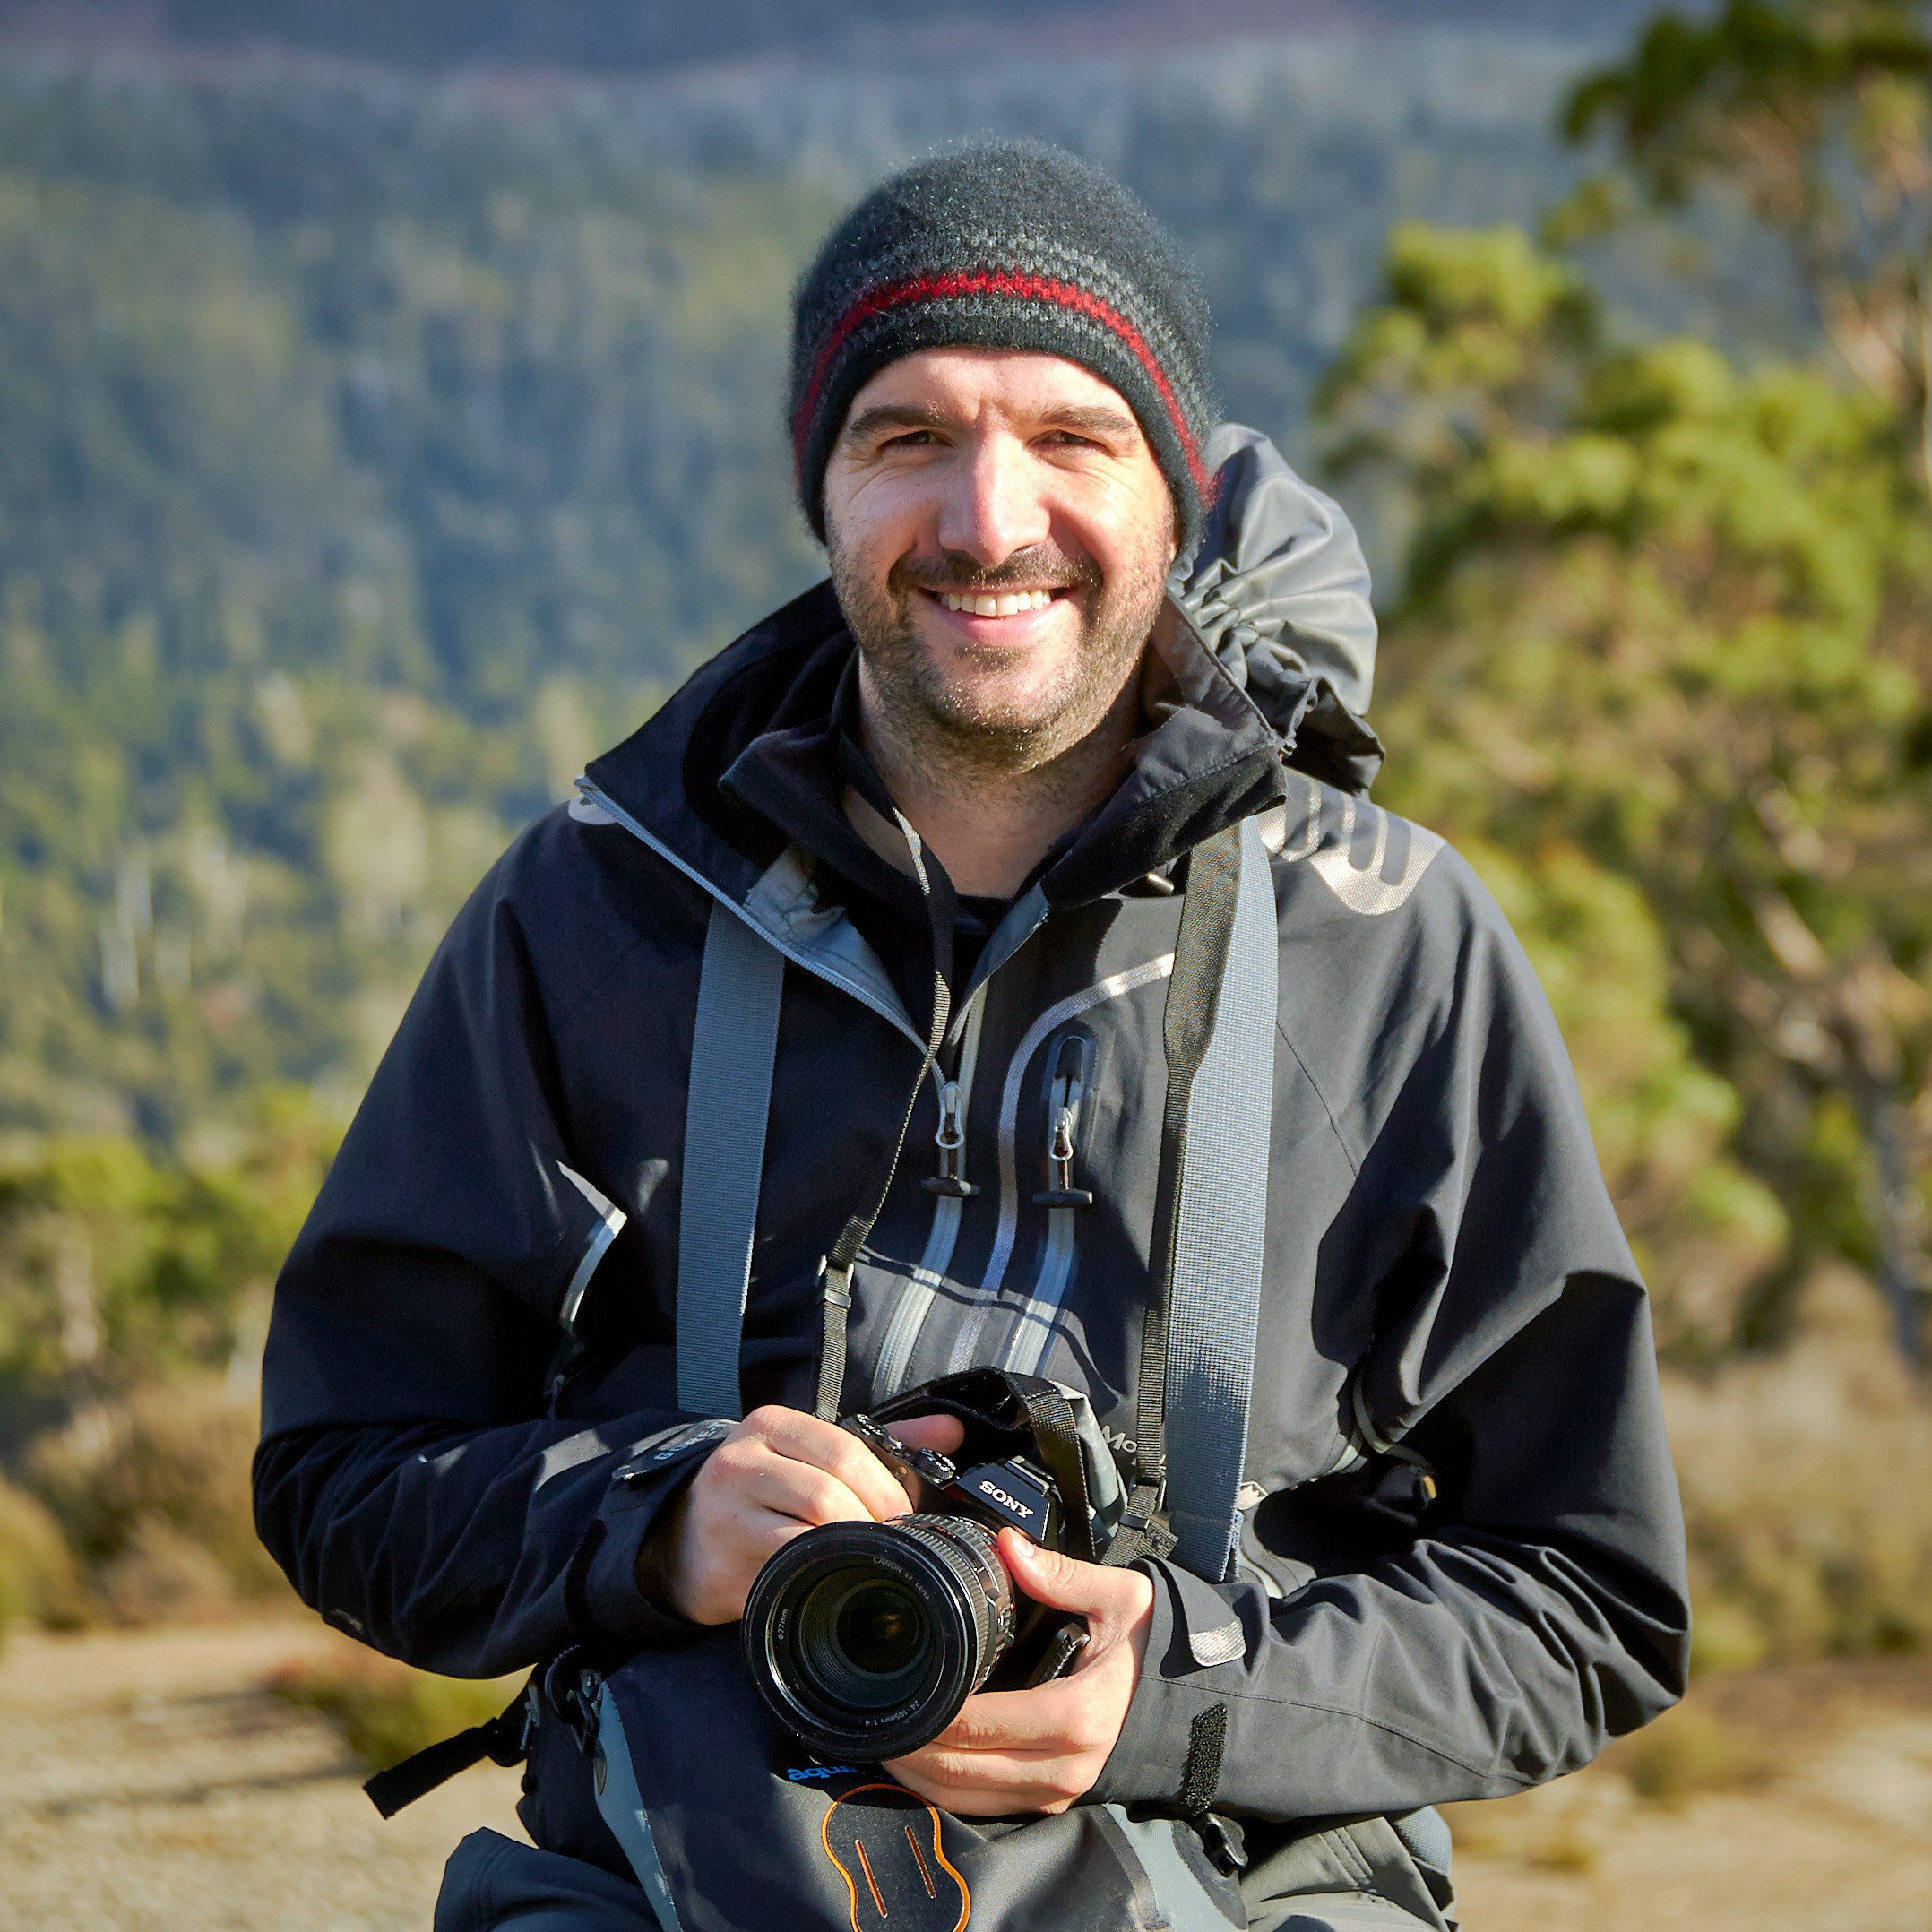
Luke Tscharke
Based in Hobart, Tasmania, Luke is a landscape, nature, and travel photographer whose journey began with an unexpected moment of clarity in the Tasmanian wilderness. With a background in science and biology, Luke discovered a deeper calling behind the lens—capturing the fleeting beauty of the natural world and sharing the stories found in its wild, untamed places.
Rooted in a genuine love for nature, his work is shaped by time spent bushwalking, exploring remote landscapes, and chasing the night sky. Through workshops, prints, and storytelling, Luke is dedicated to inspiring others to connect with the outdoors, cultivate curiosity, and see the world with a renewed sense of wonder.


