


Beyond the Ordinary: How to Capture Impactful Wildlife Photos
Capturing impactful wildlife photos requires a combination of patience, preparation, and creativity. Understanding animal behaviour, choosing your gear, mastering your settings and composition, and prioritising ethical practices all play a role in crafting compelling images. Whether you're aiming to freeze high-speed action, showcase intimate portraits, or highlight the beauty of the wild, this guide will provide you with the techniques and insights to elevate your wildlife photography and make every shot count!
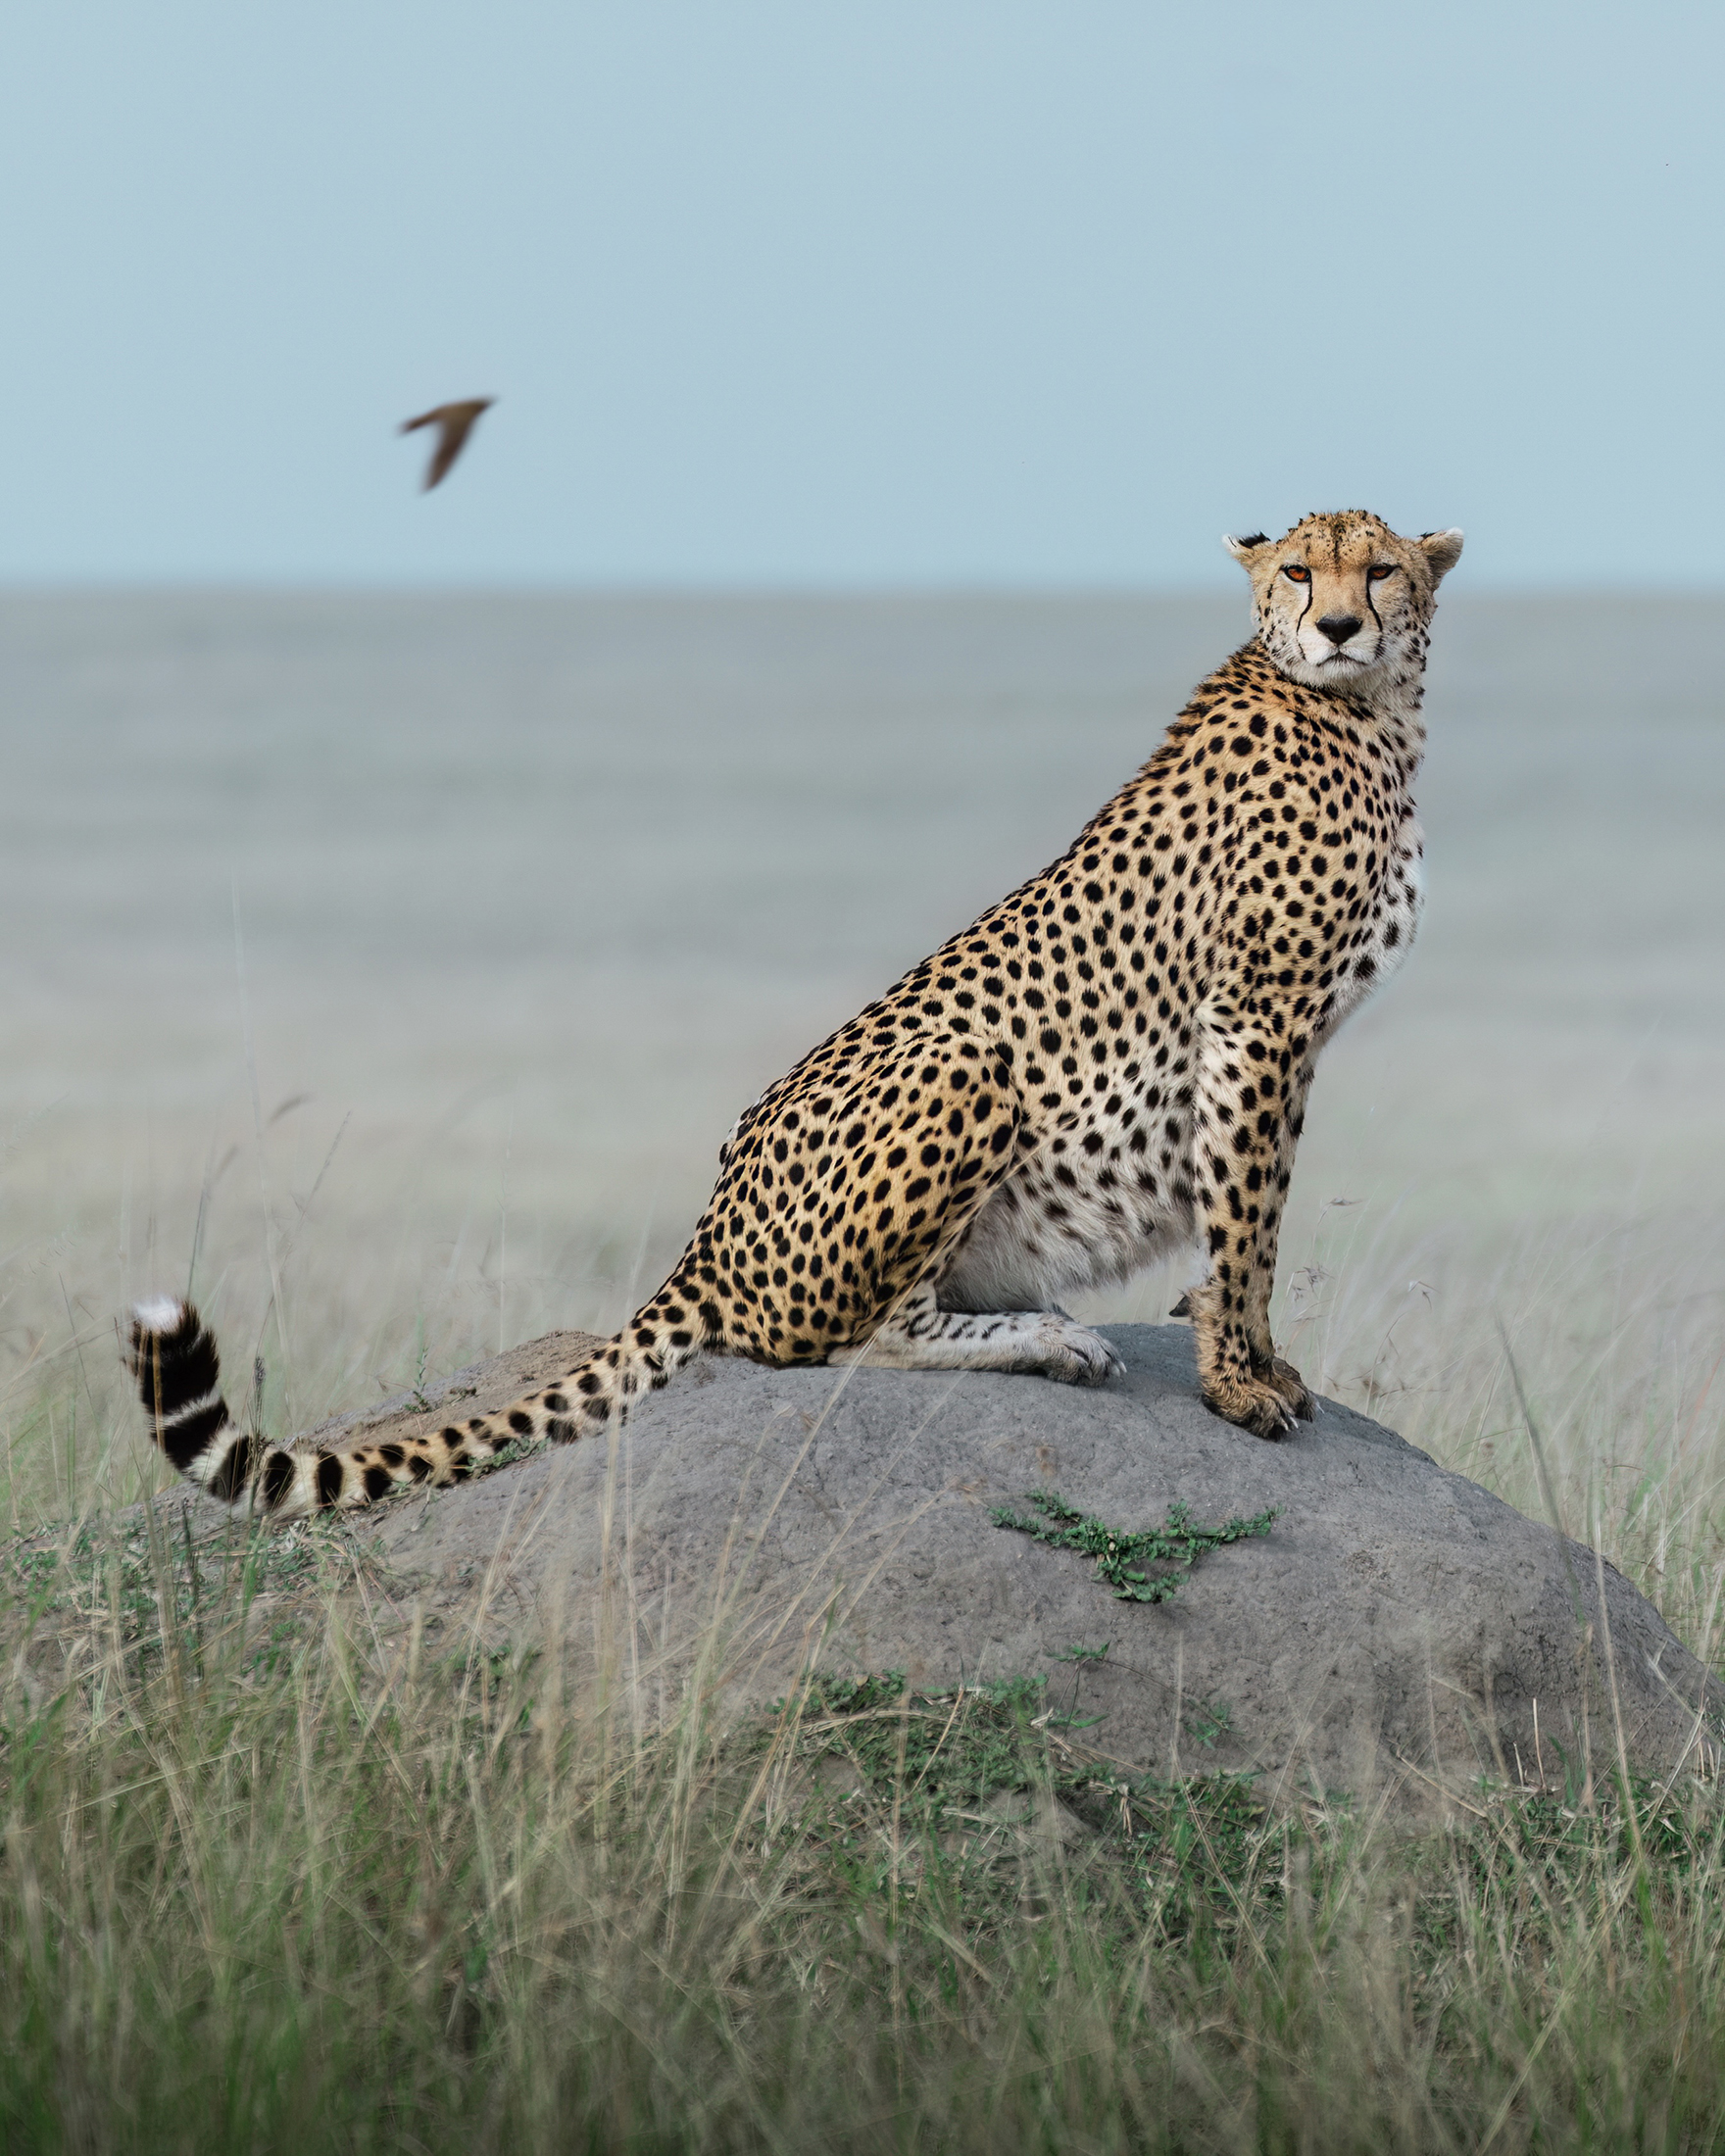
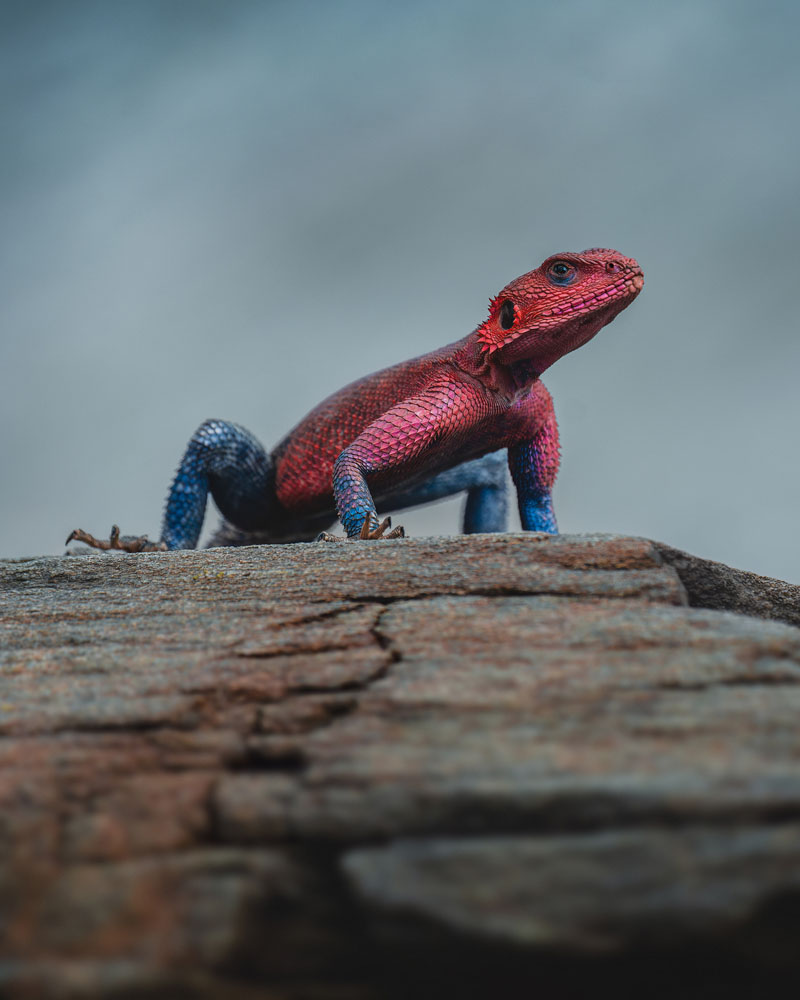
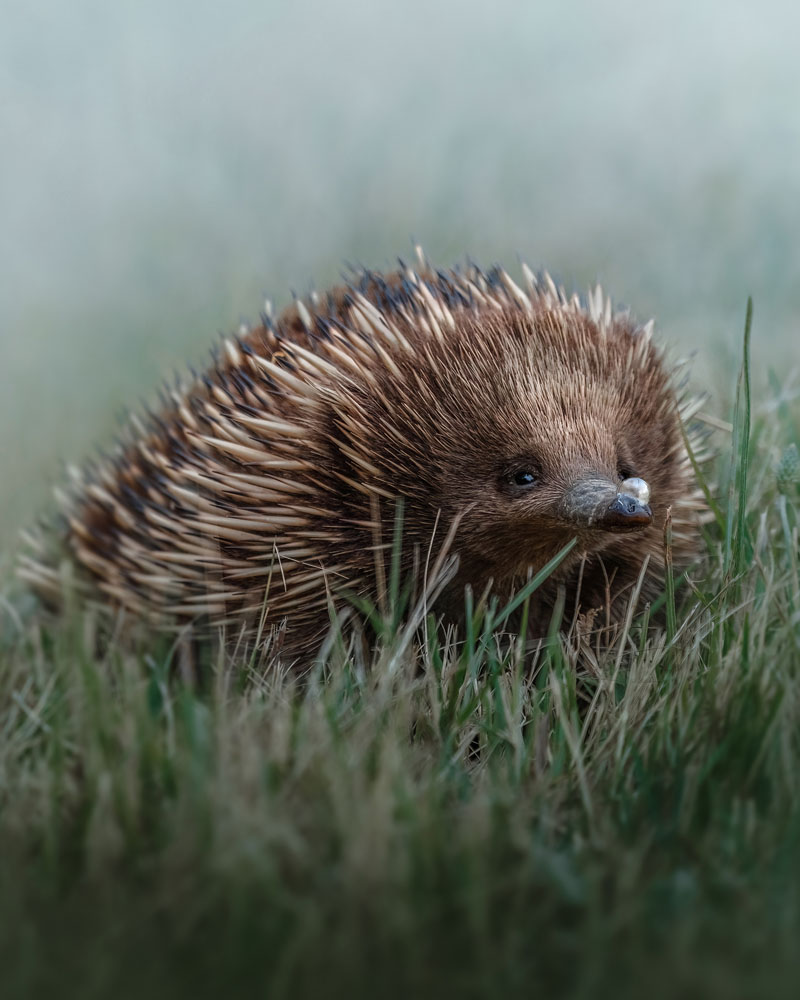 Sony Alpha 7 IV & FE 100-400mm GM | 1/1600 sec | f/5.6 | ISO 500
Research and Plan Your Wildlife Photography Trip
Study the Behaviour of Your Target Species
To create wildlife imagery that truly captures an animal’s personality, you must first understand the species you’re photographing. Studying their behaviour, habitat, and daily routines allows you to anticipate movements, identify key moments, and position yourself at the best angles. Researching their feeding habits and territorial patterns helps determine the optimal time and location for your shoot, enhancing your chances of capturing powerful images and your connection with the species you’re documenting. Before stepping into the field, it’s crucial to understand the animal’s warning signs and behavioural cues to ensure they remain comfortable and undisturbed. Understanding the challenges they face also helps ensure that you don’t unintentionally contribute to them.
The more you learn, the deeper your respect grows, and the stronger your photography becomes.
How to Choose the Right Time or Season for Your Trip
When planning your adventure, it’s important to research not only the species you want to photograph but also the environment you’ll be exploring. Depending on your destination, there are several factors to consider: Do you prefer photographing during the green/blooming season? Are you hoping to capture a species when they have offspring? What time of year offers the best weather conditions? Do you want to incorporate the moon (or other natural elements) into your shots, requiring precise timing? Perhaps a particular season will bring out unique animal behaviour, creating a captivating moment for you to capture.
If you have a specific vision in mind, these details should play a key role in your planning. However, always remember that nature is unpredictable, so you must keep an open mind to what you may encounter on your trip!
Where to Find Wildlife?
Once you have an understanding of the species and the best time of year to photograph them, the next step is figuring out exactly where to go. In my experience, the best way to find great locations and spot wildlife is by simply spending time in nature. Wildlife guides gain their expertise by observing animals in their natural habitats over time, learning their behaviours and preferred locations. However, if you’re travelling abroad and don’t have the luxury of extended field time, reaching out to local guides is invaluable — not only do you gain insider knowledge, but you also support the local economy. Engaging with forums, connecting with fellow travellers, and immersing yourself in the wildlife photography community will also provide incredible value.
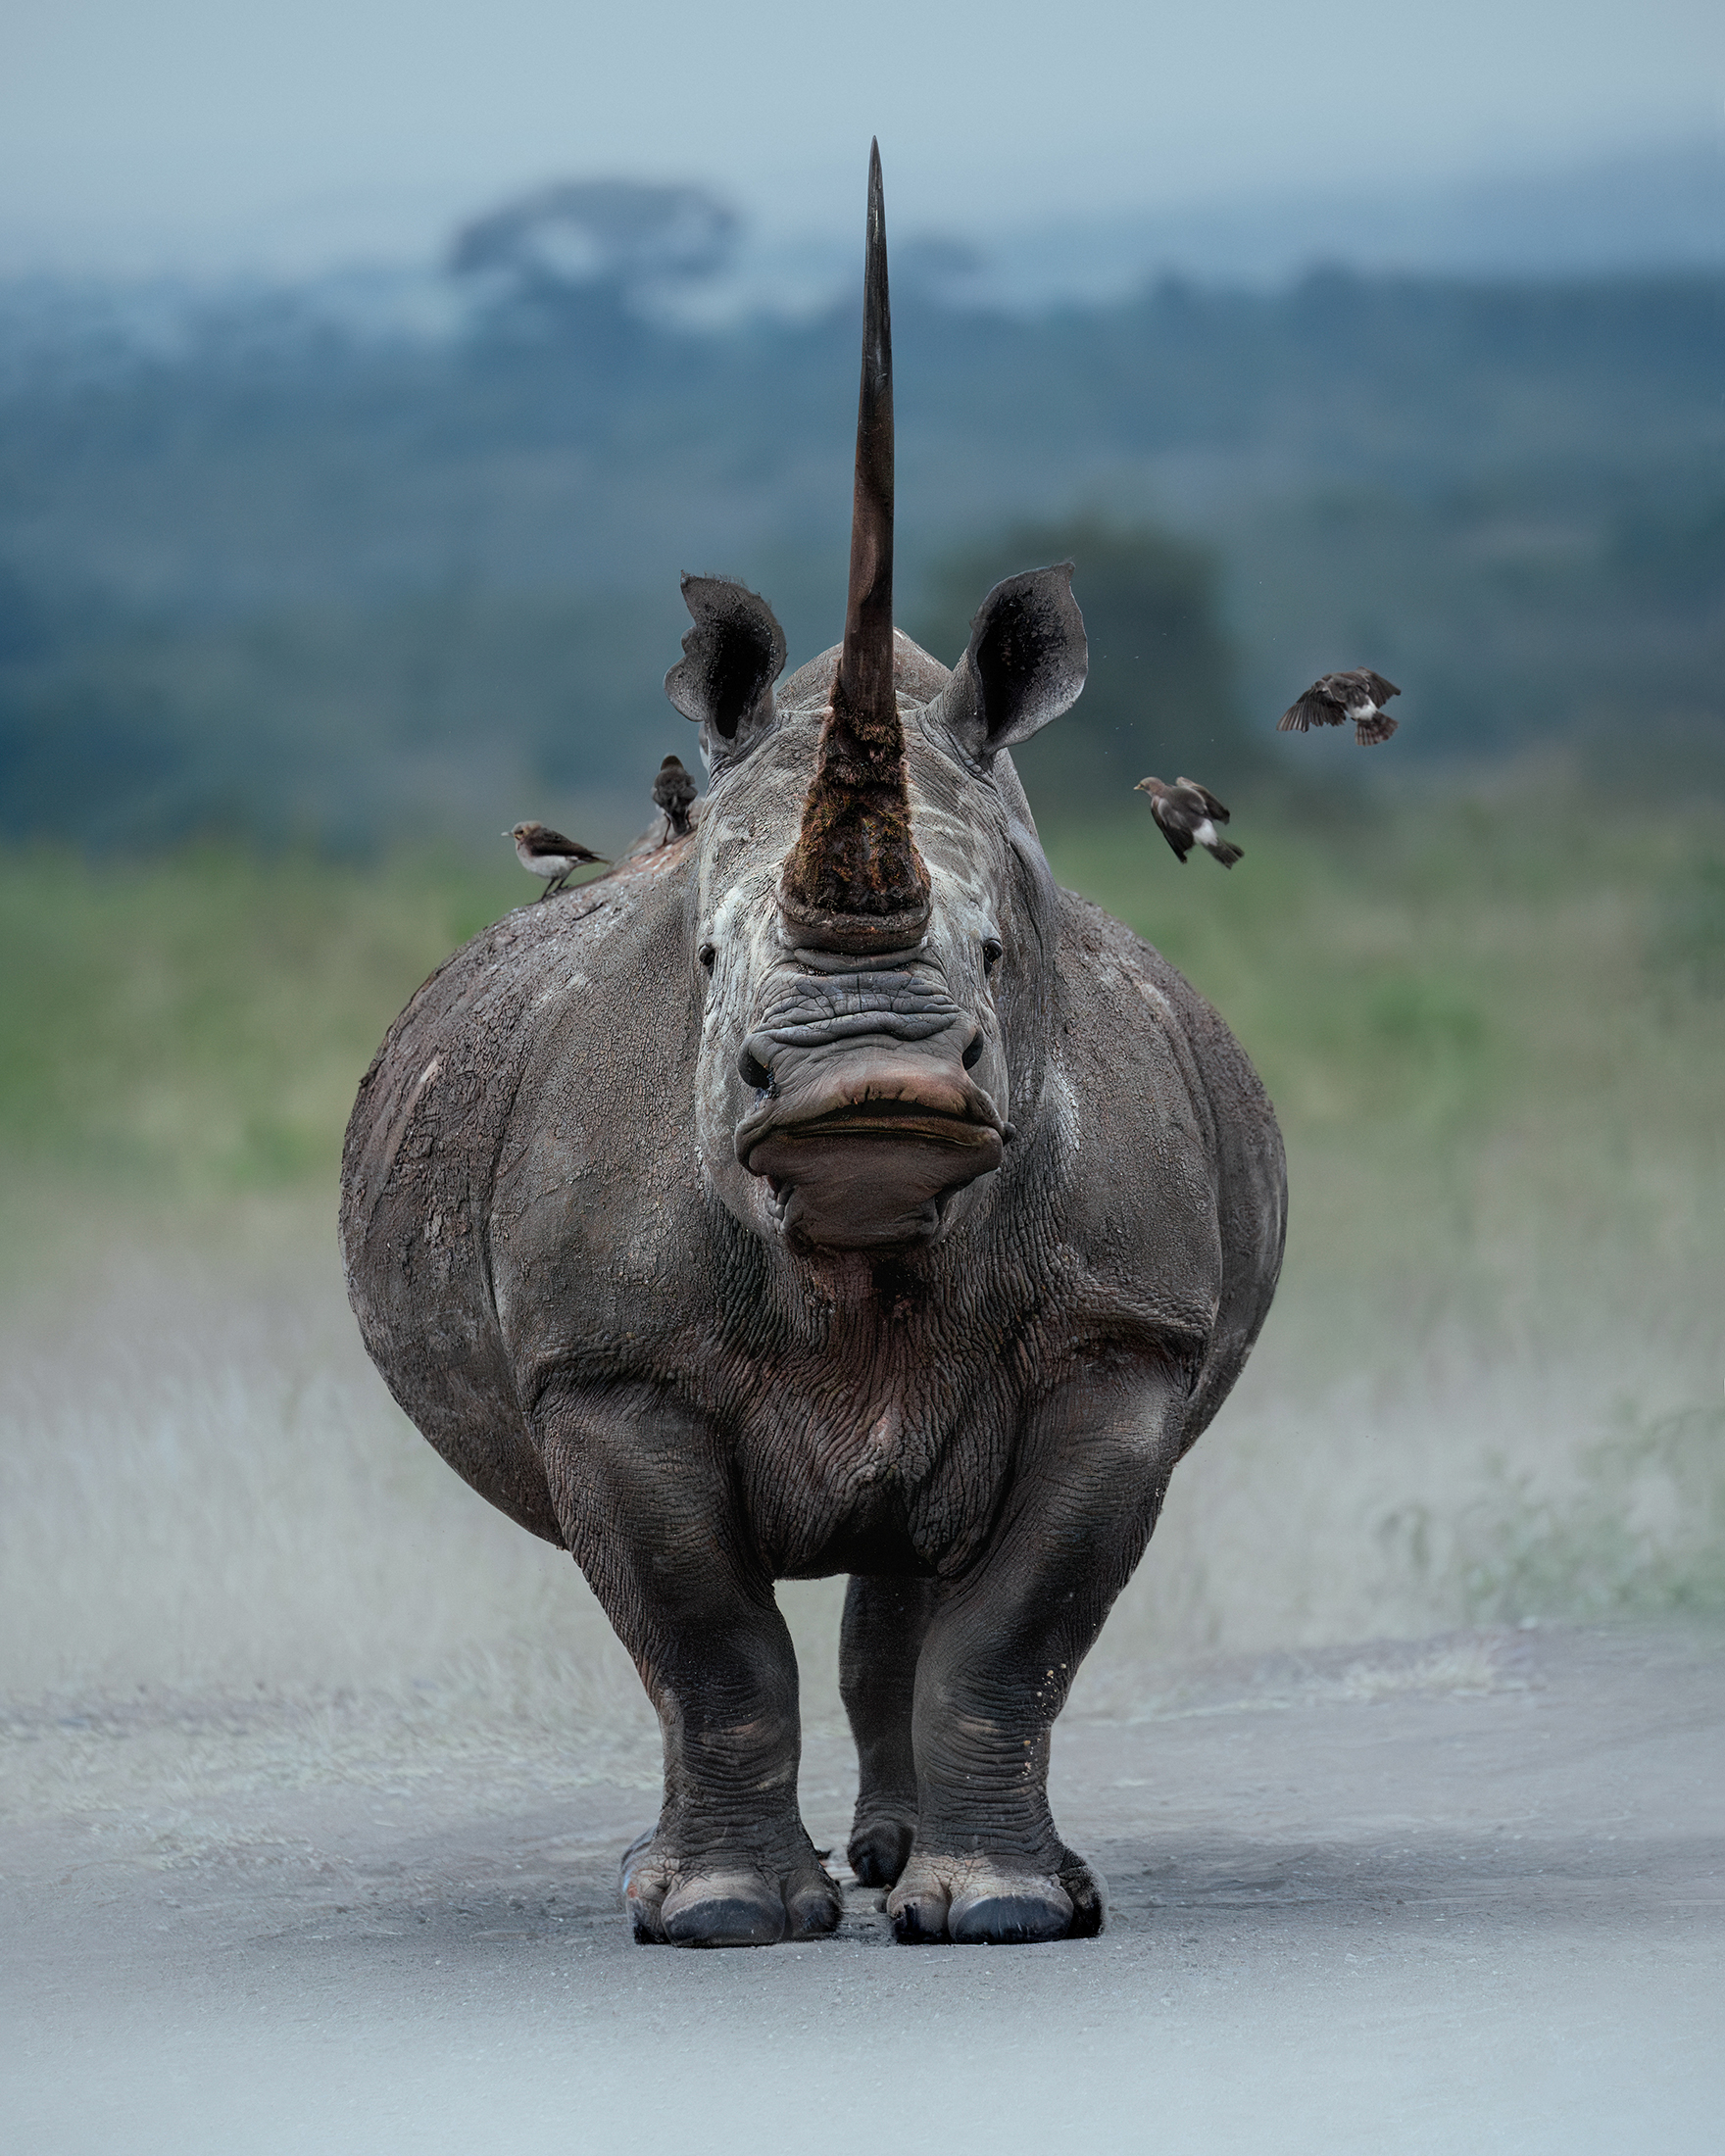
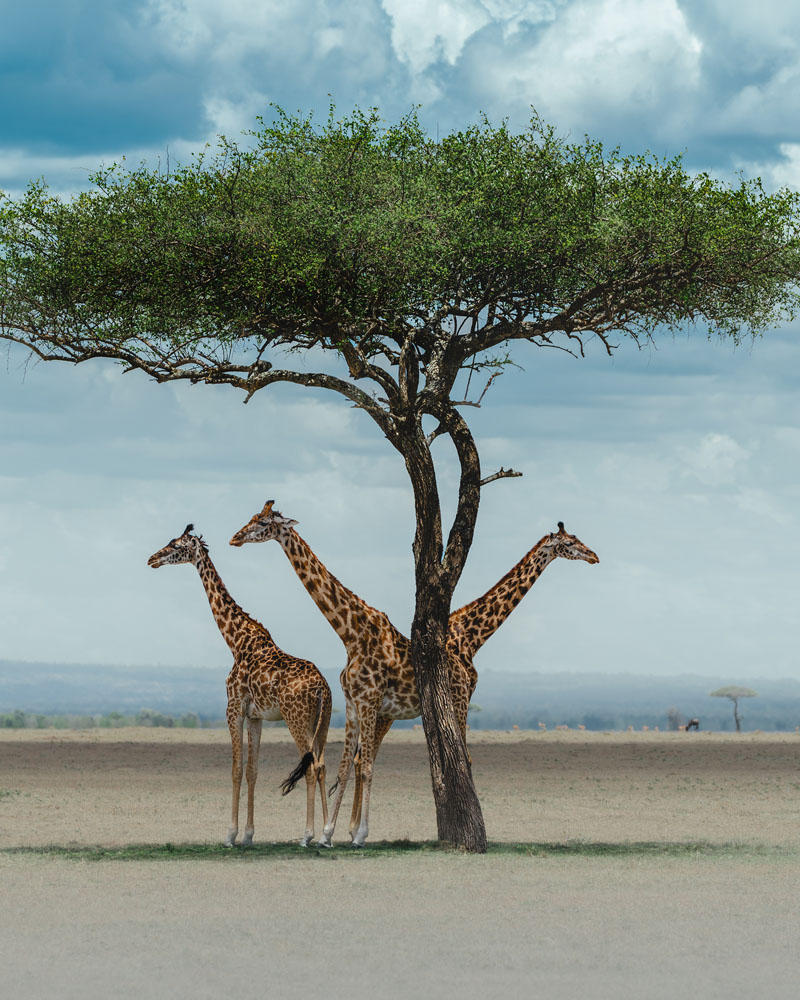
 Sony Alpha 7 IV & FE 100-400mm GM| 1/1600 sec | f/5.6 | ISO 125
Essential Wildlife Photography Gear
Camera Bodies and Lenses
When selecting gear for wildlife photography, it’s essential to weigh out the pros and cons based on your specific needs and creative goals. Beyond budget, key factors to consider include low-light performance, autofocus capabilities, frames per second (FPS), and megapixel count.
For Sony cameras, I recommend exploring the Alpha 1/Alpha 1 II, Alpha 7R V, Alpha 9 III, Alpha 7 IV, and Alpha 6700 — all of which offer excellent features for this field.
Similarly, your lens choice will depend largely on the type of images you want to create, your proximity to the animals, and, of course, your budget. For telephoto zoom lenses, the FE 100-400mm GM and FE 200-600mm F5.6-6.3 G OSS are among the most popular options. For those that prefer prime lenses, consider the FE 90mm F2.8 Macro G OSS and FE 135mm F1.8 GM for smaller/closer subjects, and the FE 300mm F2.8 GM OSS, FE 400mm F2.8 GM OSS, or FE 600mm F4 GM OSS if they are within your budget.
Remember though, gear is a matter of personal preference and just one piece of the puzzle… It’s what you do with it that brings the magic to life!
Must-Have Accessories
While your camera body and lens are the most critical pieces of gear, it’s often the smaller accessories that can make or break a shoot. In wildlife photography, a fast SD card is essential due to the high-speed bursts required to capture the action — a slow card can cause your camera to lag or even freeze as it struggles to clear the buffer, potentially costing you the perfect shot of an eagle diving for prey or a lion on the hunt. The higher the frames per second (FPS) and the larger the file sizes, the faster your card needs to be. I recommend investing in the fastest write-speed card you can afford, ideally 240MB/s or higher, to ensure smooth performance and uninterrupted shooting.
Additionally, extra batteries, a waterproof cover for unexpected weather, and a comfortable backpack for carrying your gear will prove invaluable in the field.
Tripod, Monopod or Beanbag?
Even if you prefer shooting handheld, having stabilising gear in your kit is essential for those moments when extra support is needed (or when your arms inevitably get tired). A sturdy tripod is a worthwhile investment for any photographer, providing versatility for filming incredible wildlife moments, capturing a stationary animal, or using a gimbal head for better tracking capabilities when documenting creatures on the move. Monopods are another excellent option and are a favourite amongst wildlife photographers, as they provide added stability whilst allowing you to move around freely. Additionally, beanbags that rest over a car door are perfect for safari adventures or discreet shooting from a vehicle, ensuring stability without the need for bulky equipment in small spaces.
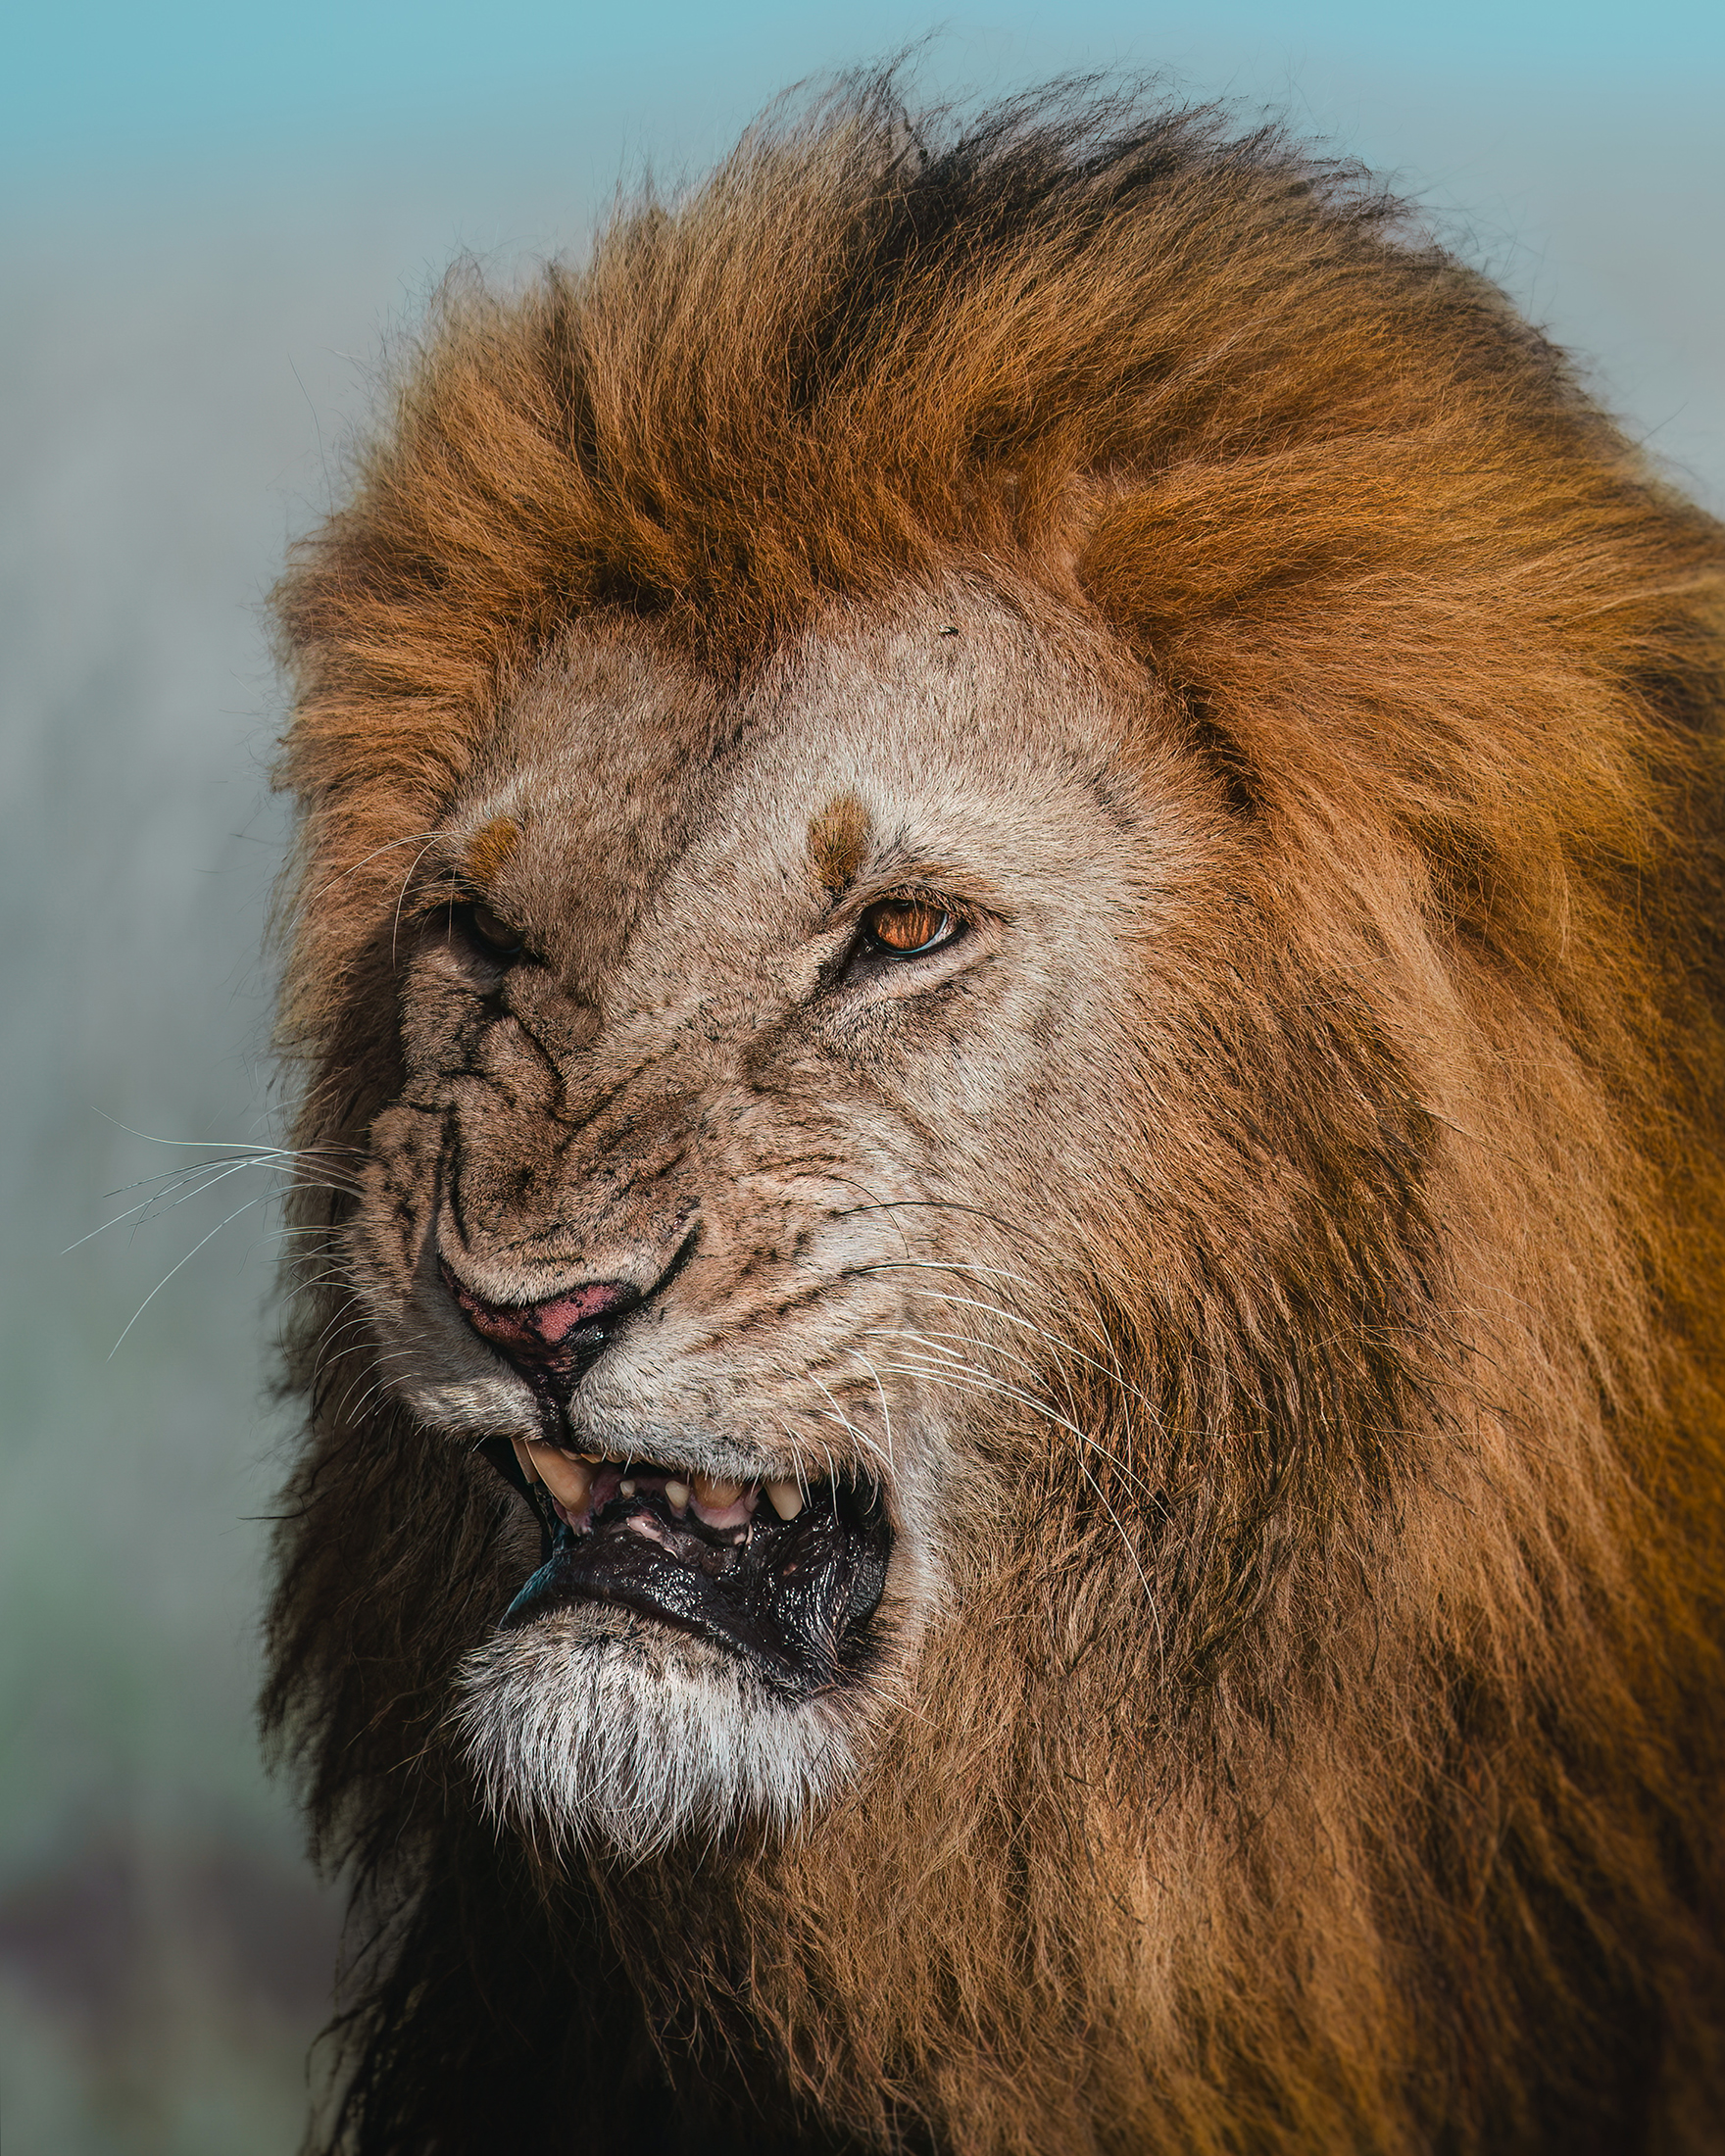
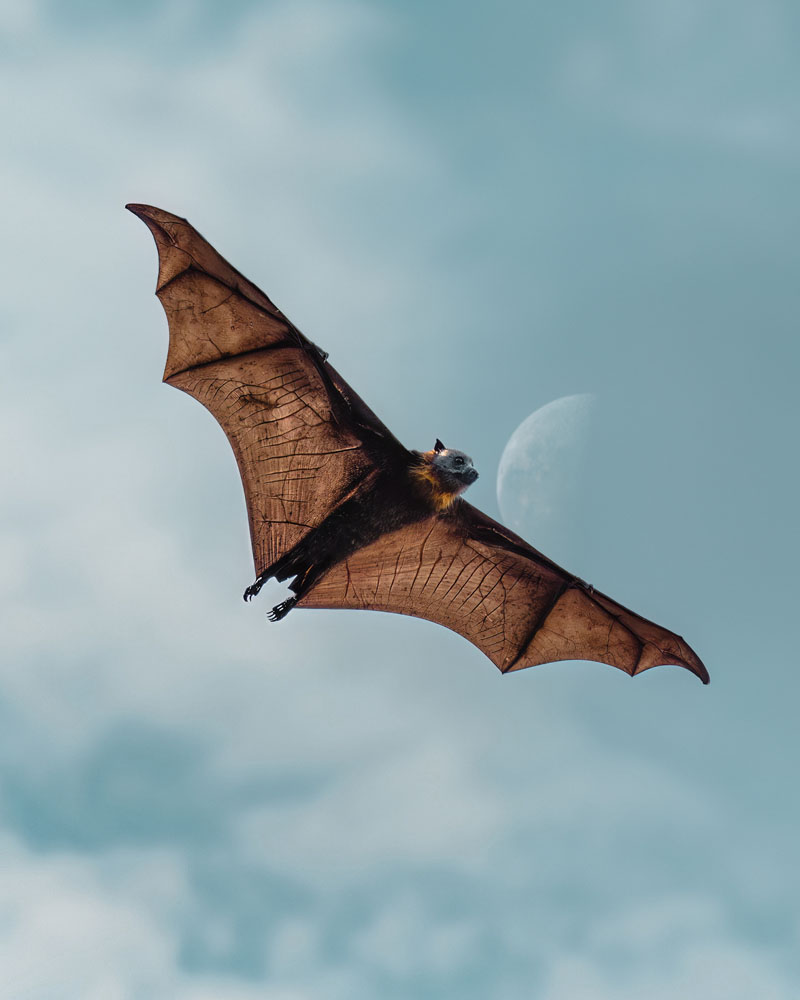
 Sony Alpha 7 IV & FE 100-400mm GM| 1/1000 sec | f/5.6 | ISO 100
Mastering Camera Settings
Optimal Exposure Settings
Before diving into exposure settings, it’s important to remember that what works for me may not be the perfect fit for you and your photography style. Everyone has their own approach, but I personally prefer shooting in manual because it gives you complete control over your settings and the final look of your imagery.
For my wildlife portraits, I always keep my aperture wide open, typically between f/1.8 and f/5.6 depending on the lens. I might step up slightly if I need less depth of field, especially for macro shots, smaller species, or when photographing with the moon. My shutter speed is usually set around 1/2000 sec, rarely dropping below 1/1000 sec unless I’m photographing a stationary subject or working in low light. My ISO is then adjusted based on the lighting conditions, often underexposing slightly due to my editing style and the way it assists in post-production.
In my opinion, the most important thing to remember when photographing wildlife is that shutter speed should always be your top priority. For example, in low-light scenarios, instead of slowing down your shutter speed to let in more light, I recommend increasing your ISO instead. A noisy or underexposed image is far easier to correct than a blurry one.
Know your Autofocus Modes
In dynamic environments with constantly moving subjects, mastering your autofocus settings can be a game-changer. I recommend using Continuous Autofocus (AF-C) with Face/Eye Priority enabled. If your camera supports it, consider activating animal or bird focus modes for better subject detection.
When selecting focus zones, a wide-area setting — where the camera searches for focus across the entire frame — is ideal for larger species, fast-moving animals, or scenes with minimal distractions. For subjects in dense foliage or cluttered environments, single-point gives you greater control over where to place your focus.
To enhance your shooting experience, enable tracking to help maintain the sharpness of your subject, and consider experimenting with back-button focus to lock in your chosen focal point. This allows you to refine your composition without the camera continuously refocusing when you press the shutter.
Utilising Burst for Action Shots
As mentioned earlier, it’s no surprise that wildlife photography (more often than not) involves shooting at multiple frames per second. Utilising burst mode allows your camera to capture a series of continuous frames while the shutter is pressed. Depending on your camera model and the speed of your subject, you can choose between settings like Low, Mid, High, or High+ (being the maximum amount available to your camera) to maximise your chances of getting the perfect shot. While burst mode is crucial for fast-moving animals, it’s also incredibly beneficial for stationary subjects too — helping you capture the exact moment when the animal is looking directly at you or when it aligns perfectly with your desired composition.
Though this may result in more images to sort through later, the payoff is well worth it.
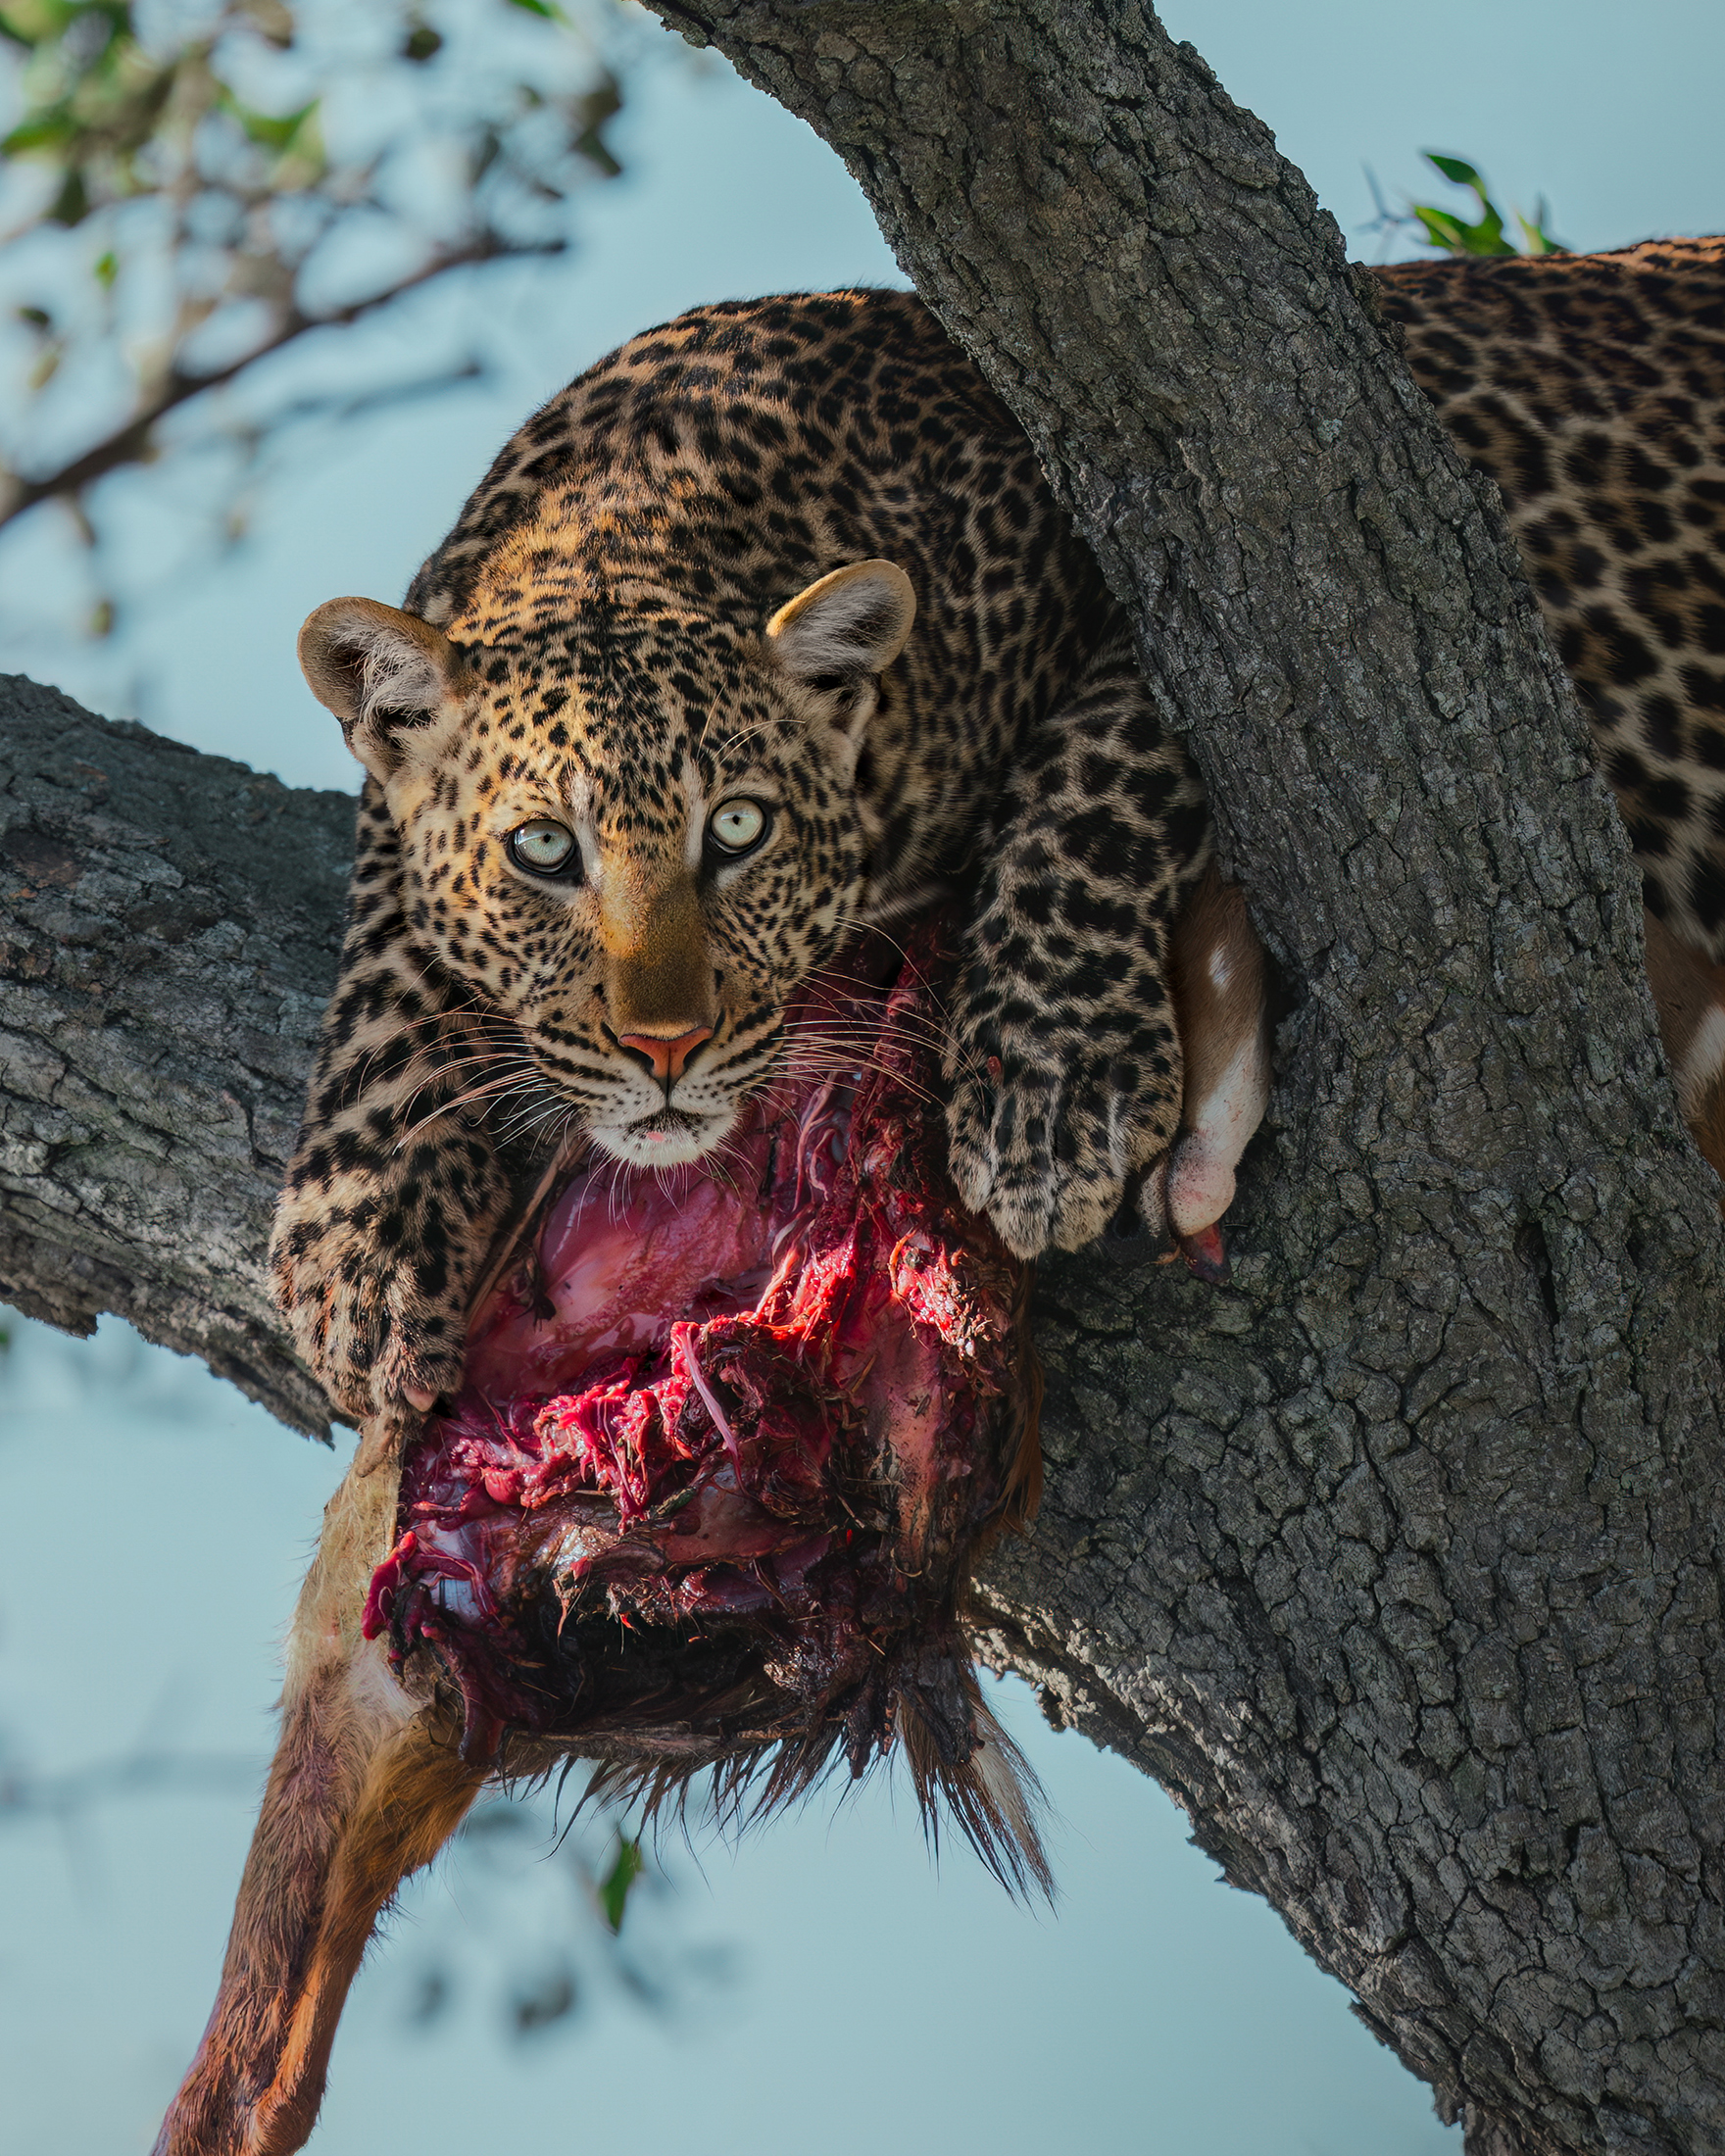
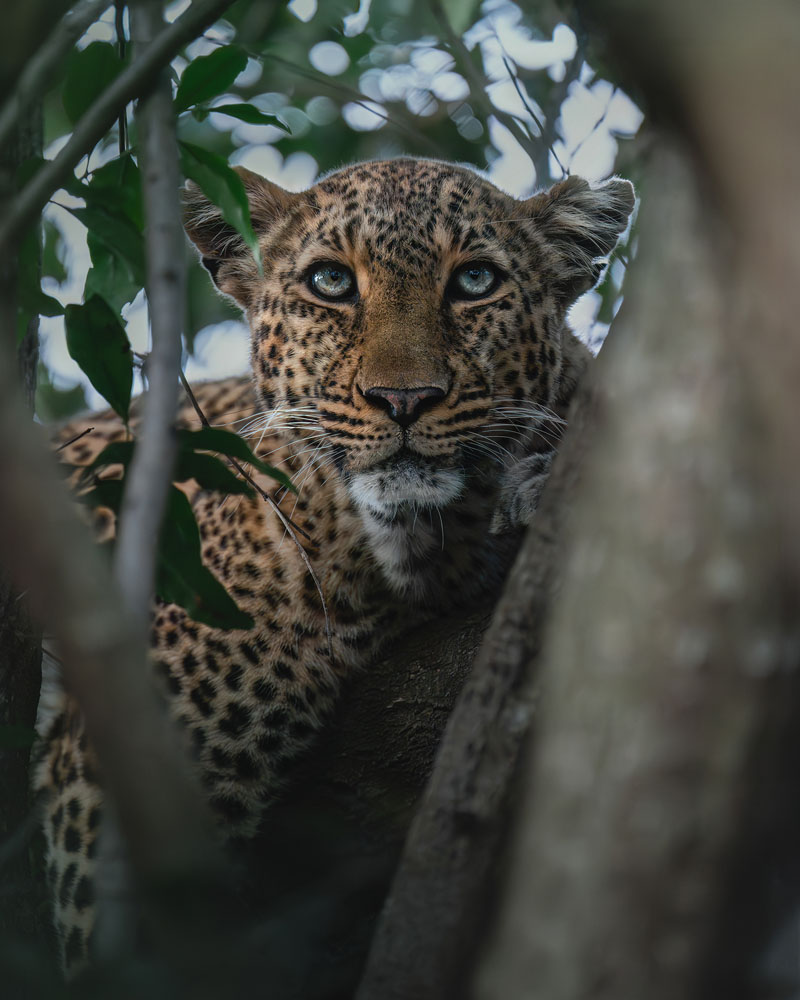
 Sony Alpha 7 IV & FE 100-400mm GM| 1/1250 sec | f/5.6 | ISO 200
Field Techniques
The Art of Patience and Observation
Patience is the backbone of wildlife photography and storytelling; the difference between simply capturing and patiently creating an image that will have a lasting impact. Unlike controlled studio settings, nature operates on its own rhythm, requiring you to wait hours (or sometimes days), or even return multiple times to get your intended shot. This discipline involves more than just stillness; it requires observation of animal behaviour and the understanding of lighting and composition. You need to embrace the waiting game, knowing that capturing a predator’s hunt, a bat flying past the moon, or a moment of eye contact in the wild is worth every moment of stillness.
Approach Wildlife without Disturbance
When you encounter an incredible animal, it’s natural to feel the urge to rush in with your camera, but respecting their space and environment is crucial. Move slowly and quietly, blending into the surroundings as much as possible. Observe their behaviour to recognise warning signs, approach from downwind to reduce the chances of them detecting your scent, and remember that you don’t need to be physically close — a longer lens allows you to keep your distance while minimising disturbance.
If you can, let the animal come to you. Patience is key!
Master your Composition
Composition is arguably the most important aspect of creating impactful wildlife photos. You can have your settings mastered, but nailing your composition is what will set your images apart.
Practice framing the animal with its natural surroundings, adding softness to the foreground by getting low, using the ‘Rule of Thirds’ to compose your imagery, and finding leading lines such as tree branches, cracks in rocks and roads to guide the viewer to the subject. Use negative space to emphasise the animal’s environment, and try to find angles that provide clean backgrounds that isolate the subject with minimal distractions.
The most impactful thing when photographing wildlife is to be at their eye level (or create the illusion of it by changing your angle). You want the viewer to feel like they’re in the animal’s world with them, rather than being an observer. Create, don’t just capture.
 Sony Alpha 7 IV & FE 100-400mm GM| 1/1250 sec | f/5.6 | ISO 5000
Being Ethical
Respect Wildlife and Their Habitats
Respecting wildlife means maintaining a safe distance, avoiding all disturbance to nests, dens and places of refuge, and refraining from flash photography — particularly on nocturnal species. Never yell, bait, or interfere with their natural behaviours; the goal is to remain as unnoticed as possible. Stay on trails to protect habitats and simply leave no trace.
Once you come home, the job is not done! When sharing images online, continue to respect the species you’ve documented by telling the full story. Avoid the promotion of harmful behaviour and prioritise the animal’s well-being. Avoid geotagging endangered species, particularly those vulnerable to poaching or human-wildlife conflict.
Ethical photography not only showcases nature’s beauty but also ensures wildlife can thrive undisturbed.
Avoid Inducing Stress or Harm
A striking example of the consequences of human interference can be seen in cheetahs, a species facing dangerously low numbers. In areas with heavy tourist activity (most of whom have cameras), these magnificent animals struggle to raise their cubs… When the mothers bring their young out of den sites, they often become surrounded by safari vehicles, and tragically, many cubs are later found dead. Scientific studies have shown that cheetahs in less disturbed environments have significantly higher survival rates. As advocates for nature, it is our responsibility to minimise harm and ensure that the species we document can thrive in the wild.
Ethical wildlife photography is about recognising when it’s best not to press the shutter. The well-being of the animal should always come first.
Always Follow Local Regulations and Guidelines
Many parks and conservation areas have strict guidelines in place to protect wildlife and their habitat. Adhering to these regulations, such as obtaining necessary permits, respecting restricted areas (drone users included), and abiding by their guidelines is essential. Not only does this ensure that your photography is ethical, but it inevitably contributes to preserving nature for generations to come. Remember that your work should aid conservation, not hinder it.
 Sony Alpha 7 IV & FE 100-400mm GM| 1/1600 sec | f/5.6 | ISO 200
Kate Newman
Hiya! I'm Kate Newman ⏤ a wildlife & conservation photographer from Melbourne (Naarm), Australia.
My photography journey began at the end of 2020 when I picked up my first secondhand Sony camera during our intense Melbourne lockdowns. I have been around wildlife my whole life and have always thrived in creativity, and one day felt the urge to combine those two things to see where it could take me. I took the opportunity to teach myself as much as I could & practice photographing the species in my backyard, and quickly discovered that this was a passion of mine that I knew I had to pursue.
Since the beginning, I've dedicated every spare moment to honing in on my craft and I'm unbelievably grateful for how quickly things have snowballed. In the space of just a few years, I went from not knowing how to shoot in manual, to having a full-time career in wildlife photography; teaching workshops, featuring in magazines, working with wonderful brands and conservation organisations, and selling my art across the globe.
The goal of my work is always to showcase the beauty of the wild through visual art and facilitate a connection to the realities of our natural world. It's an honour to be able to do that with the help of Son


