


Introduction to Night Photography
Night photography can be both exciting and challenging. When there isn’t much light to work with, photos can easily turn out blurry, noisy, or underexposed. Understanding how to choose the right gear, adjust your camera settings, and approach shooting at night will help you capture sharper and more striking images. This guide covers everything from equipment and techniques to editing and practical tips for improving your night photography.
Essential Night Photography Gear
Since photography relies on light, using the right equipment makes a big difference when shooting in dark environments.
Cameras with larger sensors perform dramatically better in low light. Full-frame mirrorless models, such as those found in Sony’s Alpha 7R and Alpha 7S series, or the ZV-E1, collect more light per pixel, which reduces noise and improves overall image quality. This allows you to use lower ISO values, maintain more dynamic range, and achieve better colour accuracy even when shooting in very dark environments.
Another feature worth considering is In-Body Image Stabilisation (IBIS). IBIS helps counteract camera shake, which can be a major issue when shutter speeds become slower. With IBIS, you can often shoot handheld at shutter speeds you wouldn’t normally attempt, such as 1/15s or even 1/8s, depending on the lens.
A camera with strong high-ISO performance, like the Sony Alpha 7S III, is also incredibly helpful because it allows you to increase ISO without sacrificing too much detail. High-ISO capability becomes especially important when you need faster shutter speeds, such as when photographing moving subjects at night.
The lens you choose is equally important. Night photography often requires lenses with wide maximum apertures (f/2.8, f/1.8, or even f/1.4). These lenses let in more light, enabling you to use faster shutter speeds or lower ISO settings. Fast prime lenses, in particular, are extremely useful because they typically offer both wide apertures and excellent sharpness.
Keep in mind that lenses can also feature optical image stabilisation, which works together with IBIS to improve stability even further. This can help you achieve sharp handheld photos at slower shutter speeds than you might expect.

Although not strictly necessary, certain accessories can greatly improve your night photography experience and results:
-
A sturdy tripod is invaluable for long exposures, making it much easier to capture light trails, star photography, and sharp low-ISO images.
-
Lights, flashes, and gels offer creative options and can help illuminate subjects that would otherwise be too dark.
-
A remote shutter release prevents the camera from shaking when you press the shutter button, especially useful for multi-second exposures.
Together, these tools make shooting at night far more stable, flexible, and creatively open.
Mastering Camera Settings for Night Photography
Mastery of camera settings is arguably the most important aspect of night photography. Because the environment is unpredictable and light levels are low, you’ll often need to make active decisions about aperture, shutter speed, and ISO to get the results you want.
If you’re attempting to freeze motion (whether it’s a person walking or a moment of action) you’ll need a combination of a wide aperture (f/2.8 or wider) and a fast shutter speed. The trade-off is that you’ll often need to raise your ISO to compensate for the lack of light. ISO values of 3200, 6400, or even higher are common in nighttime street photography.
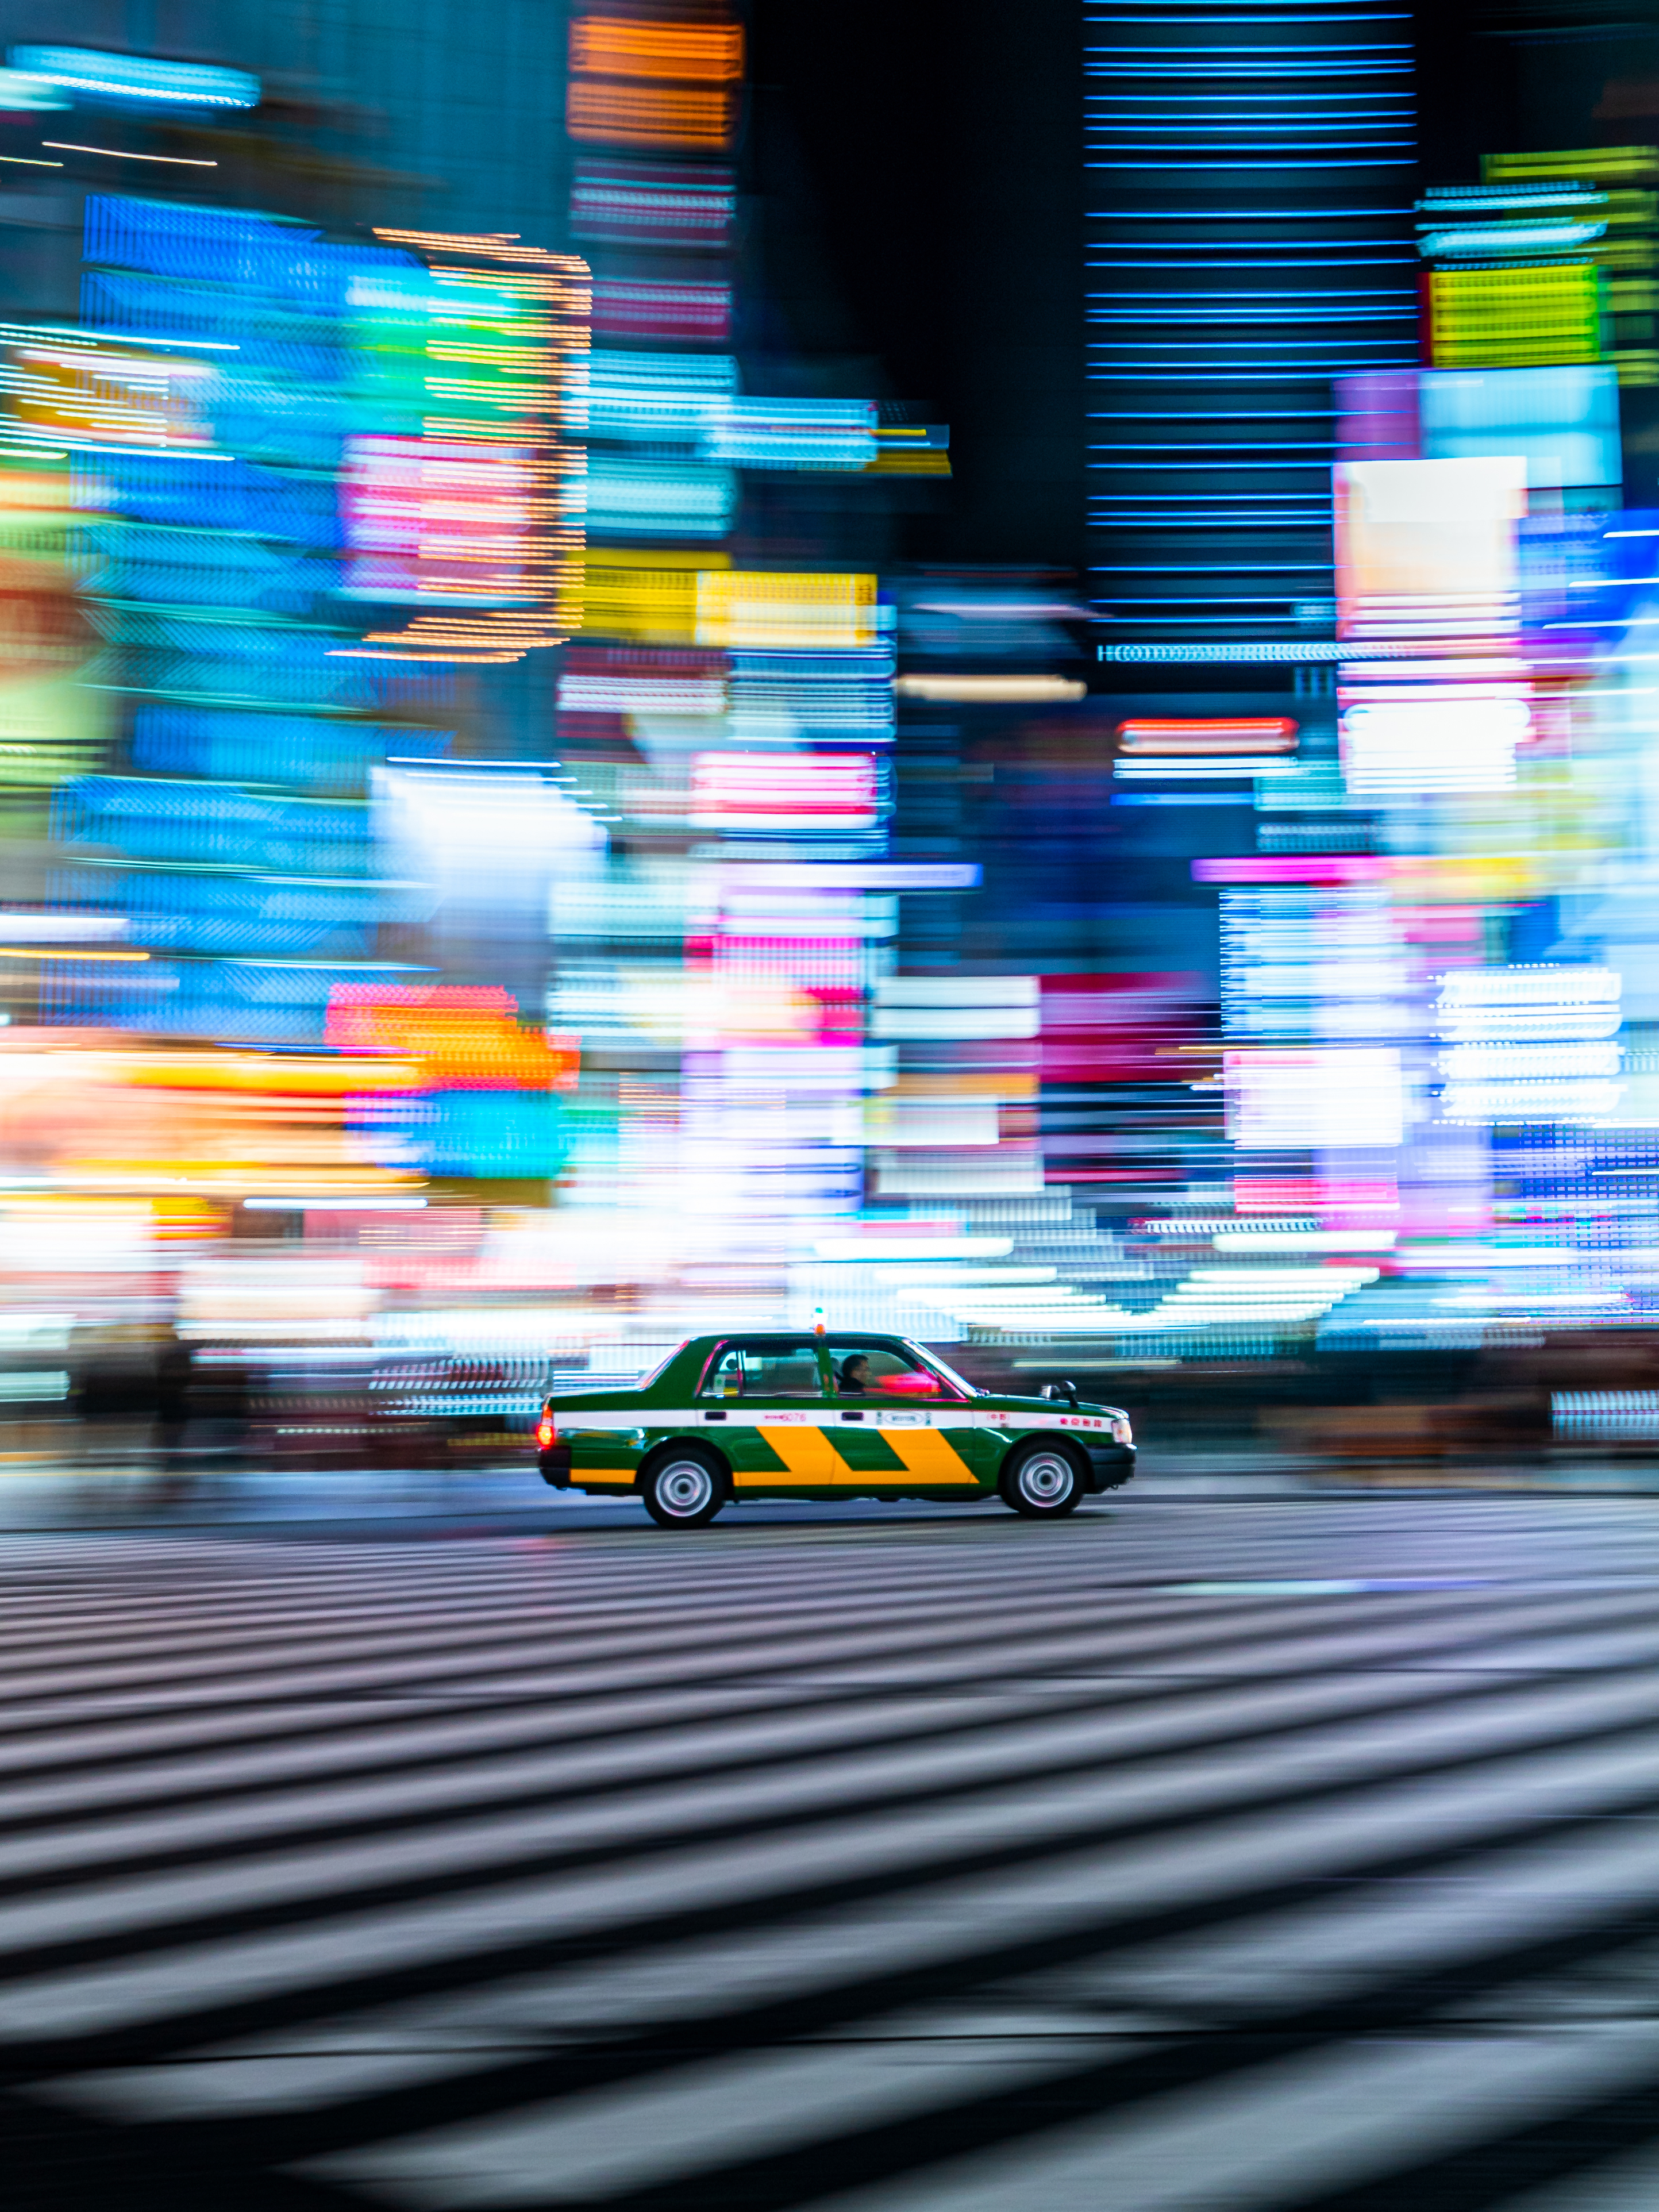
On the other hand, if your goal is to capture movement, such as car light trails, flowing water, or general city motion, a slow shutter speed is essential. Long exposures ranging from 1s to 30s give you the flexibility to capture motion blur and creative effects that aren’t possible during the day. For these shots, a tripod is essential to avoid camera shake.
ISO becomes a balancing tool. A higher ISO brightens the image but increases noise. A lower ISO reduces noise but requires a longer shutter or wider aperture. Understanding how these three settings interact is critical for night photography.
Night scenes often include a mix of artificial light sources, each with its own colour temperature. Street lamps, LED signs, tungsten lights, and fluorescent bulbs can all create different colour casts. For this reason, white balance becomes more important at night than in many daytime situations.
Starting with Auto White Balance is a good approach, as modern cameras are surprisingly accurate. If you want more control, switching to presets like Tungsten or Fluorescent can help correct colour casts quickly. For astrophotography, cooler white balance settings (roughly between 3200K and 4800K) can help bring out the natural colours of the night sky.
Because colour can be adjusted more precisely during editing, it’s always recommended to shoot in RAW.
Recommended apertures for different scenarios:
-
Cityscapes or landscapes at night: f/8 to f/11
-
Astrophotography: f/2.8 or wider
-
Low-light portraits: f/1.4 to f/2.8
-
Starburst effects from lights: f/16 to f/22
Understanding how aperture affects each type of night scene will help you plan the look of your photos before you even start shooting.
Techniques for Capturing Night Scenes
Even with the right settings, shooting at night requires technique. Stability, composition, and awareness of your environment are essential.
If you don’t have a tripod with you, you can still capture sharp night images by stabilising your camera creatively. Resting it on nearby objects (like walls, benches, railings, or ledges) can provide the stability needed for slower shutter speeds. You can also stabilise your body: plant your feet shoulder-width apart, tuck your elbows into your body, and control your breathing while shooting.
Using the 2-second timer is an easy way to avoid introducing shake from pressing the shutter button.
Noise is one of the most common issues in night photography. To minimise it:
-
Use the lowest ISO you can while maintaining proper exposure
-
Shoot in RAW to retain maximum detail
-
Use a tripod so you don’t have to raise ISO unnecessarily
-
Use in-camera long exposure noise reduction if desired
-
Apply noise reduction in Lightroom or Photoshop
You can further reduce noise by stacking multiple images during post-processing.
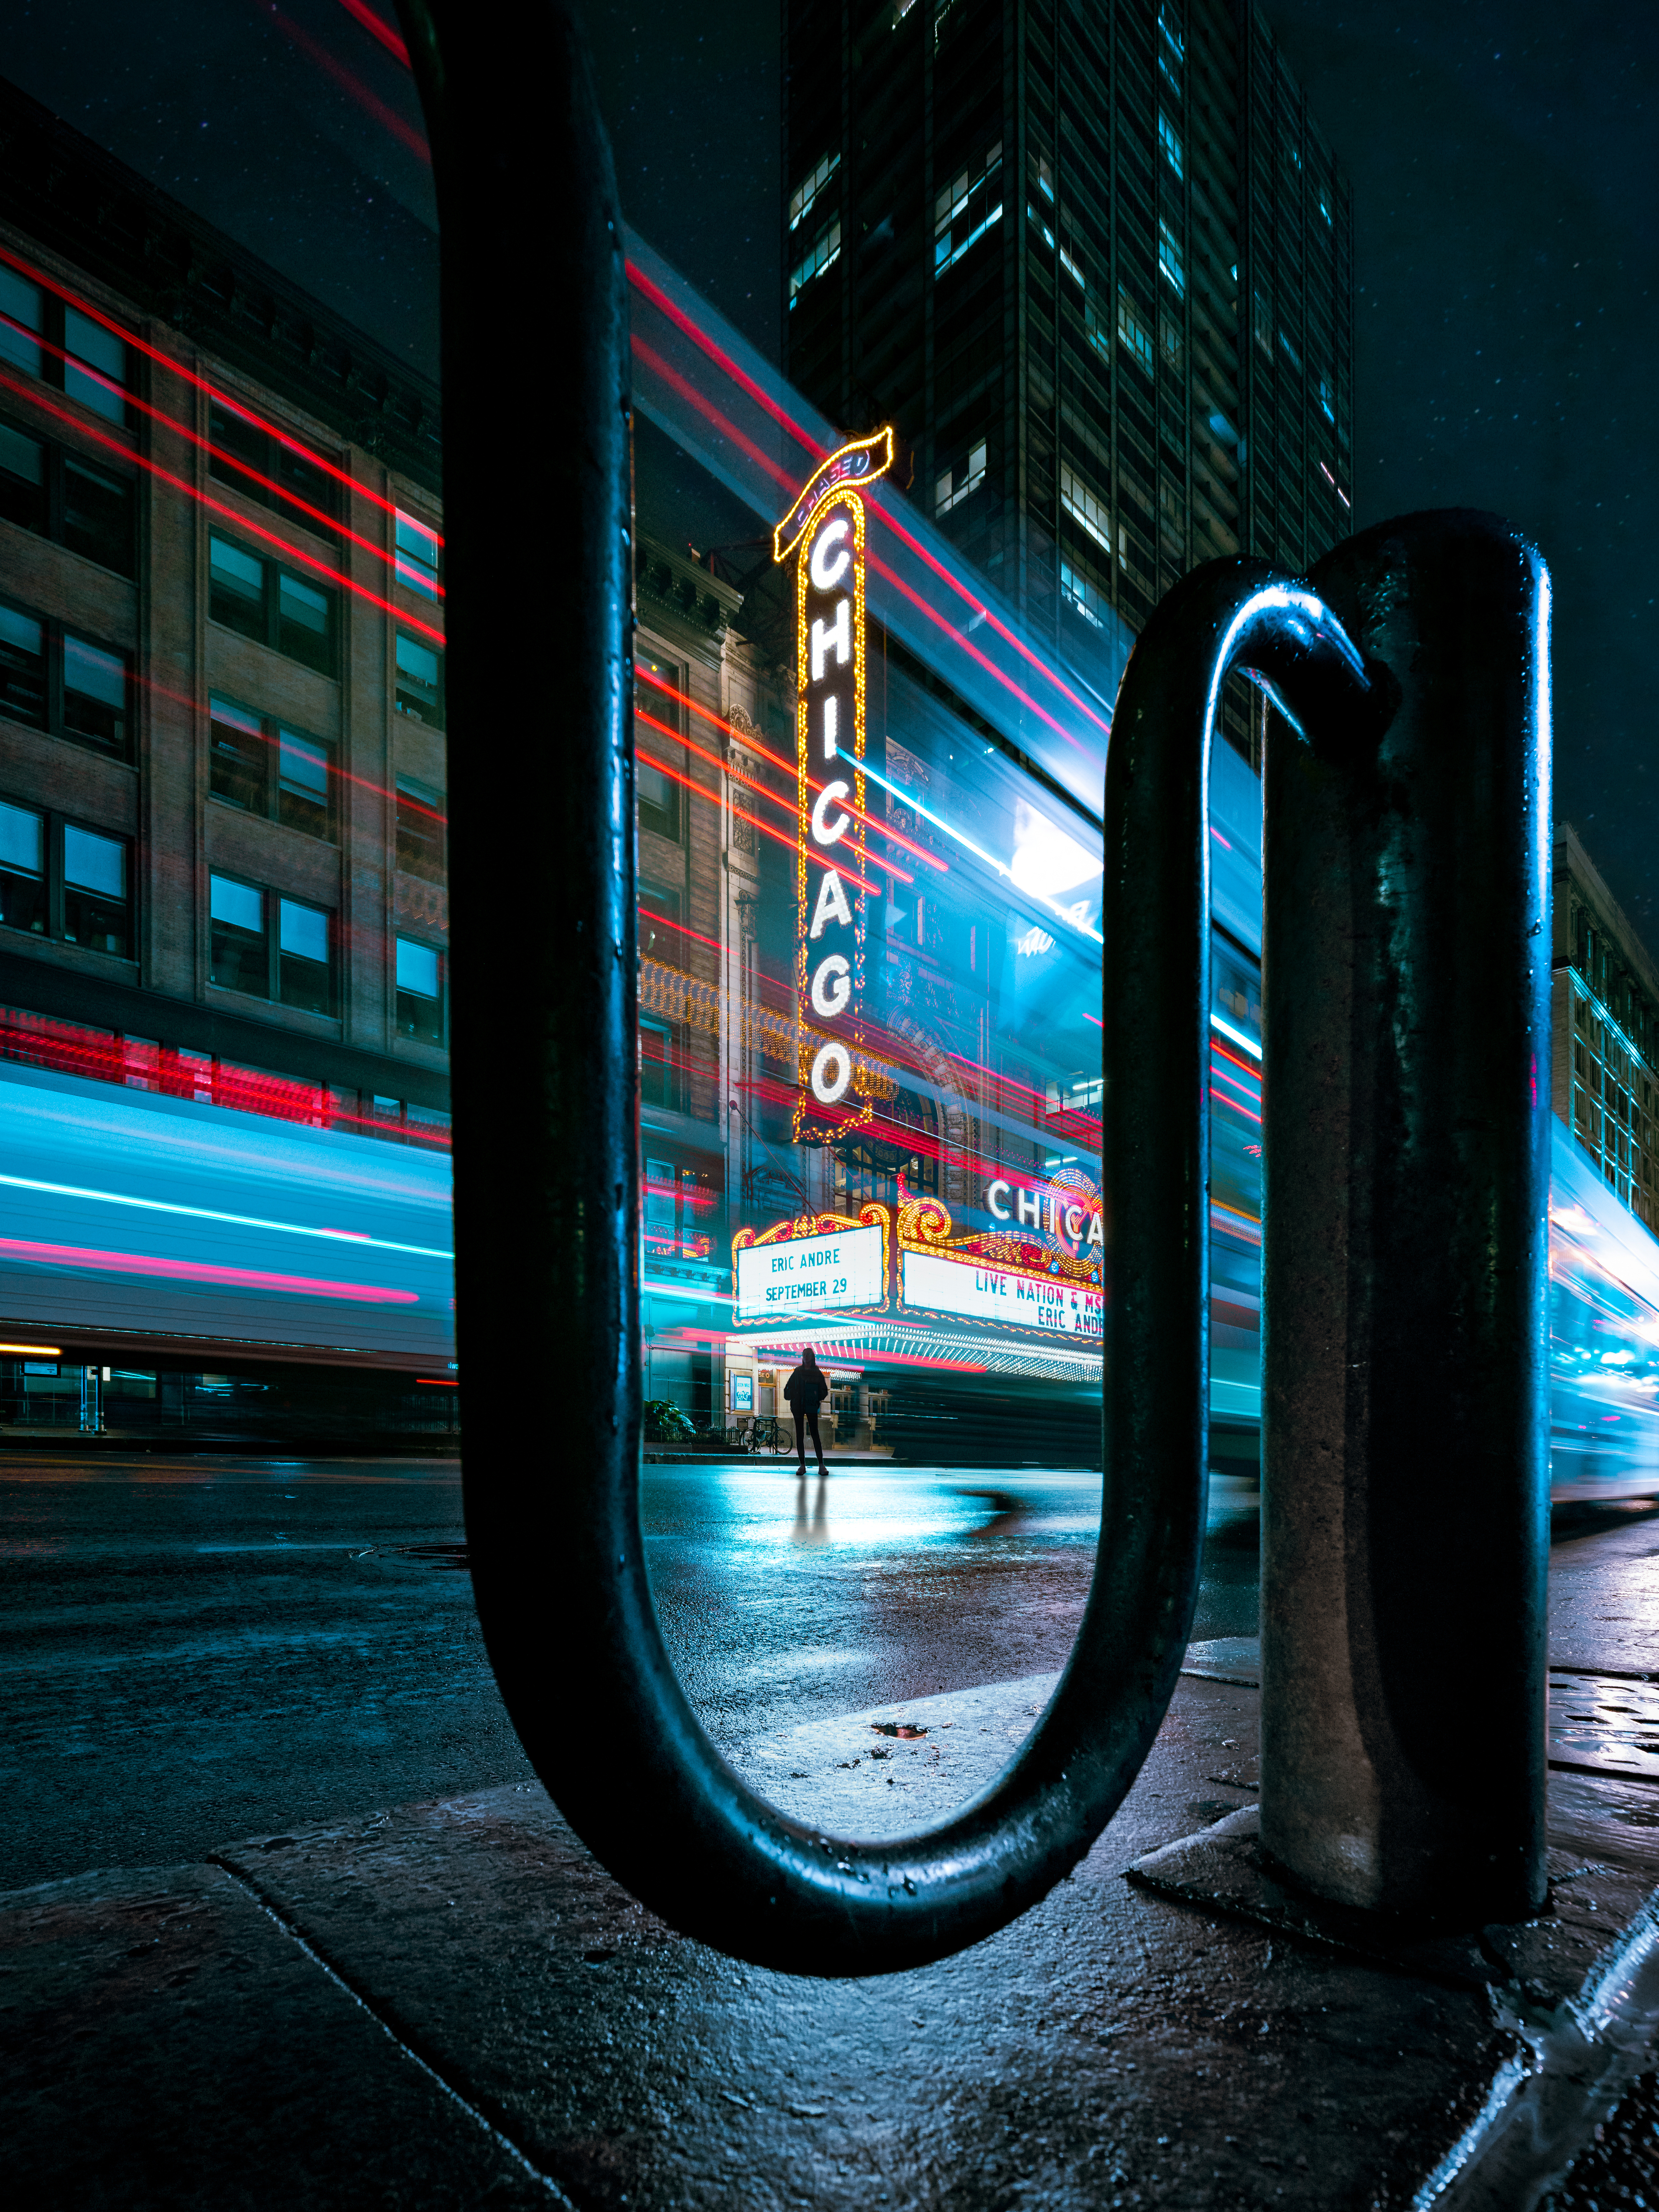
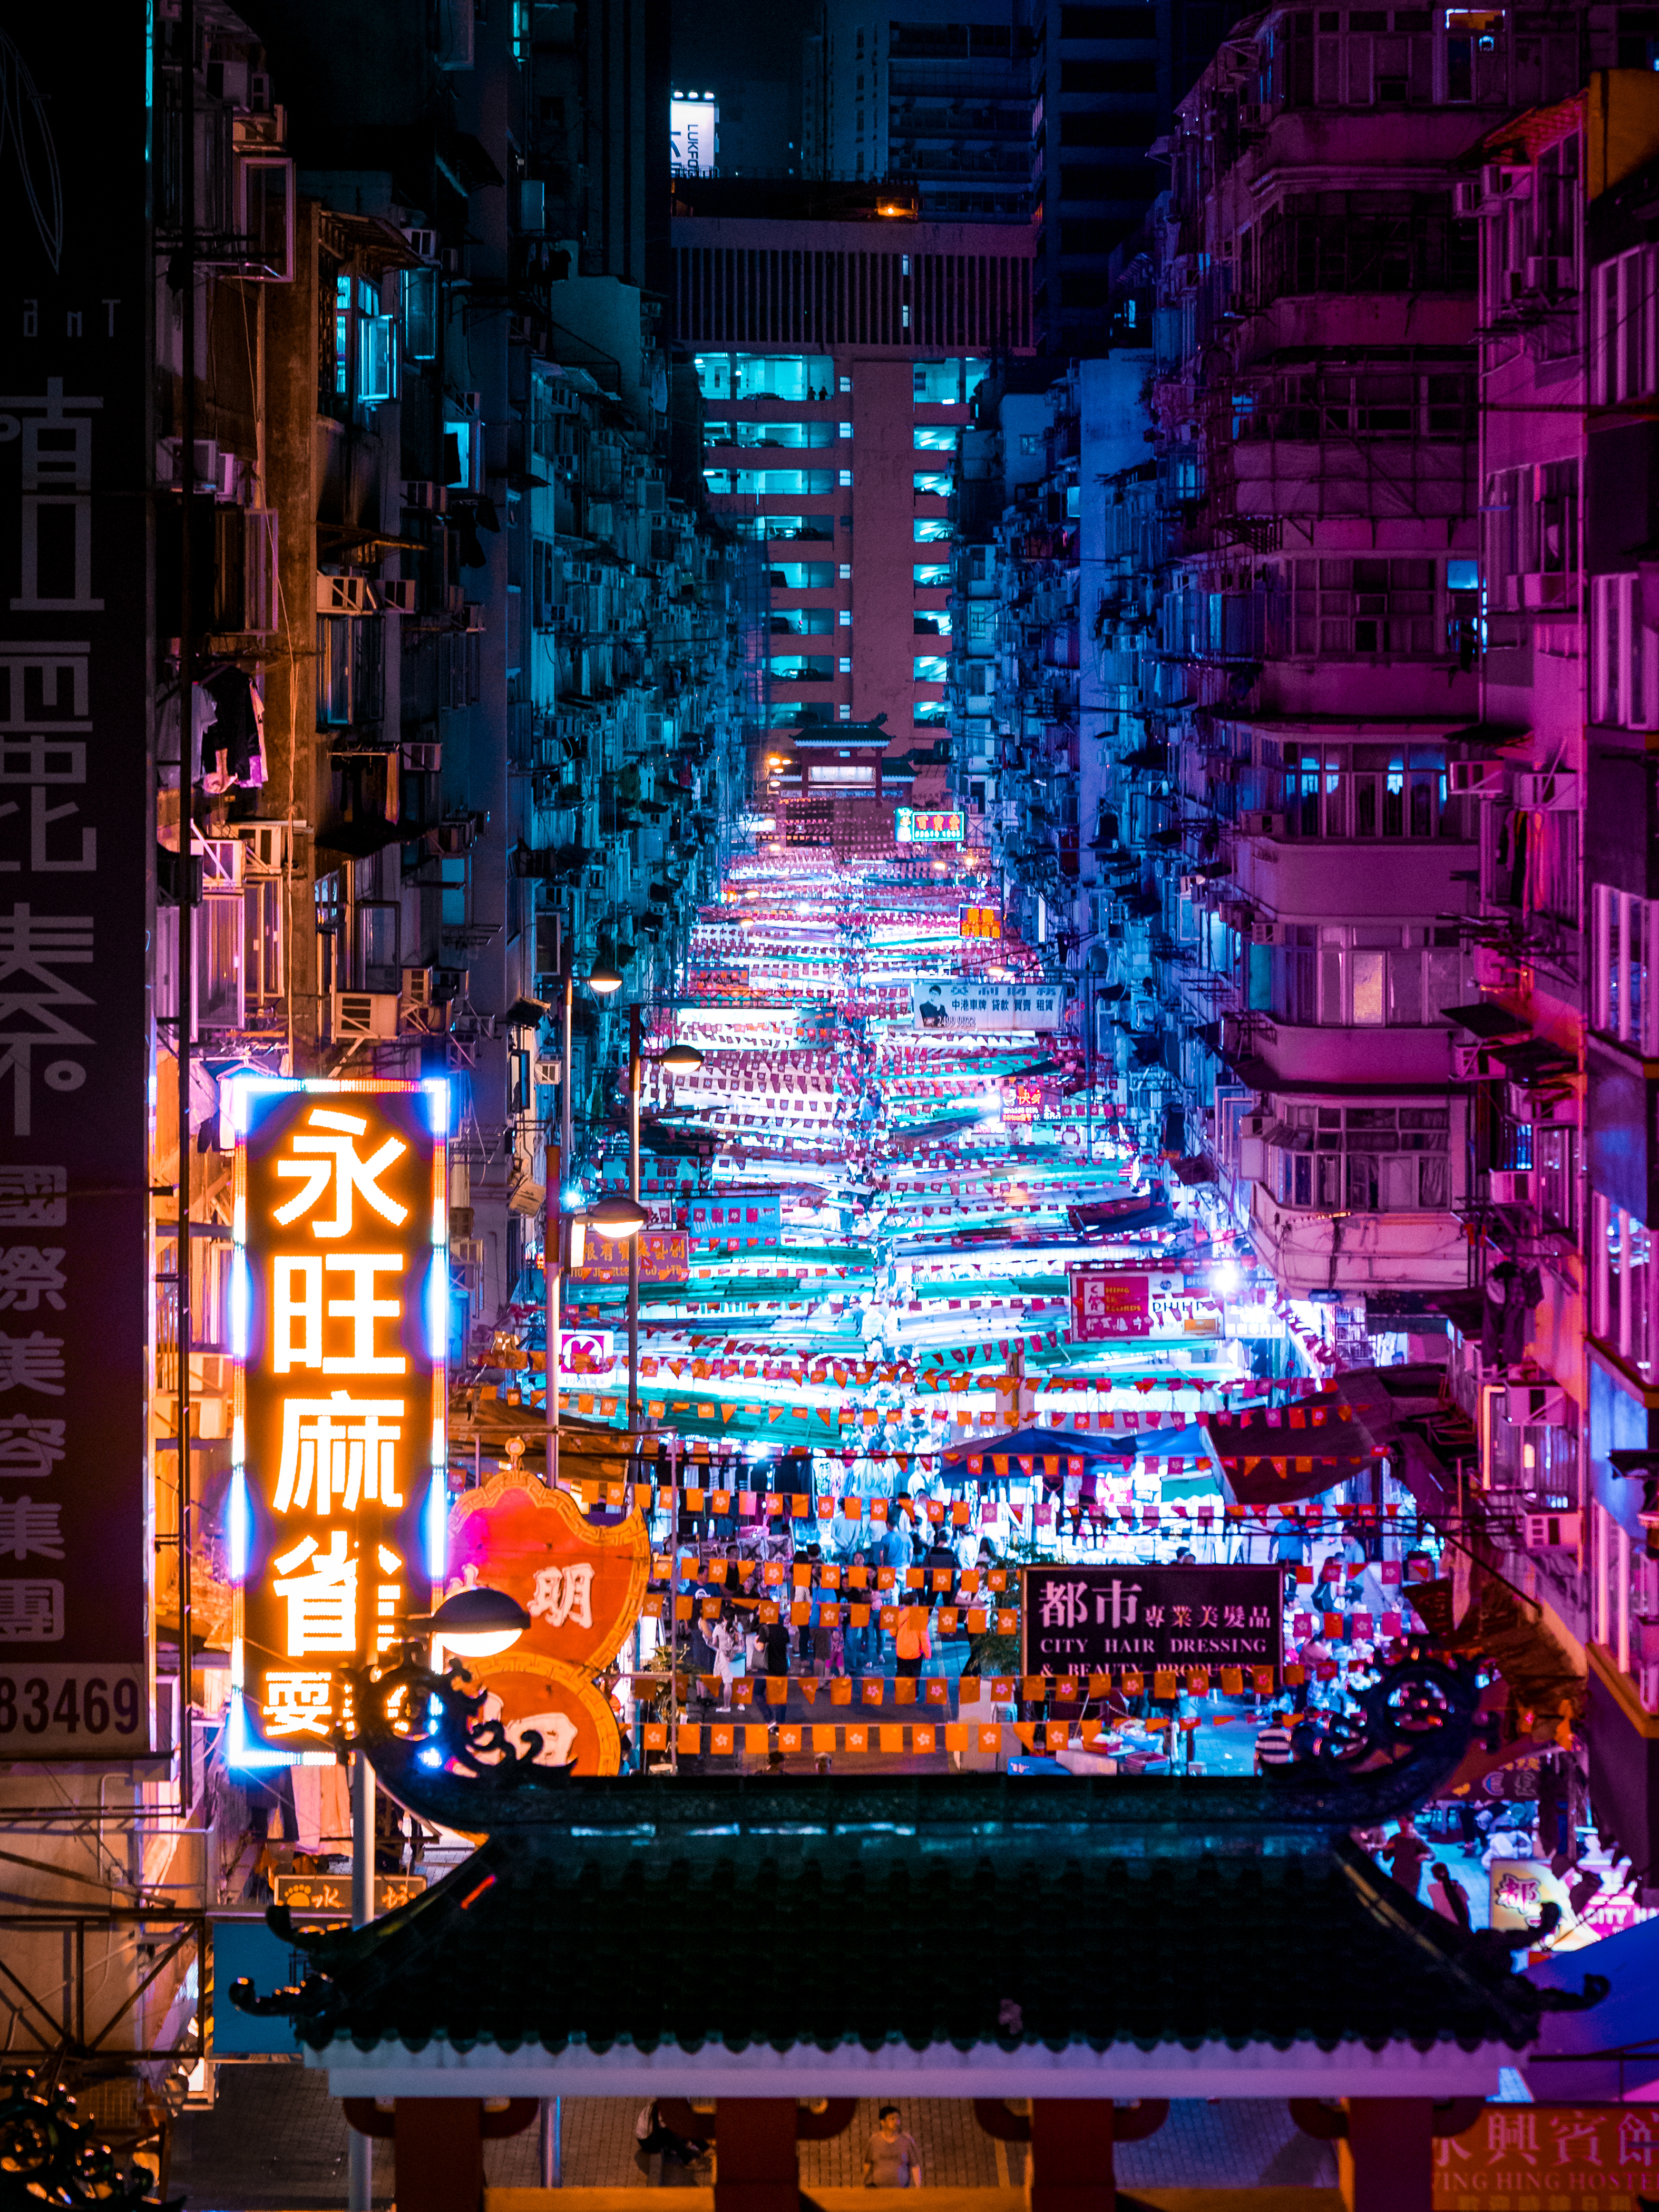
Night photography compositions benefit from the same techniques used in daytime shooting, but the presence of city lights, shadows, and reflections can make scenes even more dynamic. Using the rule of thirds, leading lines, and natural frames helps bring structure to the image. Reflections on wet roads, glass surfaces, or water can add depth and interest. Experimenting with low angles, high vantage points, and motion within the frame can dramatically change the feel of the photo.
Look for sources of light (not just your subject) to help construct your composition. Lights can act as anchors, leading lines, or even abstract patterns.
Editing your Night Photography
Editing plays a huge role in night photography, helping you bring out details hidden in shadows or tame highlights from bright artificial lights.
Start with adjusting your exposure, shadows, and highlights. Lifting the shadows can reveal important detail, while pulling down highlights helps recover blown-out lights, especially in city scenes. Adjusting contrast, clarity, and texture helps enhance the structure of the image.
Colour grading is where a lot of creativity comes in. You can cool down the tones to create a cinematic atmosphere or warm them up for a cozy street-lit feel. Look at images you admire for colour inspiration, then customise the tones to match your own style.
Modern AI noise reduction in Lightroom and Photoshop is extremely powerful. It can significantly restore detail to high-ISO images and remove grain without introducing unnatural smoothing. This is especially useful for handheld night photography or astrophotography.
Stacking multiple images allows you to:
-
Reduce noise
-
Create higher dynamic range
-
Expose foreground and backgrounds separately
This technique is especially effective for astrophotography, as it allows you to capture stars clearly while preserving detail in the landscape.
Overcoming Challenges in Night Photography
Mastering night photography takes practice, especially when dealing with exposure challenges, moving subjects, and unpredictable lighting. Using a tripod will immediately help you avoid camera shake, while adjusting aperture and shutter speed gives you control over the amount of light reaching the sensor.
Capturing moving subjects at night can be approached either creatively or technically. Using fast shutter speeds freezes action, while slower shutter speeds allow you to embrace motion through light trails or blur. This can add energy and storytelling to city scenes.
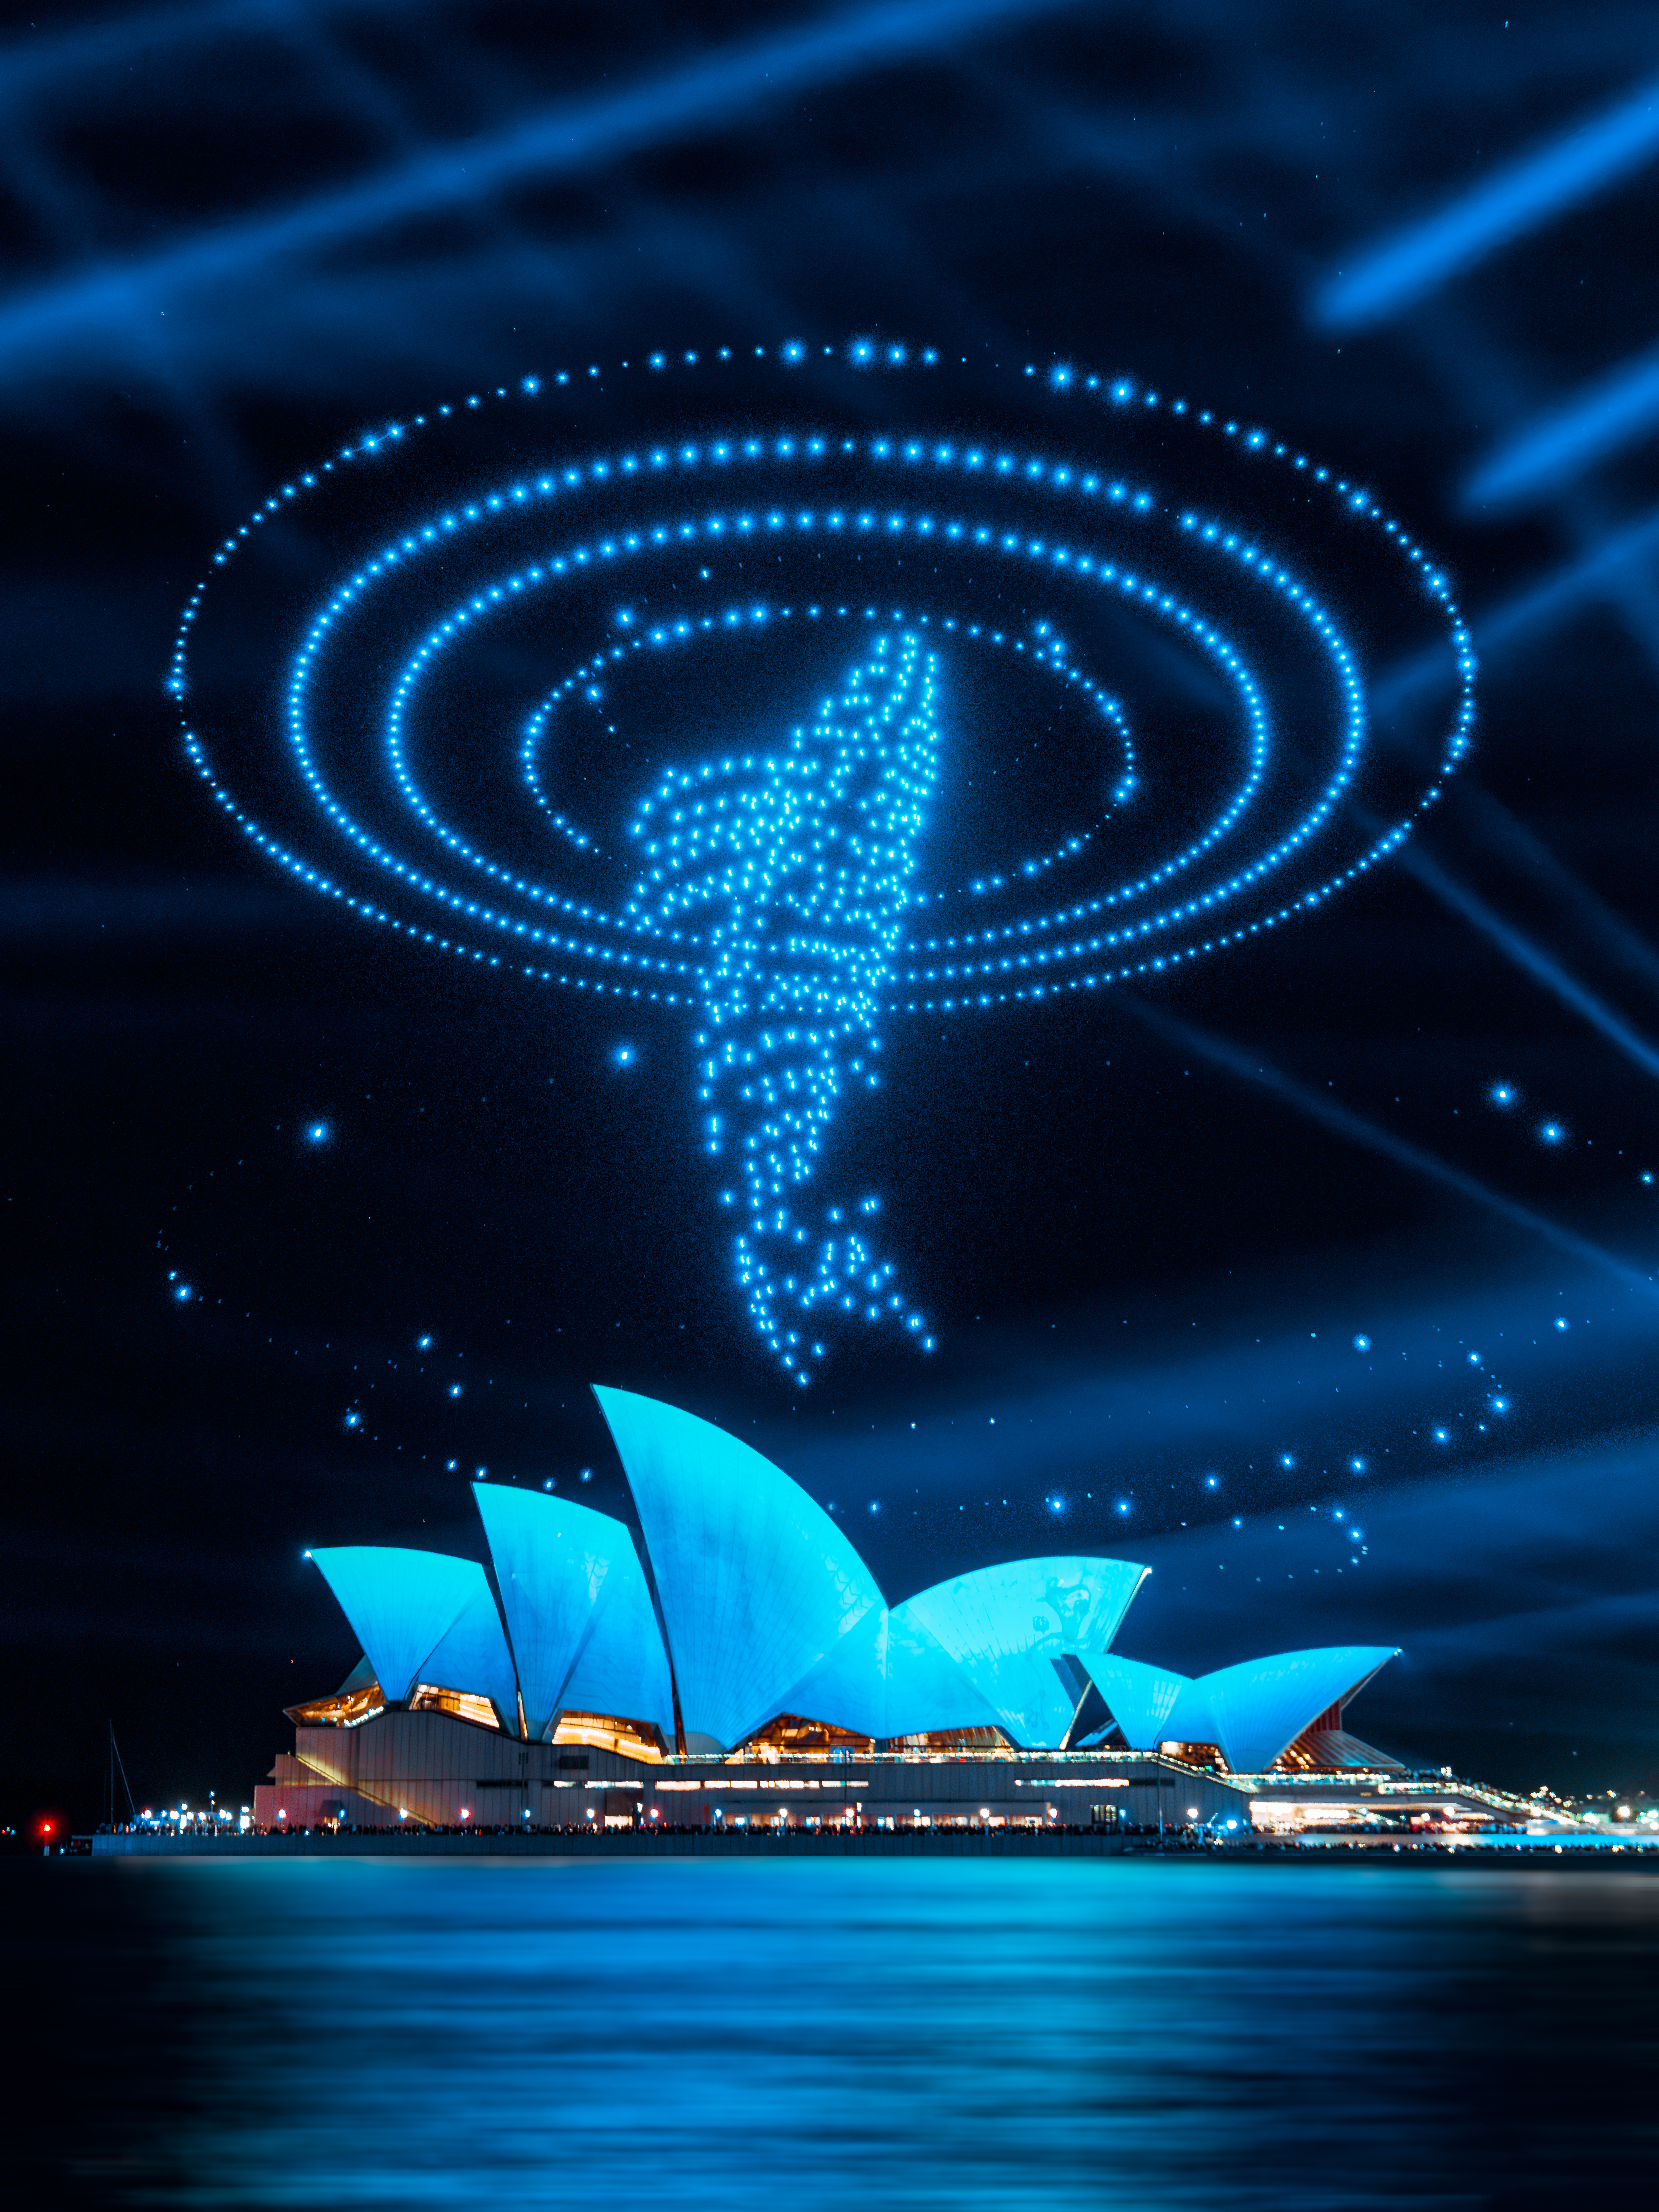
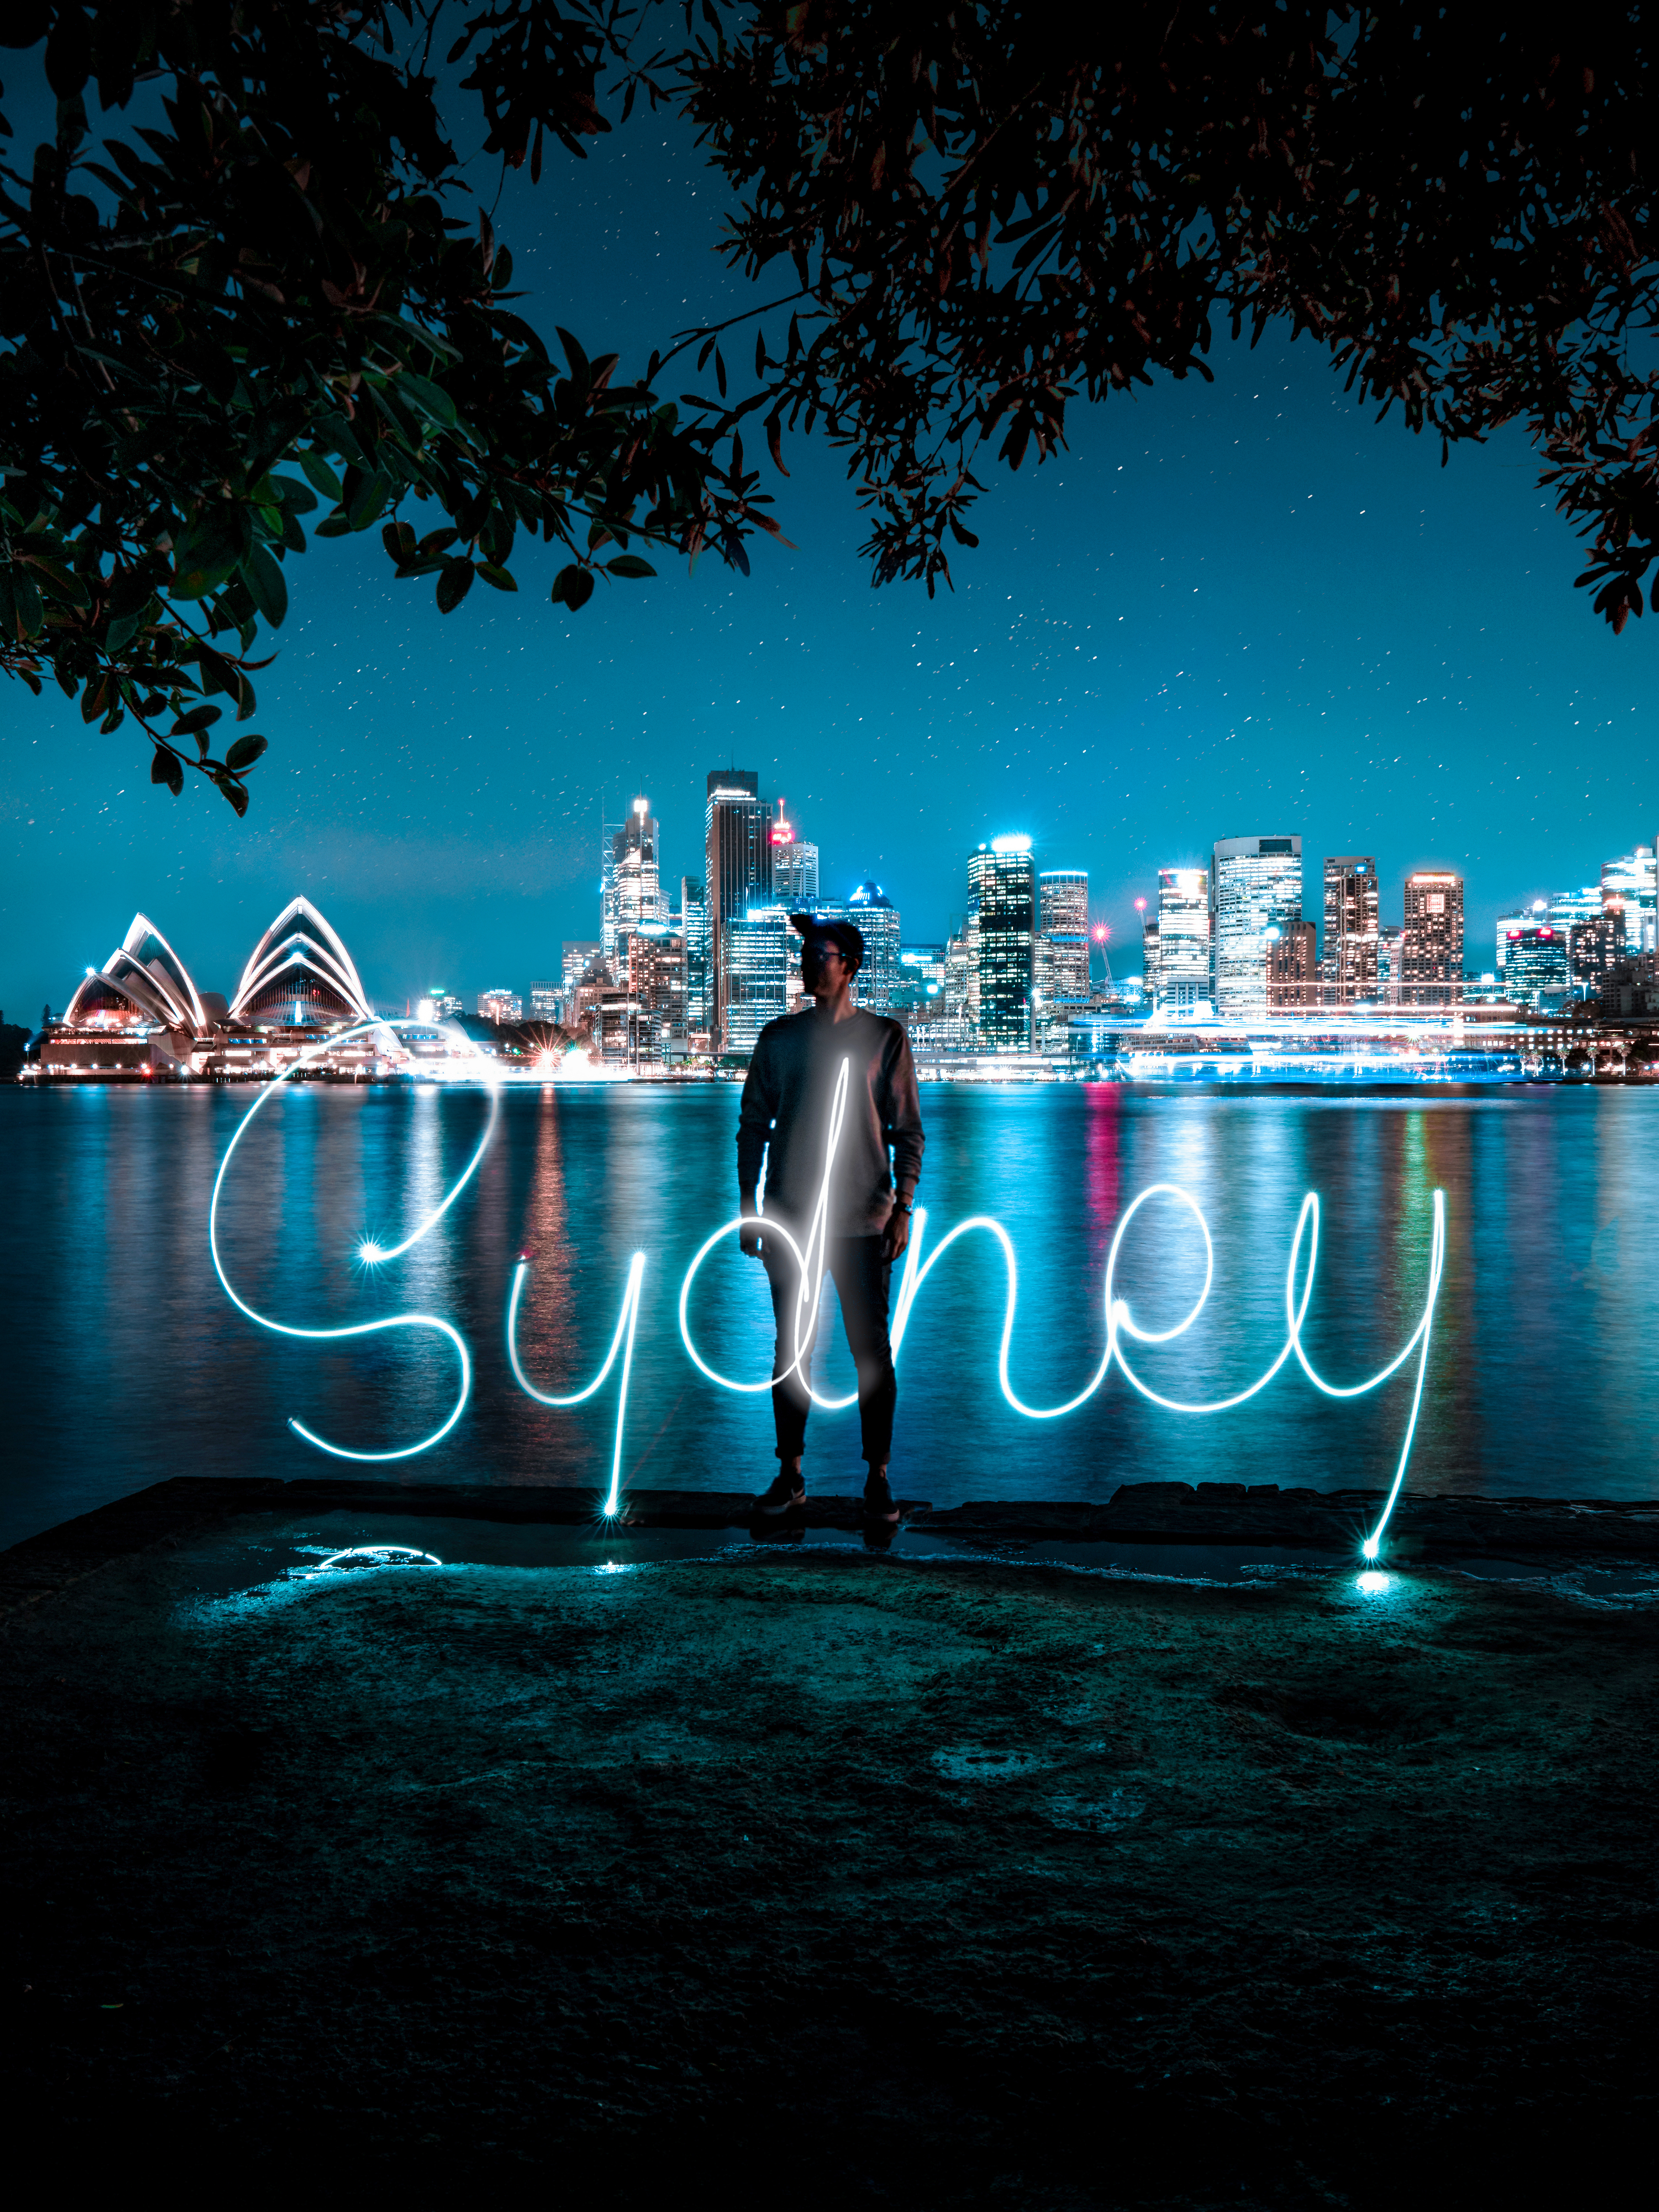
Night photography also opens the door to creative techniques like light painting, intentional camera movement, silhouettes against bright city backgrounds, and star tracking. These methods help you explore the artistic and experimental side of photography.
There’s no single correct way to approach night photography. The more you experiment, the more you’ll understand how light behaves and how to adjust your settings for different situations. Get out as often as you can, try new techniques, and enjoy the creative possibilities that come alive after dark!

Demas Rusli
Demas is a Sydney-based photographer/designer who pushes the boundaries of photography through unique perspectives and creative editing techniques. He specialises in urban, architecture, and aerial photography and has worked on international campaigns with brands such as Samsung, Adobe, DJI, Nike, and Etihad Airways.
By actively sharing his passions and expertise online over the past 10 years, Demas has accumulated an engaged audience of over 1.3M followers on social media.


