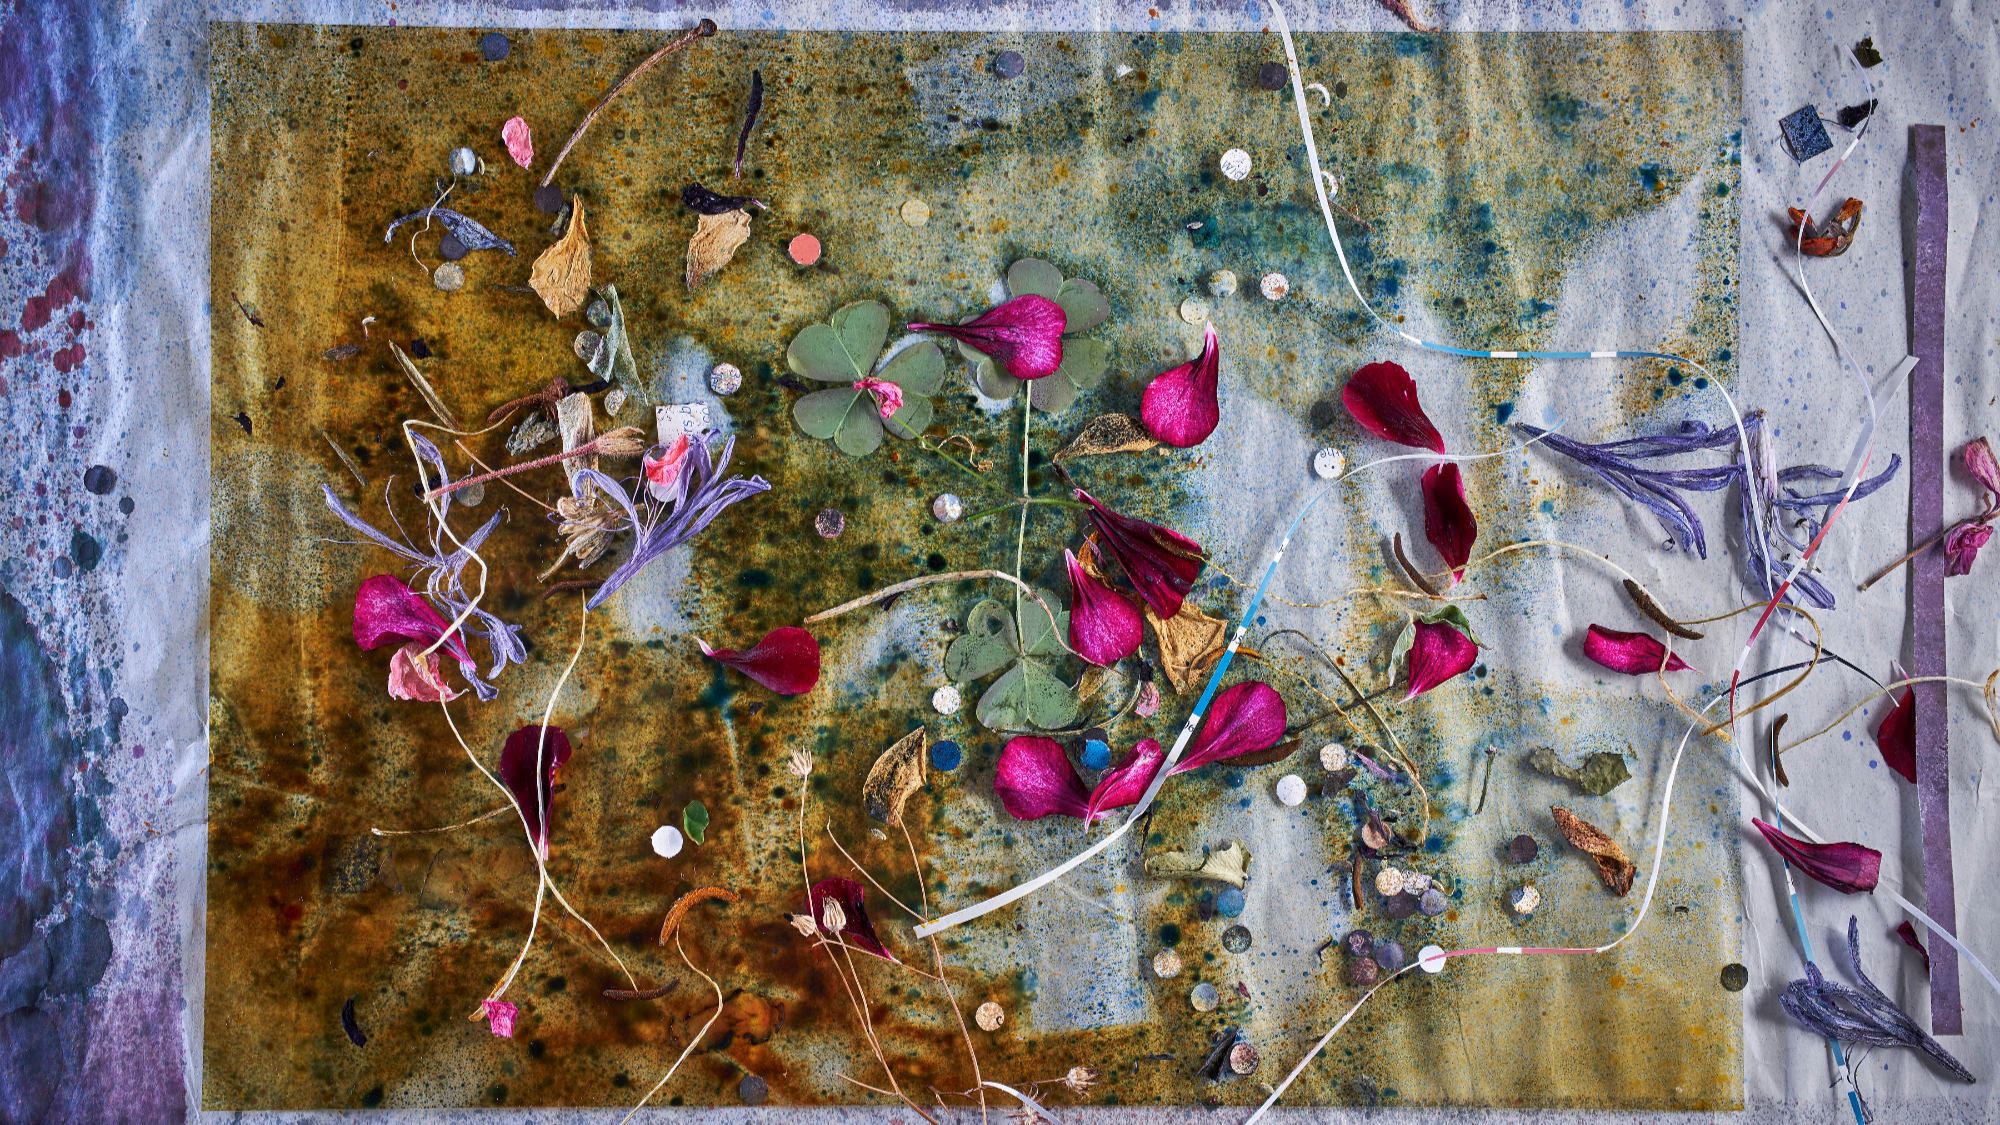
Almost all photographs I’ve made recently have been pixel shift images. To tell the truth, I was a little afraid to use pixel shift at first. But a few test shots later, I was hooked. I would now not consider any other way of making images that needed the utmost image quality. In the first instance, I was shooting for an exhibition in a public space in central Auckland. This called for prints that would work well when blown up to 1.3 metres across. By itself, the Sony Alpha 7R IV with a good lens is perfectly capable of delivering images with plenty of reserve of resolution and tonal subtlety, but I wanted more.
What is pixel shift?
The technology is well described in all the Sony literature. See here and here. (By the way, don’t confuse with the pixel shift function on Sony TV screens that prevents image retention or ’screen burn’ on OLED screens.)
I will keep to the important points. Pixel shift exploits the fact that the sensor can be shifted in a horizontal or vetival direction with extreme precision, thanks to the mechanism for in-body image stablisation. In this mode, the camera makes four separate images. In the Sony Alpha 7R III and Sony Alpha 7R IV, each shot after the first, the sensor is pushed by the space of one pixel down, to one side, then up. The movement is about 0.0045mm (that’s about a fiftieth of the width of your 0.1mm thick hair). Each shot generates a new, very, very slightly different image. This means that each pixel receives data about brightness and colour four times - once for red and blue, twice for green. Once processed, you get a scrumptious image full of detail, tonal smoothness and almost free of aliasing and moiré.

In addition, the Sony Alpha 7R IV offers a pixel shift mode to rule them all: the 16-shot pixel shift moves the sensor just half a pixel width at a time to deliver either an awesome 240.8 MP image (19,008 x 12,672 pixels) or four images of 61 MP from each set of four. There’s no question that the Big Mamma file delivers utmost detail, tonal smoothness and moiré suppression. But remember it’s 2GB worth of data, takes a lot of computer grunt and RAM to compute each image. But, all good things come to those who wait: if you need it, it’s truly worth the effort.
Let's return to the 4-shot shift. Normally, digital images are created by what amounts to mathematical guesswork called colour filter array interpolation. But with the pixel shifted images, the final image doesn’t need any guesswork at all because each pixel carries all the data it needs. Nonetheless, the four images need to be stacked into one beautiful, rich and detailed image. Sony's free Imaging Edge software will do this, as will PixelShift2DNG.
Don’t move!
The key requirement in pixel shift photography is to have no changes at all between the four shots. No movement in either camera or subject, and not even a change in lighting. If the difference between two or more shots is big enough, the software can’t compute the stack and will reject the whole lot. If differences are very subtle, such as movement of cloud over a clear sky, you will be able to use one of the four images to provide a static image through masking a composite. Even if movements are minuscule, they can cause artefacts, particularly at image edges. Even when a draught from my moving around made a leaf in a still life move a tiny bit, the result showed a bright red artefact line.
Advantages
You might think that the main advantage of pixel shifting is increased resolution. Certainly the increase in there - if you dig around at pixel level. This means in practice working with prints over 1 metre wide. And how often do you do that?

For me, the greatest gain is in the highlights. Details in what would be blown-out highlights are nicely recovered. Unlike using highlight recovery tools, the details come out in a natural tonality. You don’t create artificially dense mid-tones, but subtly low contrast resolution. At the same time, tonal gradations are smoother. This kind of performance makes the Alpha 7R IV snap at the heels of big medium format cameras.
There were times the lighting I used called for exposures longer than the camera’s timed 30 seconds with an aperture of f/11. It’s a common experience that you can allow the image to be underexposed by more than 2 stops, and still recover an excellent image (the main image was more than 2 stops under).
Workflow
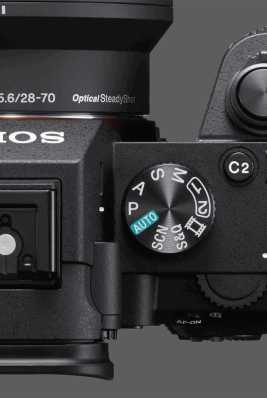
For the whole period of New Zealand’s lockdown, I’ve been using pixel shift photography to make copy stand images of artwork and still life arrangements - over 800 images. I used an Alpha 7R IV on a copy stand, set it to aperture priority, and mounted the Zeiss 50mm f/1.4 lens set to f/11.
There are three ways to transfer images to the computer. You can take up the SD card and use a card reader. You can connect the camera directly to the computer using the USB C port. Or you can send them wirelessly. For this, you need to tell the camera which computer to talk to (register with the local WiFi using the log-in) and define a receiving folder using Imaging Edge (my preferred method).
Here’s my workflow:
- Once I’ve framed up the arrangement, I turn all lights fully to light the subject and use auto-focus for preliminary focus.
- I zoom into the screen image using focus assist to check focus, using the joystick to move around my image.
- If I need to I’ll re-focus manually to touch up focus to where I want it.
- I return to normal size image on the screen, then set the lights to suit the subject.
- The camera has been set on 10sec self-timer to minimise vibration. For pixel shift mode, the shutter is automatically set to electronic, so there’s no vibration at all. During long exposures I don’t even walk around my studio in case I cause any movement in the copy stand or disturb the air (yes; a reminder that it's that sensitive).
- After I’ve made a set of images, I send them to the computer. I’ve set this up as a custom key so it’s only one click to ‘Send to computer’, and click ‘OK’ to get it off (if the SD card is in default slot 1).
- I check that connection has been made and let it run. It can take many minutes to send these big files over the wifi network. While camera is communicating to computer, it’s best to avoid using the internet in any way: no emailing, not web browsing. My experience is that this can sometimes break the connection between camera and computer even though my internet is accessed through Ethernet.
The upload method is very sound: the system creates a folder with the day’s date, then drops in all the images. If you shoot more later that day, the system remembers which images have been uploaded and starts with the new images. If upload is interrupted, click ‘cancel’ on the camera, turn it off and start again: the system picks up from the last fully uploaded file.

Once the upload is complete, the software tells you, and it can take you to the folder. Then you can use Imaging Edge or other software to convert the four images into one, and import the resulting raw file into your favourite image manipulation software.
I love it! While obviously it’s limited to the speed of your WiFi, wireless upload beats fiddling with the SD card or plugging and unplugging the USB cable. Keeping track automatically of uploaded files is also a big convenience.
Worth the work
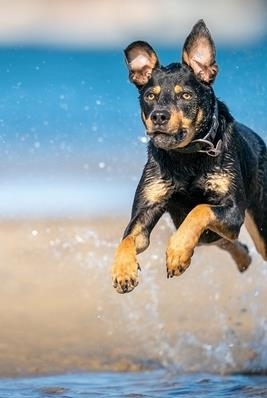
If you are an architecture, still life and even a landscape photographer, give yourself a treat and make some pixel shift images. Particularly if you’re a pixel peeper and worry about whether you have capture enough detail or not. If a clearly defined part of the scene is moving, and the rest is still, such as a waterfall, you can still a capture pixel shifted image, then shoot the water separately or use one of the set for later compositing.
I promise you, it’s well worth the work.


