


Your Camera Bag Guide To: Wildlife Photograph
Wildlife photography is one of the most exhilarating genres — unpredictable and challenging, but incredibly rewarding! Whether you’re aiming to capture the power of a lion, the elegance of a bird in flight, or the stillness of a giraffe in the setting sun, the right setup and preparation makes all the difference. This camera guide to wildlife photography breaks down everything you need to know, helping you choose the best gear, pack efficiently and capture striking imagery on your next wildlife adventure
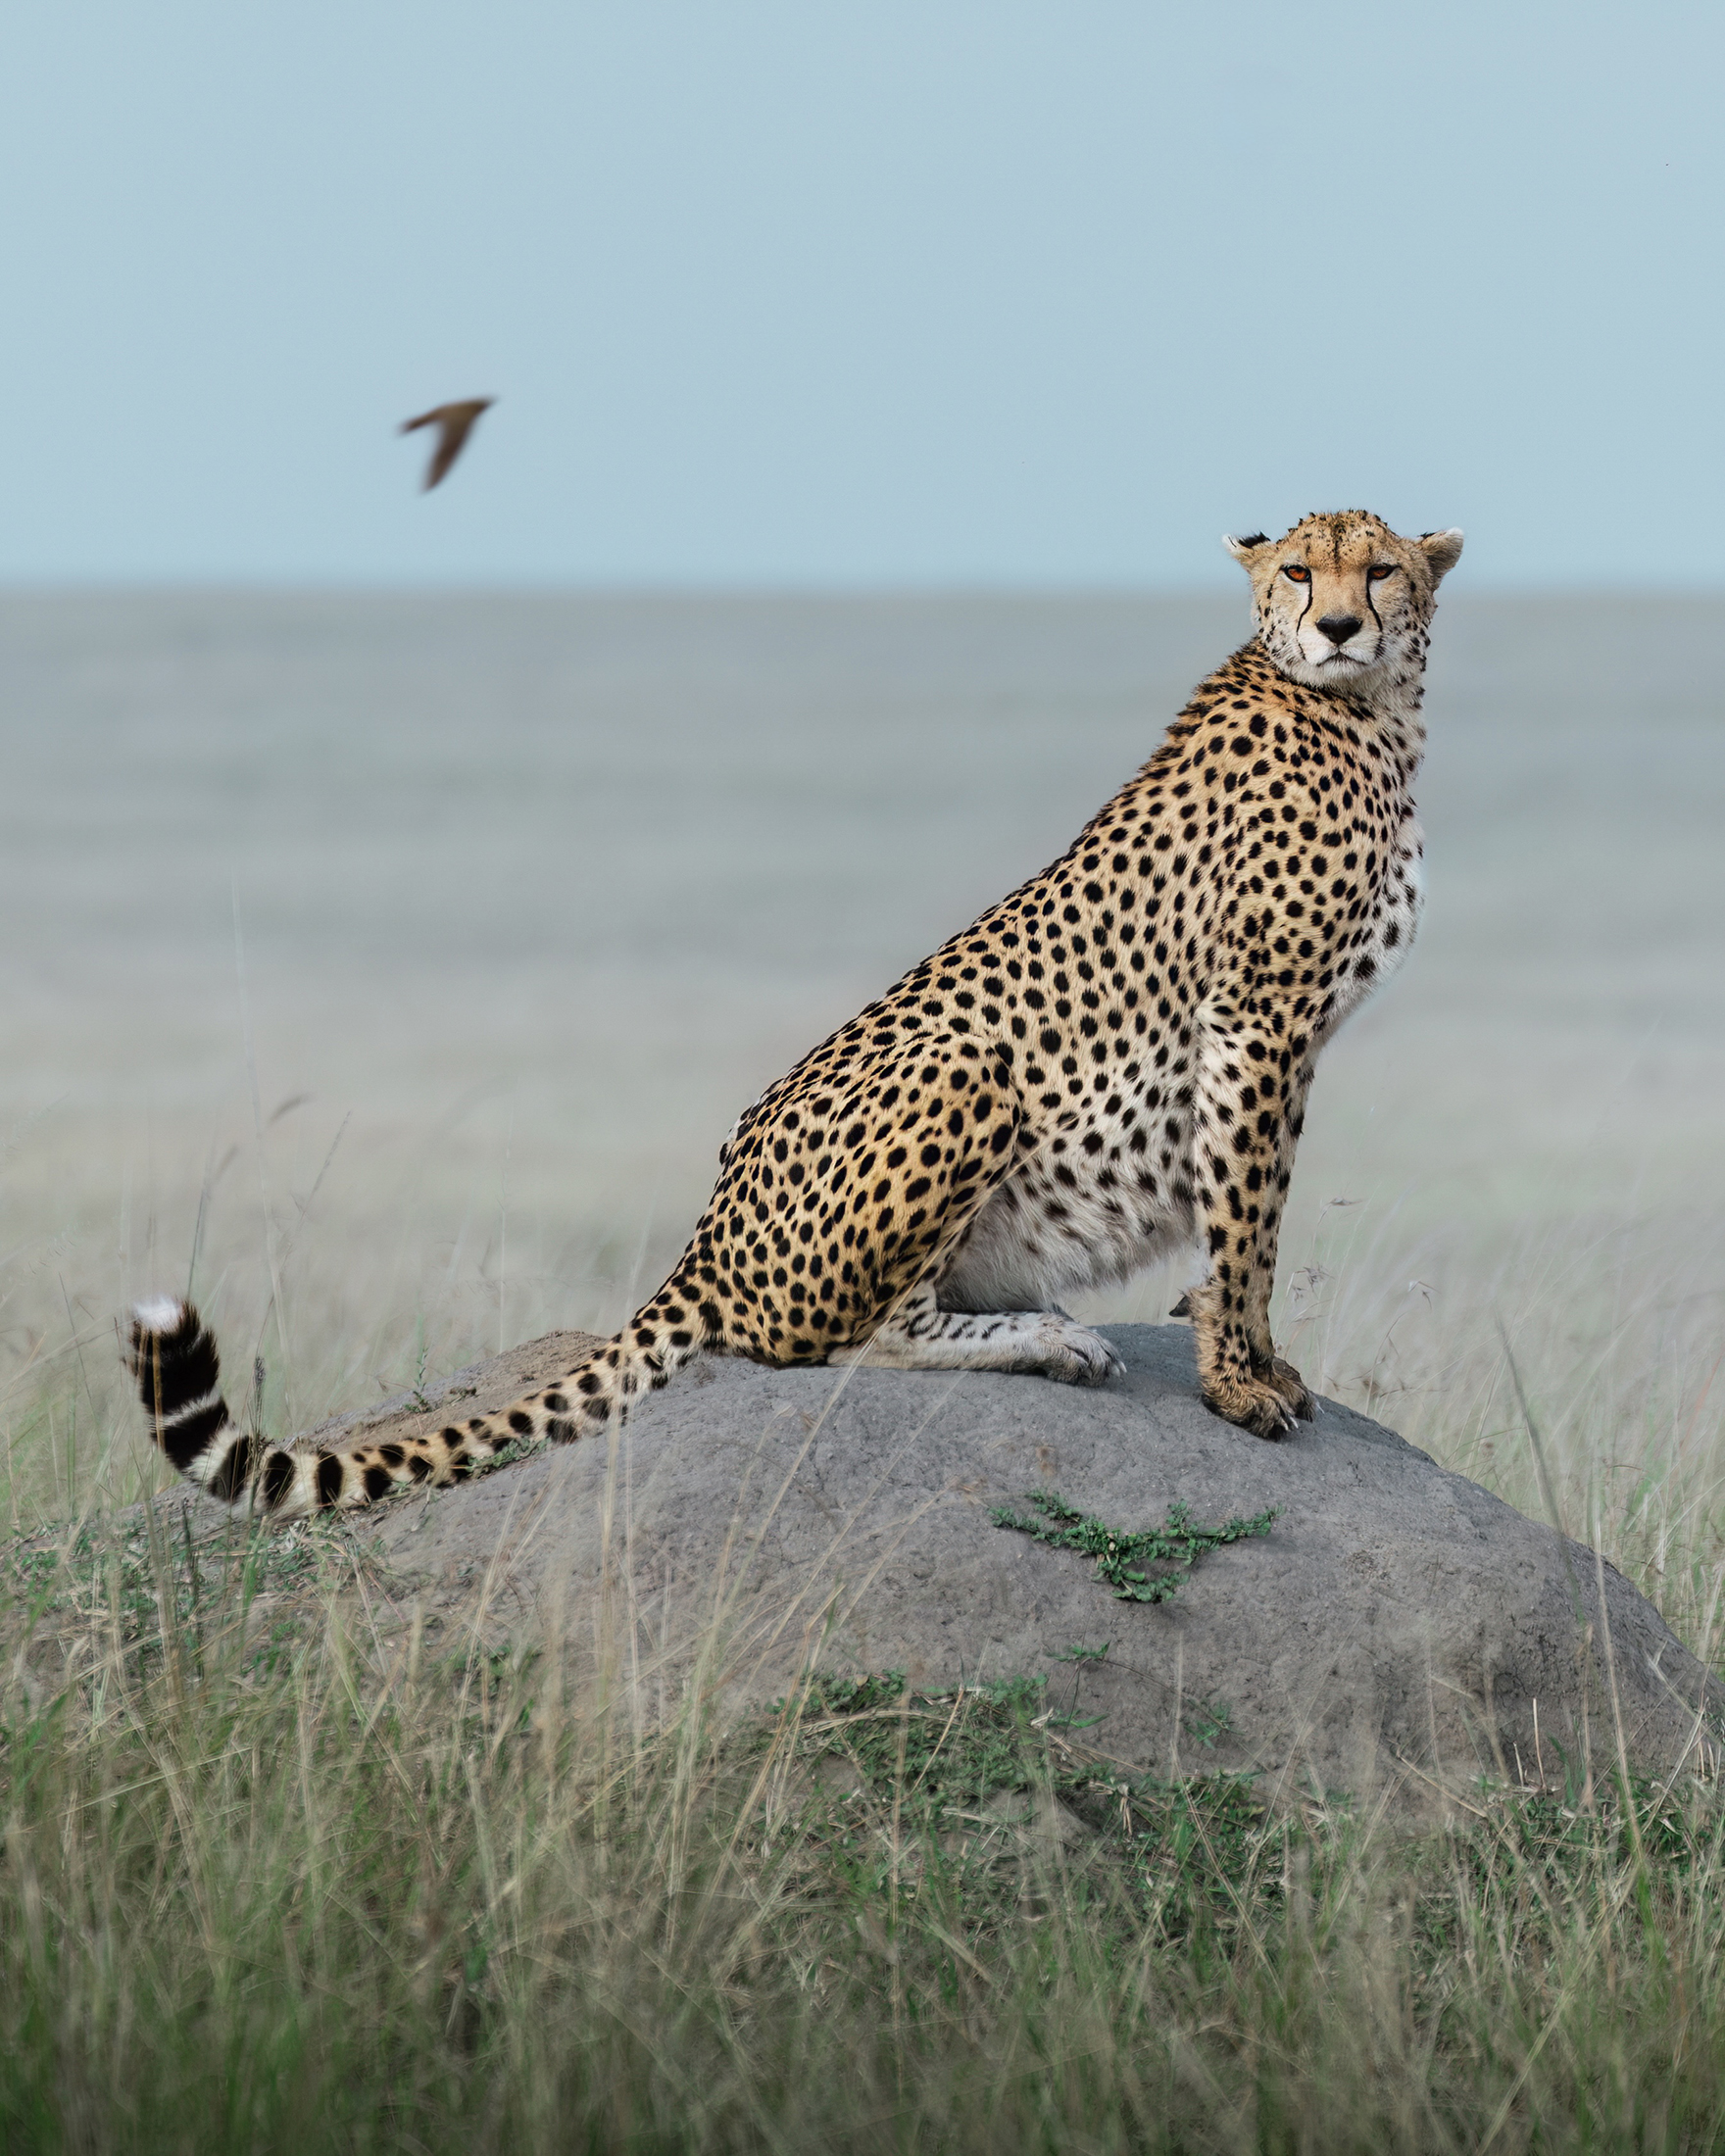
Sony A1II & 400mm f/2.8 GM | 1/4000 sec | f/2.8 | ISO 640
Essential Equipment
Choosing the Right Camera Body
Wildlife photography presents a set of unique challenges; subjects move quickly, constantly shifting between lighting conditions and unpredictable environments. Because of this, choosing a camera body should be done with a lot of intention. In the field you want your gear to aid your creative vision, not work against it!
You want to look for a body that has fast continuous shooting (ideally 10-30 fps), reliable autofocus tracking, a flip-out screen for low-angle shooting, and a suitable megapixel count that allows for comfortable cropping during post-production.
There are many additional factors involved such as budget, weight, and the style of imagery you’d like to create that will also play a significant role in your decision-making. While full-frame sensors are going to offer excellent dynamic range and stronger low-light performance, APS-C bodies are lighter, cheaper, and give you extra reach due to their crop factor.
Identifying which of these factors matters most to you will guide you toward the most suitable camera body for your wildlife photography adventures!
Selecting Versatile Lenses
After spending a few days in the wild, you’ll quickly realise that animals rarely appear where you think they will. You never quite know where wildlife will pop up or how close they’ll be, which is why choosing the right lenses, prioritising versatility, is essential. The goal is to maintain a safe, respectful distance while also selecting focal lengths that suit your photography style.
As a general guide, the 70-300mm range works wonders for animals within their environment (depending on the location), 300-500mm is excellent for wildlife portraits (particularly portraits of mammals), and for birds or animals in distant landscapes, 500mm and beyond is generally needed.
Selecting a lens that can handle a variety of situations will be incredibly helpful in ever-changing environments, or similarly carrying two bodies — one with a longer telephoto and one with a wider option — will mean that you’re always ready without needing to change lenses!
Sony Camera and Lenses for Safari
With all of that being said, here are the Sony cameras and lenses that I’d personally recommend, depending on your overall budget and needs:
Alpha 1 II - Flagship camera, blazing fast autofocus, 30 fps shooting and amazing dynamic range.
Alpha 7R V - 61-megapixels, outstanding image quality (great for printing at large scale).
Alpha 9 III - Ideal for high-speed action with 120 fps burst shooting.
Alpha 7 IV - An incredible all-rounder at a cheaper price!
Alpha 6700 - Amazing APS-C option for extra reach and portability.
FE 100-400mm GM super-telephoto zoom lens & FE 200-600mm F5.6-6.3 G OSS lens - perfect telephoto zoom options, incredibly versatile!
FE 400-800 mm F6.3-8 G OSS Telephoto Zoom Lens - perfect for birders or for photographing wildlife in distant landscapes.
FE 70-200mm F2.8 GM OSS lens & FE 50-150mm F2 GM - great options for larger animals or for creating photos of wildlife in their environment. Also amazing in lowlight!
OR if you prefer prime lenses, the FE 300mm F2.8 GM OSS , FE 400mm F2.8 GM OSS & FE 600mm F4 GM OSS are definitely worth looking into!

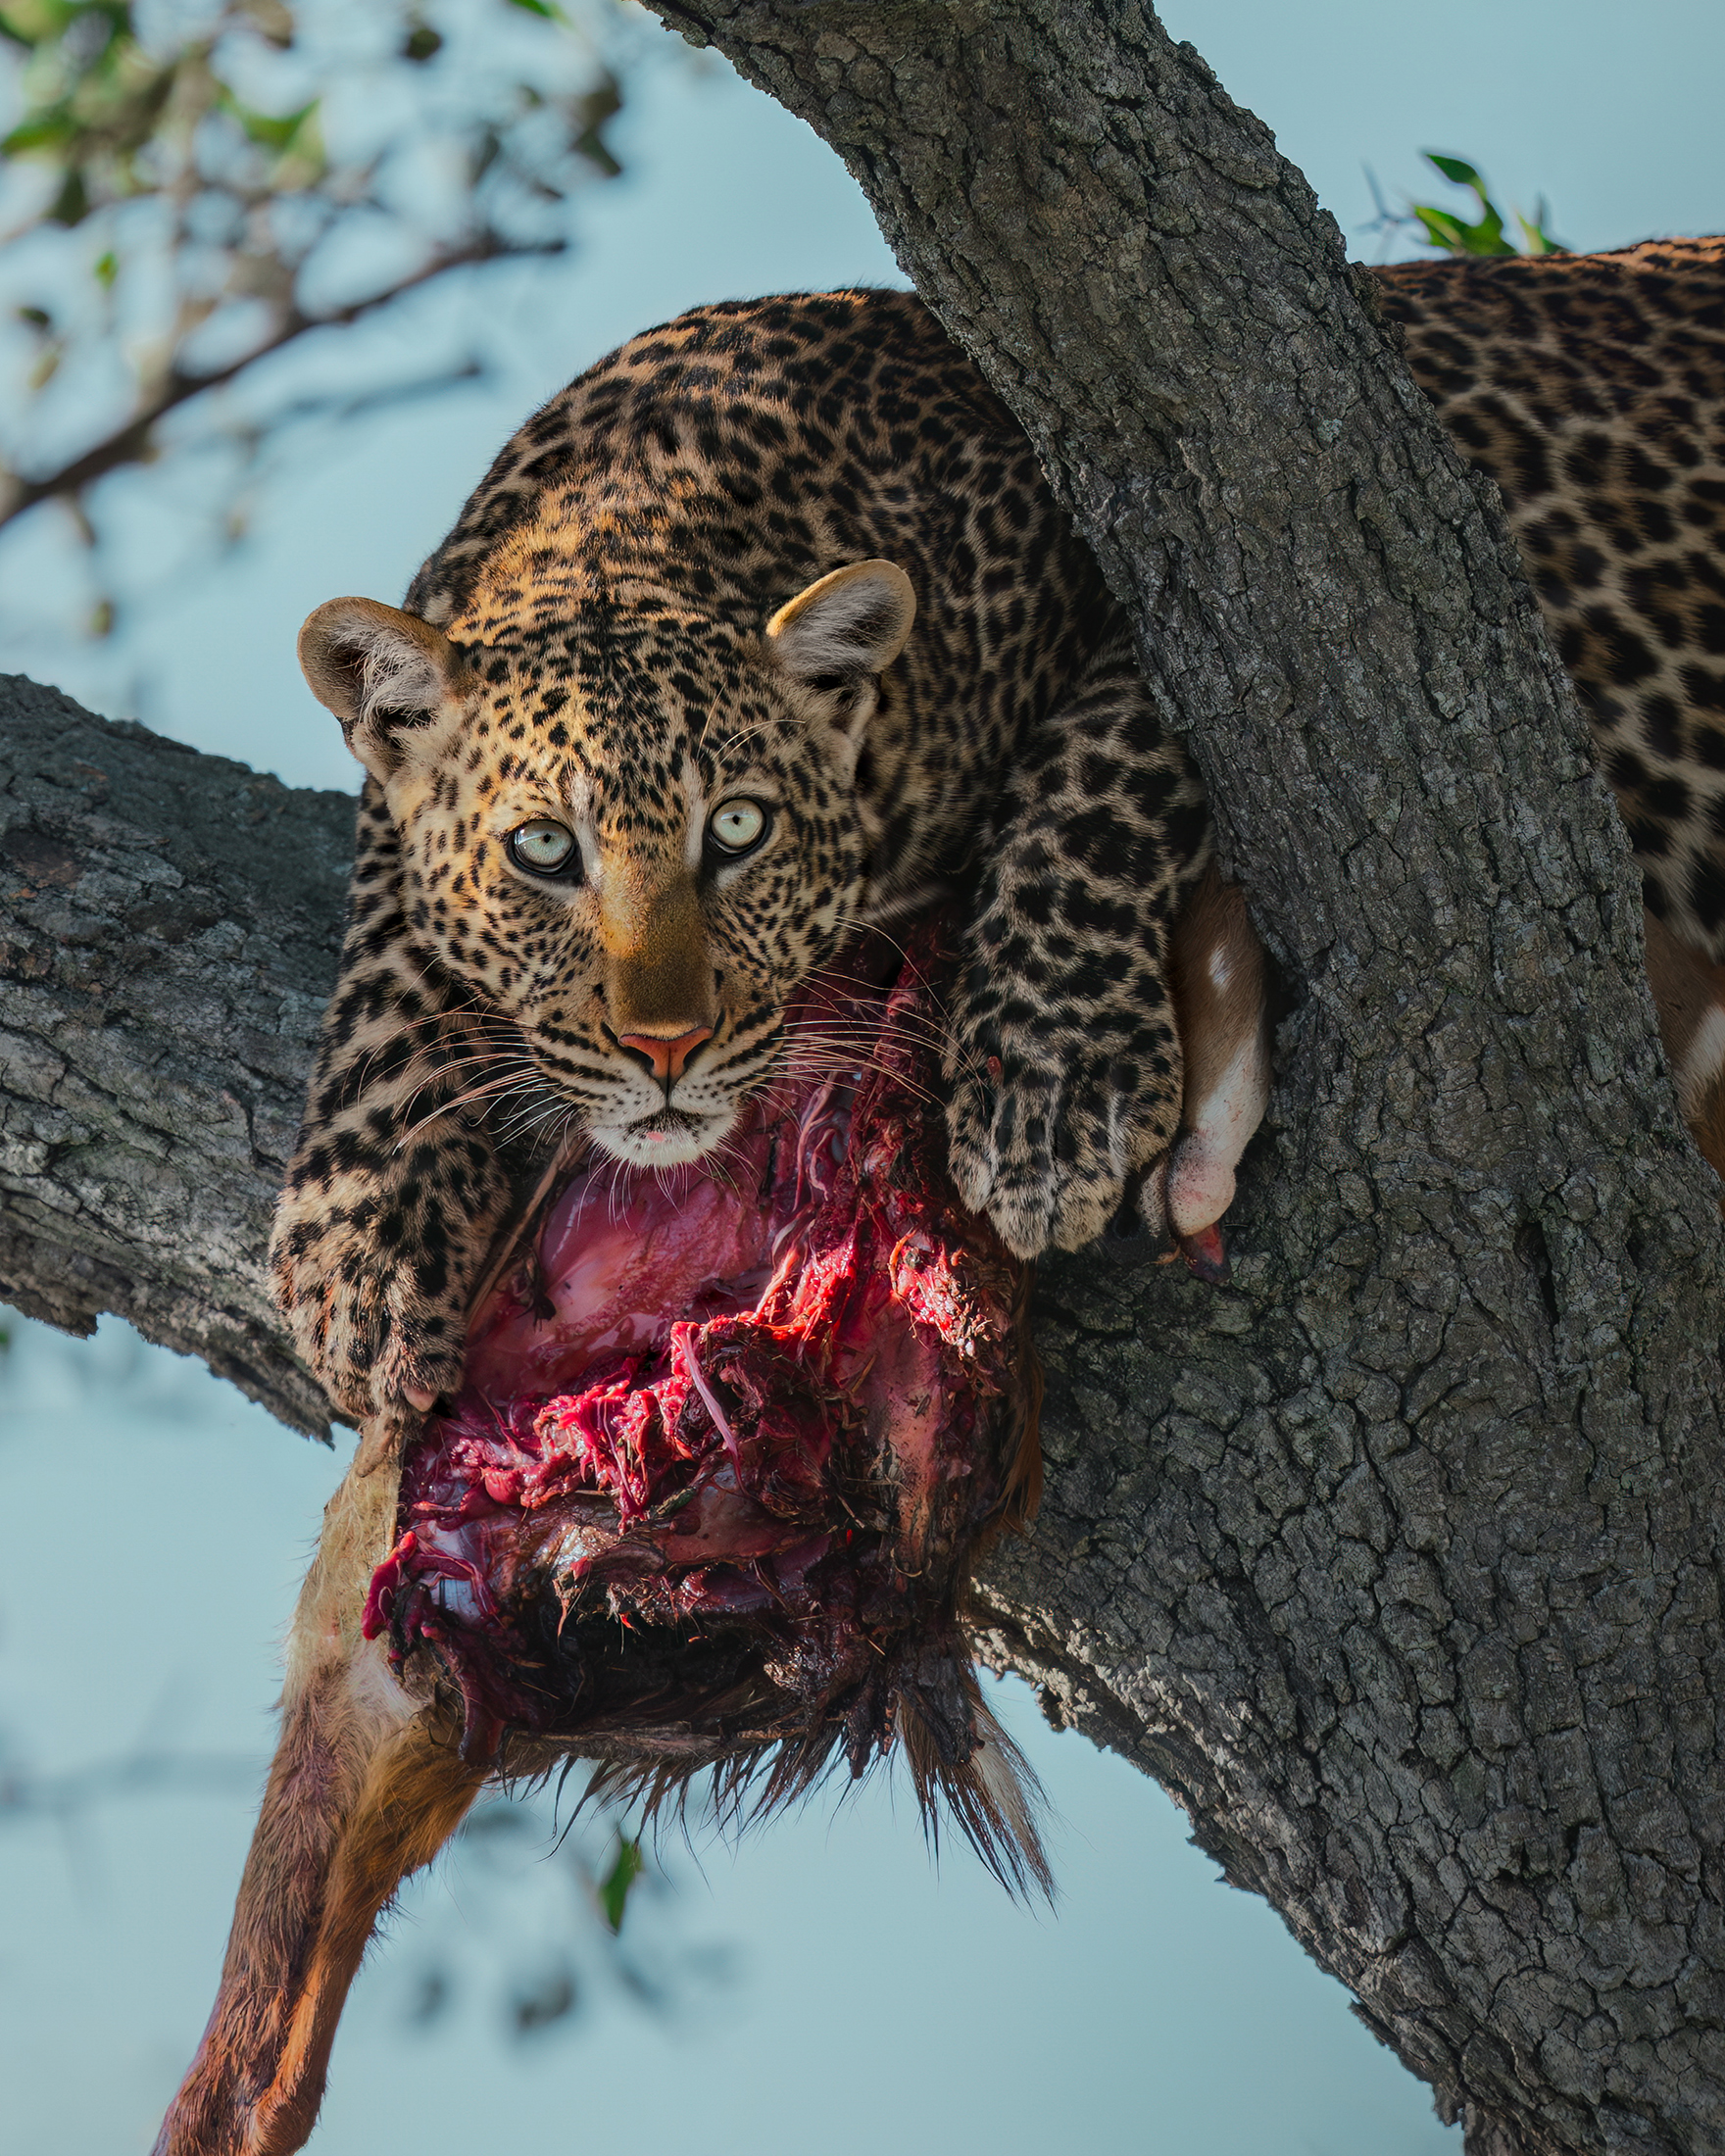
Sony A1II & 400mm f/2.8 GM | 1/3200 sec | f/8 | ISO 320
Must-Have Accessories
Stabilisation Tools
Sharp images rely heavily on stability, especially when shooting at long focal lengths, with heavy lenses, and from bumpy vehicles or uneven footing… Here are some options to consider based on where/how you’ll be photographing!
Beanbags: My personal favourite! These are the best option for those photographing from a vehicle. They hang over the window/frame of the cars, and are mobile yet incredibly sturdy.
Tripods: Useful in camps, hides, or in low-light scenarios. Best used with a gimbal to allow for easy tracking.
Monopods: Useful for those photographing on foot. Incredibly mobile and easy to manoeuvre.
You need to think about what stabilisation tool is going to be right for you, your shooting style, and the environment you’ll be in!
Memory Cards & Storage Solutions
Wildlife photography generally requires you to take hundreds (often thousands) of high-resolution images, frequently in quick succession. Having reliable storage is essential to ensure you never miss a shot!
Use high-speed cards (such as UHS-II or CFexpress) to allow continuous burst shooting without lag. It’s better to carry multiple smaller cards rather than relying on a single large SD, to reduce the risk of losing all of your images if a card fails.
Each evening, back up your photos to a portable SSD, ideally creating a double backup with a second one for extra security. Once you return home, transferring your files to an additional cloud storage will provide an added layer of protection to safely secure all of your work.
Also be sure to store your cards and drives in a protective hard case to safeguard them from dust, moisture or accidental bumps when on the road. Creating habits with these simple precautions will help keep your precious imagery safe from start to finish!
Extras
Other essential accessories to consider include binoculars for spotting the wildlife to begin with, a high-speed laptop capable of handling large image files and editing softwares, portable power banks for long days in field, teleconverters to add extra reach to your lenses, and spare SD cards and batteries (crucial). Don’t forget any protective filters for your lenses and all the necessary chargers to keep your equipment running throughout your trip!
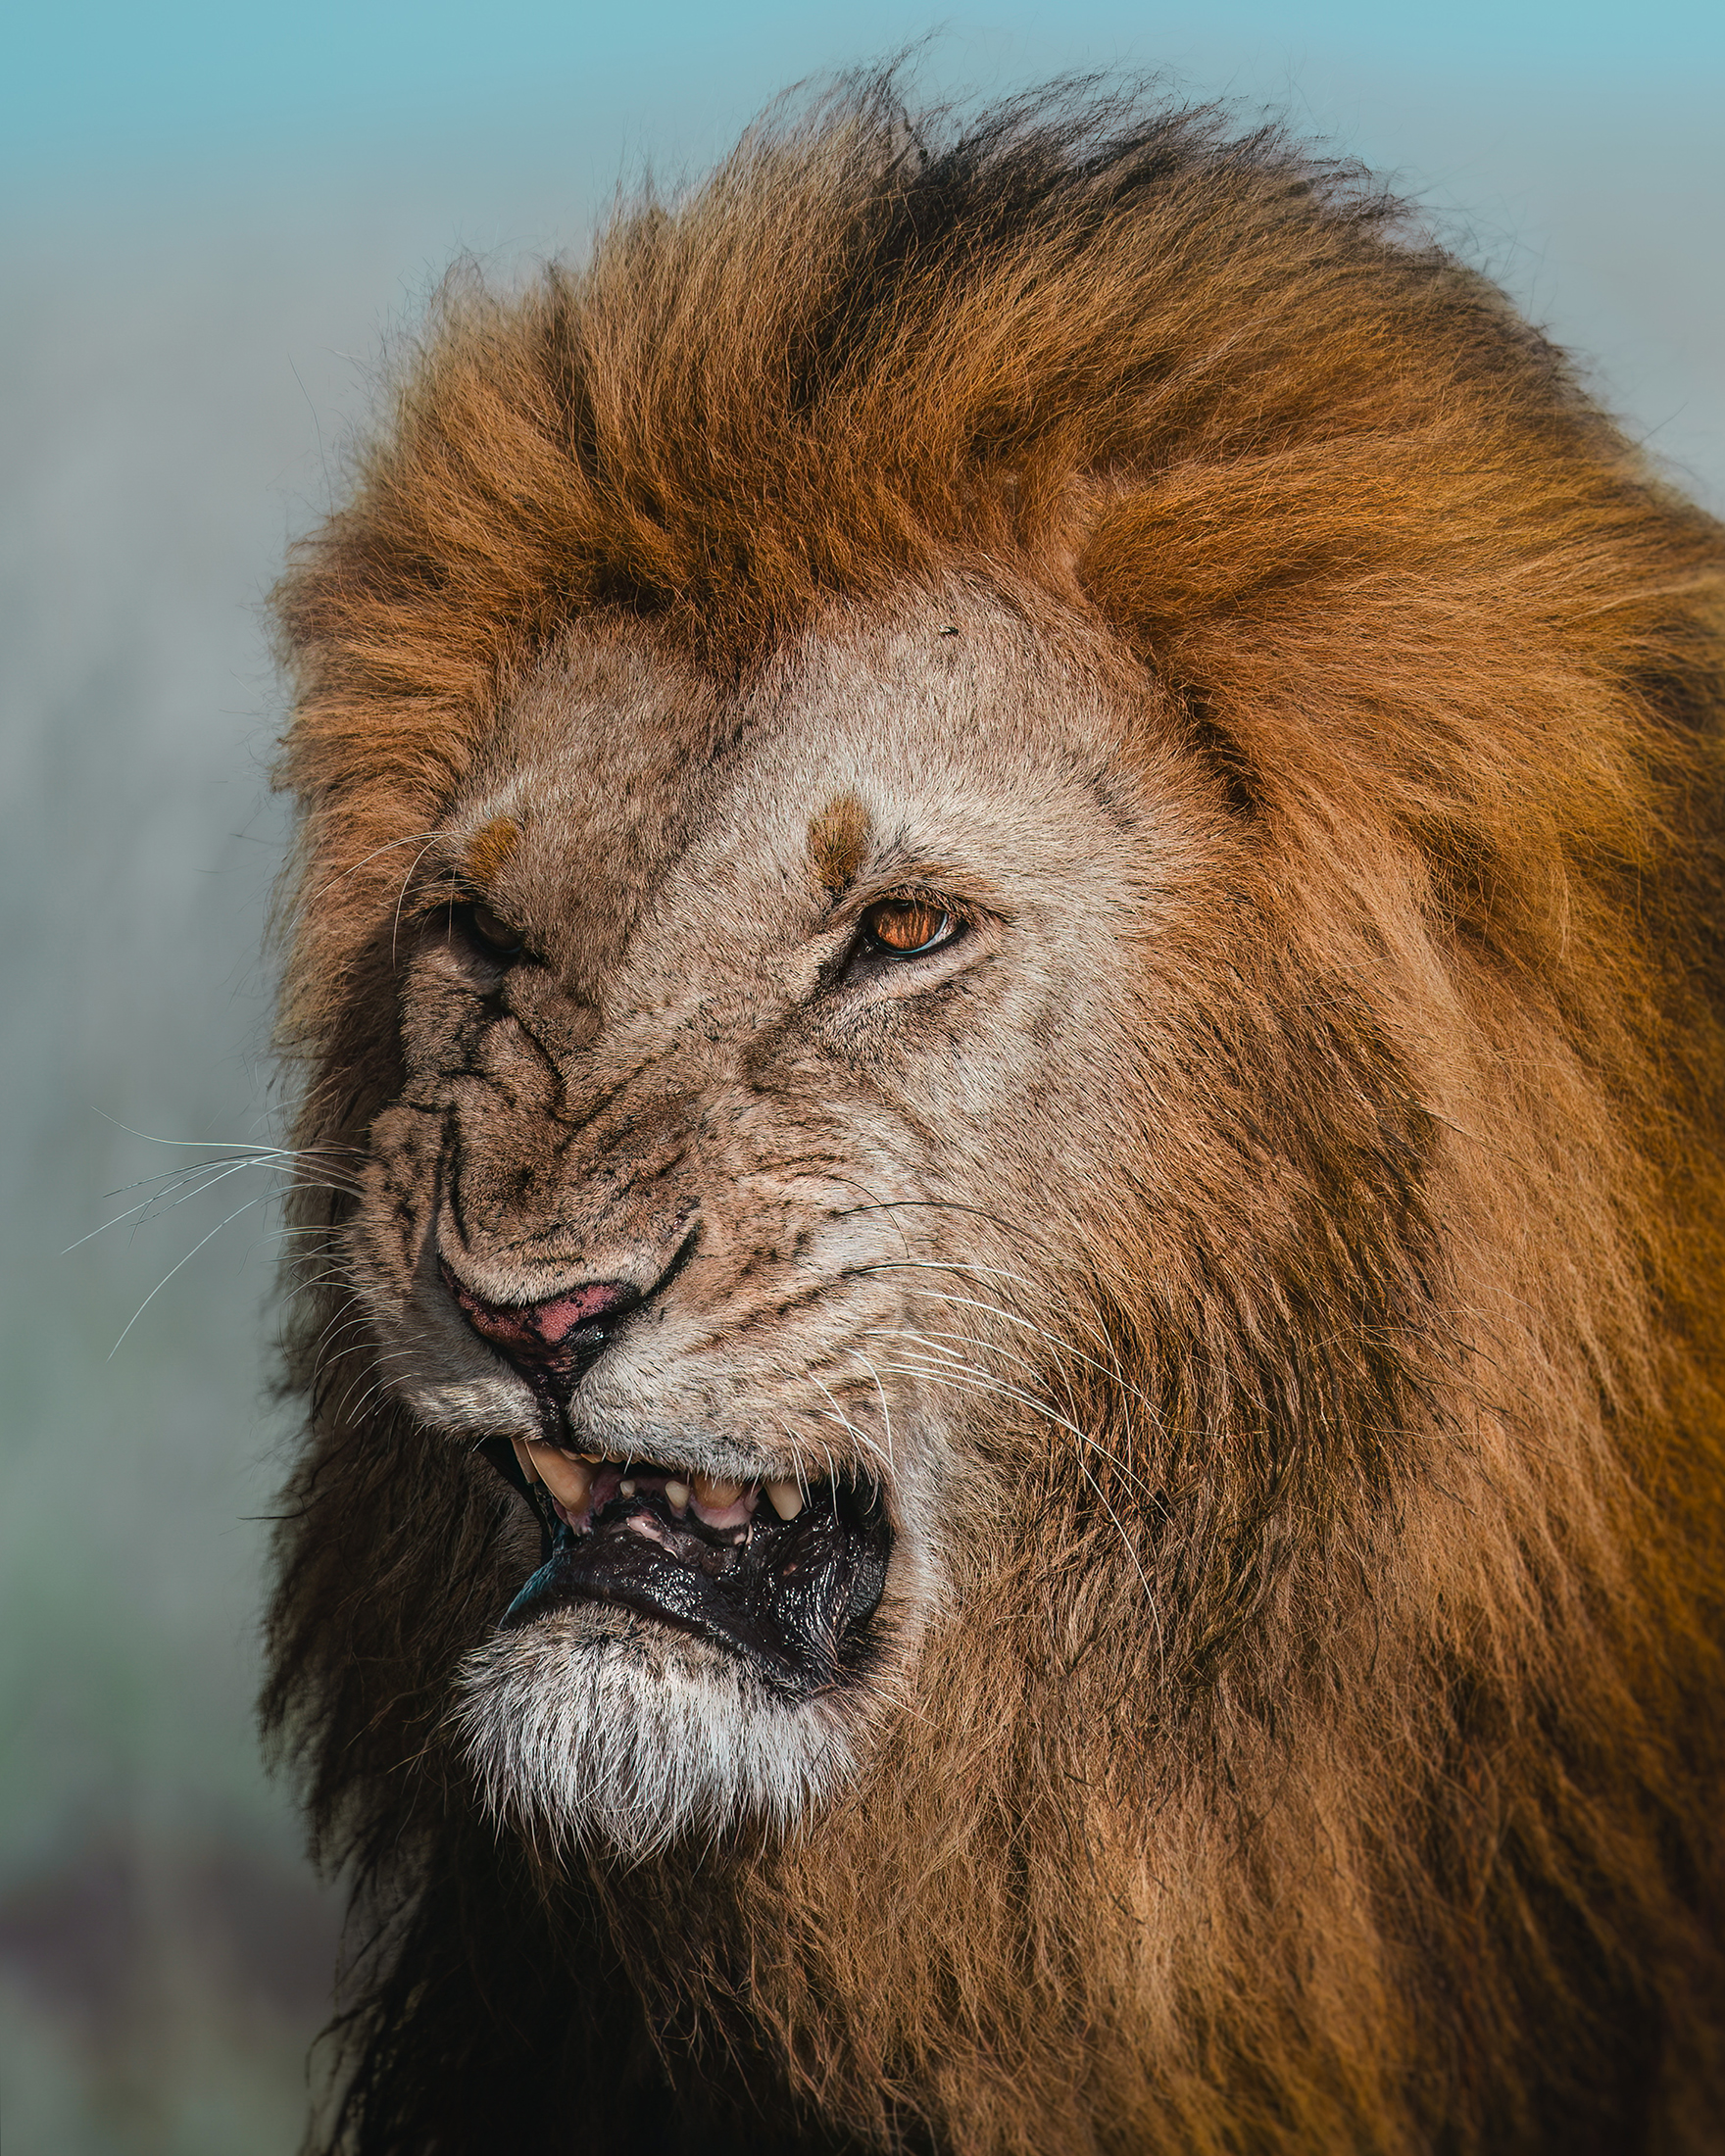
Sony A7IV & 100-400mm f/4.5-5.6 GM | 1/2000 sec | f/5.6 | ISO 250
Packing for Safari Photography
Space Saving Tips
Travelling with camera gear, particularly telephoto lenses, can make your kit feel heavy and bulky. When heading to remote locations, it’s also common to encounter strict baggage weight limits, so it’s important to be mindful of this when deciding what/how to pack.
If you need to maximise space, consider investing in compact, versatile lenses, and bring only the essentials you know you’ll use. Buy a travel tripod instead of a full-size one, or fill your beanbag at your destination instead of bringing it already filled. Pack universal chargers wherever possible, and try to find lightweight versions of all of your important accessories!
Doing a test pack and going on a local shoot with all of your intended gear will help you work out what is/isn’t necessary for your adventure. And remember, prioritise your camera gear over your clothing! A few repeat outfits are worth it for the additional space for equipment…
Organising Your Bag for Quick Access
On safari, moments unfold quickly, and how accessible your gear is will really determine whether you capture a shot or miss it entirely. When organising your kit, consider which items you’ll need within immediate reach and what type of bag setup will give you the quickest access throughout your journey.
If photographing from a vehicle, it’s often helpful to keep your camera in an open tote-style bag that allows for quick retrieval, or simply resting it on your lap, ready to shoot at a moment’s notice.
Regardless of what bag works for you, you want your primary camera to be set up and in reach. Always ensuring that your essentials — such as spare batteries, memory cards and cleaning tools — are clearly organised and in pockets that you can access without fumbling.
How to Protect Your Gear
Wild environments can be tough on your equipment! Dust, bumpy roads, sudden weather changes, heat, rainstorms and mud can all pose a risk to your gear, so preparing in advance is essential.
One of the simplest ways to safeguard your equipment is with waterproof rain covers, especially if you’re travelling during the wet season or visiting regions with unpredictable weather. Padded camera bags are also important, offering crucial protection from knocks and vibrations — something you’ll experience frequently on the rough safari roads. In dusty environments, consider bringing a lightweight cloth, scarf or buff that you can quickly wrap around your lens when moving between locations. A beanie also works surprisingly well as a quick lens cover, helping prevent dust from covering your precious glass.
It’s also wise to minimise lens changes in the field, as every time you remove a lens, you expose your sensor to the dust/dirt and increase the risk of damage (another reason that 2 bodies OR a versatile lens can be incredibly useful).
Cleaning and Maintenance
A simple cleaning routine at the end of every day will make a huge difference! Try to create a regular habit of giving your gear some love every evening, ensuring you remove any dust and grime that will inevitably build up throughout a day in the field.
-
Use a blower to remove any loose dust, particularly from the delicate areas (like your sensor, lens mount etc).
-
Use a soft brush or lens pen to remove any stubborn particles from the lenses/camera body.
-
Finish by gently wiping down the exteriors with a microfibre cloth or moist lens wipe.
Getting your gear professionally cleaned when you get home is also strongly recommended!
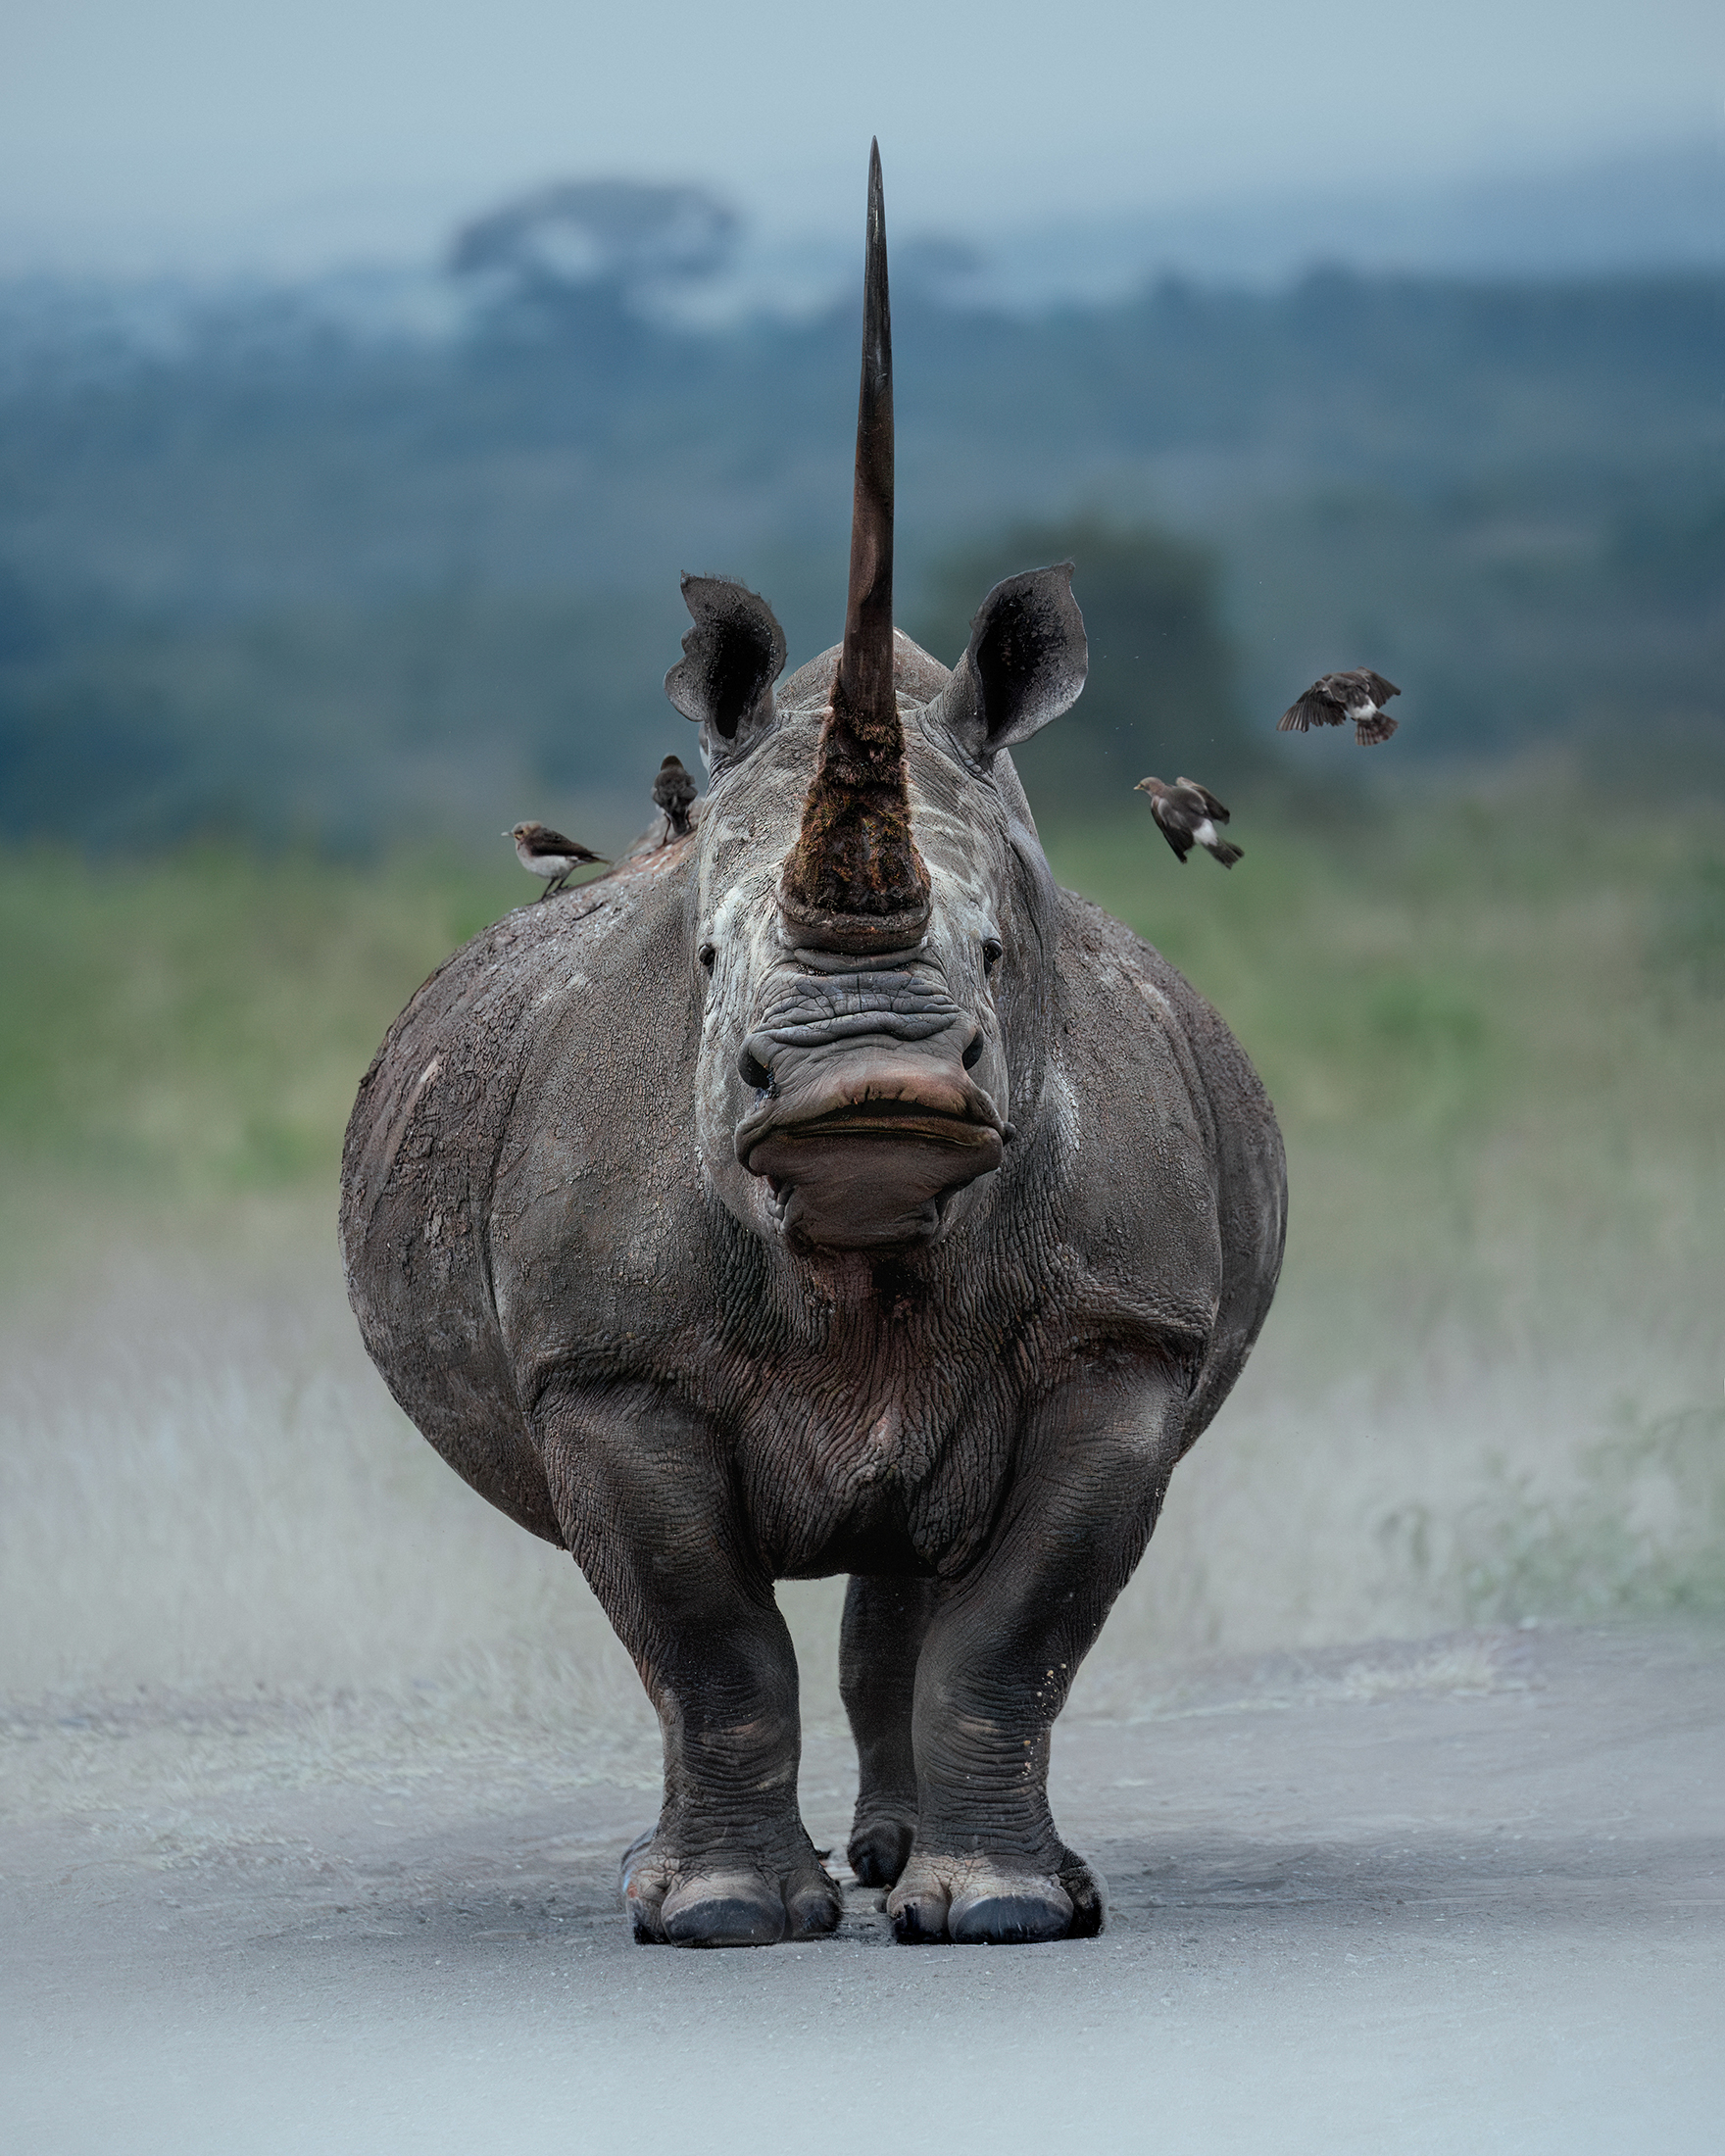
Sony A7IV & 100-400mm f/4.5-5.6 GM | 1/640 sec | f/5.6 | ISO 10,000
Planning & Research
Recommended Locations
Some of the world’s best wildlife photography destinations include:
-
Maasai Mara, Kenya // Famous for big cats and the Great Migration.
-
Serengeti, Tanzania // Endless wildlife and dramatic landscapes.
-
Kruger National Park, South Africa // Accessible & diverse. Rich in wildlife!
-
Bornean Rainforest // Orangutans and rainforest species.
-
Patagonia, South America // Rugged landscapes and unique wildlife.
-
Pantanal, Brazil // Tropical wetlands, excellent for jaguars, birds and aquatic species.
-
Amazon Rainforest, South America // Dense rainforest and extremely biodiverse!
-
Wet Tropics, Australia // Rich in unique and iconic Aussie species!
Just to name a few… Wildlife is abundant in many locations around the world, so your choice should ultimately depend on the species you’re most interested in, the type of landscapes you want the capture, and the style of wildlife imagery you personally enjoy!
Best Times of Year
Choosing the best time of year to travel is just as important as choosing the destination itself! Different seasons can dramatically affect the type of images you want to capture, and the overall experience as a whole. Consider factors such as.
Weather and climate: Lighting, temperature, and overall conditions will affect shooting AND your personal comfort.
Environmental changes: The grass length, foliage density, and seasonal colours can drastically impact the mood of your imagery.
Animal behaviour: Certain times of year highlight unique behaviour (such as baby season, mating displays, migrations, higher concentrations of wildlife etc).
Tourist density: Peak season can mean crowded parks, while off-season can offer more solitude and unique photography opportunities.
Each location has its own rhythms and highlights, so research is KEY!
Getting the Best Photos on Your Trip
Now that you have your itinerary set, the next step is to learn as much as possible about the wildlife you’ll be photographing. Understanding your subject — their behaviour, habitats, movement patterns and daily routines — will dramatically increase your ability to anticipate moments before they happen (which is key). The more familiar you are with an animal’s typical behaviour, the better positioned you’ll be to capture impactful imagery.
Don’t be afraid to experiment with composition; play with angles, foreground elements, layers, and framing to create images that feel unique and expressive. When capturing movement or behaviour, a fast shutter speed (around 1/2000 sec) will help freeze sharp details such as dust, water droplets, insects or even the nictitating membrane in the animal’s eye.
Above all else, be patient! Wildlife photography often rewards those who are willing to wait and observe. With the right balance of knowledge, equipment, and patience, you’ll return home with a catalogue of images that you’ll be truly proud of.

Kate Newman
Kate Newman is a wildlife photographer and Sony Digital Imaging Ambassador from Melbourne (Naarm), specialising in capturing creative portraits of the wild and celebrating the beauty of nature. Through intimate portraits of species across the globe, Kate aims to facilitate a deeper connection to the natural world and highlight what we need to protect.


