In this article I discuss the basics of the approach to nature in photography. I outline some useful camera settings and provide some examples to help get you started.
Not every camera is suited to every style of photography. Some excel in specific areas—be it landscapes, street photography, video, portraits, low-light scenes, or wildlife. But don’t let that overwhelm you - there are many versatile cameras capable of delivering excellent results across multiple genres. If you’re just starting out or exploring different styles, that’s perfectly fine. These cameras also support a wide range of interchangeable lenses, allowing your gear to evolve alongside your skills and shifting interests. As you grow, you can upgrade to a more specialized body—perhaps one with a larger sensor or faster frame rate. But if all this advice is overwhelming then start with what you’ve got – If you think the iphone is perfect for capturing swallows then the time is not right to upgrade. However if you are frustrated by the quality of your iphone photos of swallows ( because, lets face it they are near impossible!) then that is the right time to think about buying an appropriate camera and lens. Why? Because your brain is now catching up with your heart and both of these elements are crucial to your creative photography journey.

Start by looking for a camera with 2 key abilities - good dynamic range and frames per second. There are many other options but for me, these 2 are my most important considerations.
Dynamic range is about the gap between the brightest part of the image and the darkest part of the image. A good dynamic range allows details in the shadows and lights to be opened up in postprocessing. Your histogram will show you this information. Frames per second is how fast your shutter clicks over – a dedicated landscape camera will click over at 12 FPS – not fast enough to capture that blue wren lifting off the branch, but a camera with 20 to 30 fps will capture the whole story.
Once you've made your camera purchase, the journey truly begins with a blend of theory and technical skill. Creating a compelling photograph isn't just about having the right gear; it’s about mastering the four essential ingredients that elevate an image:
- Story – the heart of every memorable photograph.
- Composition – the visual structure that guides the viewer’s eye.
- Exceptional lighting – the mood-setting element that can transform the ordinary into the extraordinary.
- Proficient camera technique – the technical foundation that brings your creative vision to life.
All images contain these ingredients with various levels of success. It is when all four occur in full measure that the magic happens, and an image is produced that we can be proud of. Let’s breakdown the concepts and techniques that help us create the ingredients of a good photo.
Key Ingredients for the Capture Process
- Have a love for your subject. if you can feel the moment, you are well on your way to a good photo if the subject matter doesn’t interest you, it’s unlikely you will capture a good shot. This where your heart is key and I’m not ashamed to admit that often I yell with excitement when I’m absorbed in the moment.
- Be Patient. None of the required skills will come quickly so allow yourself the time to sit still and embed your lessons. Animals will never appear on cue, but you will also ruin your chances If you don’t allocate the time to waiting.
- Research your subject if you know where and when the osprey are fishing or what conditions the Whales like to play in you will have given yourself the best chance for success
- Return to the same place again and again learn behaviour observing and get an understanding of what factors influenced the appearance of your bird or animal or landscape
- Seek out the best light . Whilst early morning and late afternoon light is always the gold standard, they are also the most challenging the times of day .
- Know your equipment. That bird you’ve been waiting an hour for will not wait while you fiddle to find the right settings . It may arrive and be gone within seconds and If you’re not ready, then the moment is lost.
- Learn to shoot in manual mode for full control. Other modes are comfortable and very useful but manual mode gives the best chance of you being in control rather than letting the camera make decisions.
- Learn to understand the exposure triangle -If you know this you will have mastered the basis of creating good technique decisions.
- Understand the art of getting right in Camera - editing software and AI enhancements can correct many errors that we make, but they will never compare in quality to a technically well taken photo.
- Join a Sony scene workshop or Online forum or Camera Club and listen to what others are saying. This is a wonderful way of furthering your skills and having discussions over coffee after an outing.
- Utilise phone apps that will tell you where the light is and what the weather will be at any day of the year.
- Enjoy where you are. Don’t ever forget to sit back for a second and appreciate where you are and what you were doing in the great outdoors. After all, this is whole reason we are out here!
- Auto can be your friend. I can’t stress this enough. Never, never lose the shot by being flustered trying to get your settings right at the same time the 2 monkeys are behaving like hooligans. Take a shot in Auto to capture the moment and then move to the other settings to practice having more control when there is less pressure. This practise has prevented a whole lot of misery for me in earlier years.
- Take the time to explore the Sony camera menus – While you may not use every feature, knowing where to find specific settings will make you feel more confident .
Technique Challenges
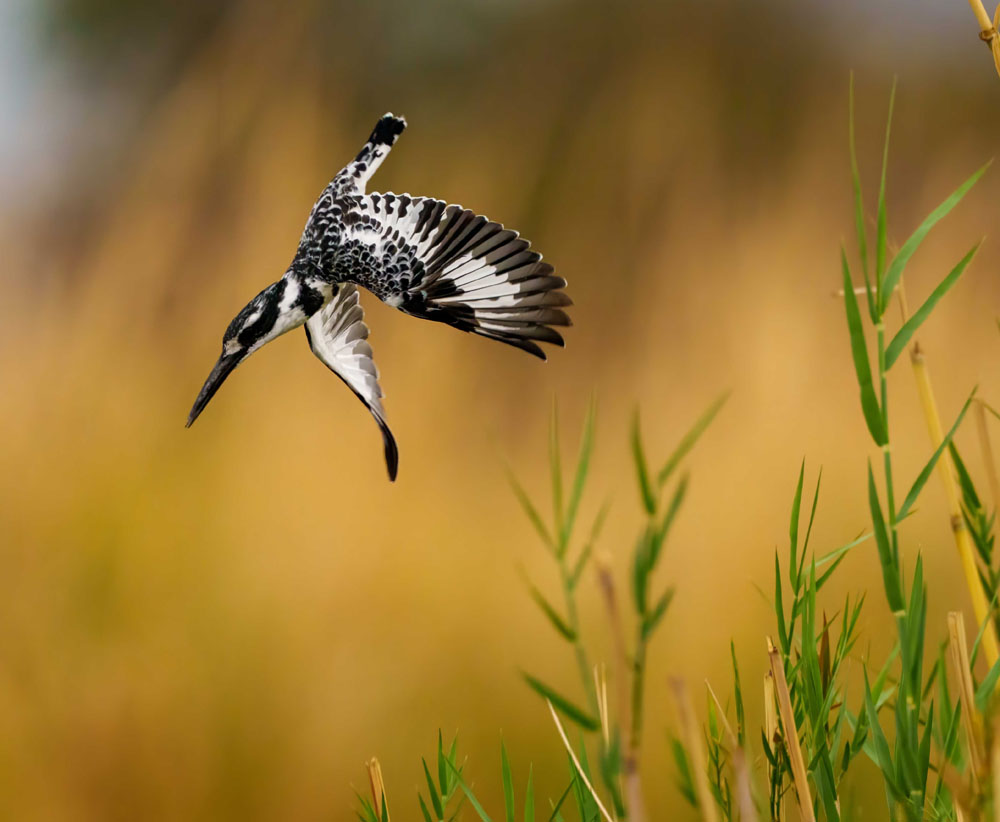
- Challenge: Being out in nature everything is unpredictable. You walk ages to finally find the kingfisher you’ve been searching for but it sees you a millisecond before you see it and flies off.
Solution. Utilise a fast autofocus mode. Have your camera on burst mode. Know what your wildlife is going to do. Get close to your subject. Use the camera pixels to crop in in post production.
- Challenge : Focus and motion blur. Fast moving animals or birds, predators chasing action, whales breaching in the opposite direction to where your camera is pointing.
Solution : Use fast shutter speeds above 1/2000 sec. Use continuous AutoFocus. Utilise the autofocus tracking modes. Use a tripod.
- Challenge: Your subject is far away. Most wildlife subjects naturally want to keep their distance from humans. Generally they will know you are already there before you have actually spotted them.
Solution: Use a long telephoto lens of over 400mm. Use a teleconverter to increase your focal length if you only own less than 400mm. Use your image stabilisation systems to stop camera shake – inbuilt in camera, tripod, beanbags. Etc. Increase your shutter speed if they are moving.
- Challenge: The weather is bad: Whether it’s freezing cold, boiling hot or wet, you need to protect your precious gear.
Solution: Use your lens hood to protect against spray. Invest in a camera cover. Use dessicants inside your camera bag to absorb moisture.
- Challenge: Depth of Field. The long lenses and wide apertures make focussing accurately on your subject difficult. You want a wide aperture to create a lovely blur to highlight your subject.
Solution: Utilise animal and bird focus modes. Use Focus peaking to outline the subject. Use a smaller aperture when possible. Increase your ISO to balance a smaller aperture. Use your tripod.
- Challenge: Low lighting conditions. The Lions only come out to play at dusk as the heat settles.
Solution: Use a fast lens with a wide aperture of f2.8. Increase your ISO. Slow your shutter speed and use a tripod if possible.
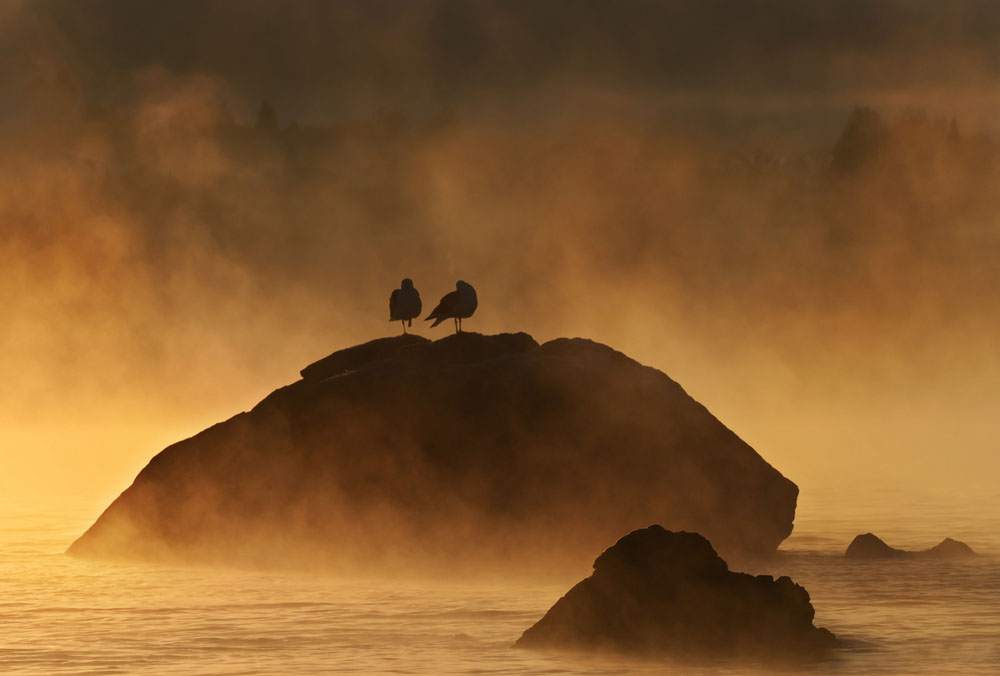
- Challenge: Too much light. When your subject is positioned in front of the sun, it can become silhouetted—appearing completely dark or black—because the camera exposes for the intense background light.
Solution: Dial in +1 to +2 stops of exposure compensation. Make sure your file format is Raw – this allows you to recover shadow detail in post processing. Move your position slightly and reduce the contrast between foreground and background.
- Challenge: Finding the right composition. Unlike static subjects animals don’t pose,. They move erratically, want to be partly hidden, or deliberately blend into messy backgrounds.
Solution: Begin by visualizing the ideal shot. Aim to fill the frame with your subject Use natural framing elements—such as branches, or mountain ridges—to guide. Use the Rule of Thirds to create balance. Take 2 steps to the left or right – does this move distractions? Check your background – does it complement or complicate your picture?

So, how will you tell your Camera to cope with all these variables in the space of a mere millisecond? To master this we need to DO and not THINK in this blink of an eyelid, so it’s essential that we spend time getting to know the menus, and the settings we want/ This way we will be able to react instinctively.
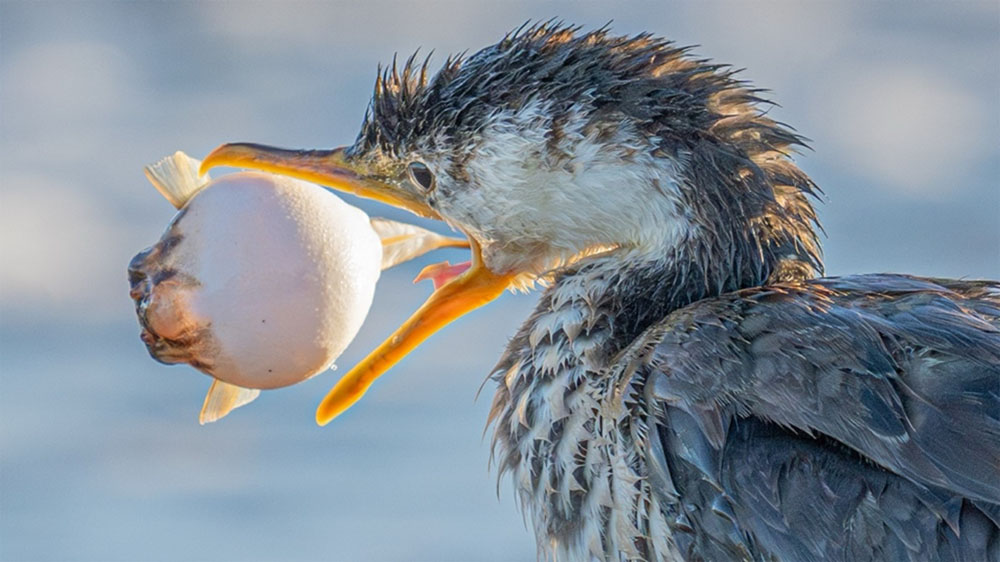
To help us react instinctively most full-frame cameras will have a memory setting on the mode dial. For example I save a custom setting with a fast shutter speed (1/2000 sec), an aperture of f/8, and Auto ISO. That way, if I suddenly see a cormorant grab a puffer fish, I can just turn the dial to my saved setting and start taking pictures right away. Once I’ve captured that first moment, I take a bit more time to adjust settings—like making the shutter speed faster, opening up the aperture, or changing the brightness. But thanks to that memory setting, I’ve already caught some of the story.
In Summary, Nature photography is a genre that is extremely satisfying to people that love the outdoors, every scene is unique– grounding me in each moment. I am constantly inspired creatively by behaviour and location and the feeling of bringing me closer to the natural world is for me, is a form of meditation. My camera gear and techniques are the vehicles that make all this happen.
Here are top Sony cameras for nature photography, organized by experience level and budget:
Best Sony Cameras for Nature Photography
Sony α1ii (Alpha 1ii) — Flagship Professional Choice
- Why it’s great: Exceptional speed and resolution; It covers everything you could want.
Sony α7R V (Alpha 7R V) — High Resolution Beast
- Why it’s great: Insane detail and smart autofocus; ideal for stationary wildlife grand landscapes or cropping heavily.
Sony α9 III (Alpha 9 III) — Speed Demon
- Why it’s great: Perfect for fast-moving wildlife like birds in flight or big game.
Best Mid-Range: Sony α7 IV – Everybody’s favourite all rounder.
- Why it’s great: Versatile and more affordable than flagship models; strong for hybrid photo/video shooters.
Best APS-C Option: Sony α6700 (or α6600) – Budget conscious
Why it’s great: Compact, with reach advantage due to crop sensor; great for birders.
Would you like help choosing the right telephoto lens to pair with one of these for wildlife? Red the article on Lens Selection also on this page.