


Wildlife photography is a captivating art form that allows us to connect with nature and showcase the beauty of the wild. Creating unique imagery requires more than just knowing how to press the shutter; from understanding animal behavior, selecting the right gear, mastering composition, and knowing how to uphold ethical practices, together we’ll cover everything you need to know in order to elevate your wildlife photography skills.
Essential Equipment for Wildlife Photography
How to Choose the Right Camera Body
Selecting the right camera for wildlife photography can feel overwhelming. Factors such as budget, frames per second (FPS), megapixels, low-light performance, battery life, weight, and auto-focus capabilities are crucial to consider. Remember, though, that "the best camera is the one you have in your hand." Every wildlife photographer has unique preferences, so it’s important to weigh the pros and cons based on what matters the most to you.
Some excellent options to consider that will help you to excel in this field are the Sony Alpha 1, Alpha 7R V, Alpha 9 III, Alpha 7 IV, and Alpha 6700 - dependent on your needs, skill level, and budget.
Which Lenses?
Knowing which lens to purchase very much depends on the type of imagery you intend to create. For close-up portraits, something with a reach of at least 300mm is ideal, as this will help you get tight to your subject while still maintaining a safe and respectful distance.
A telephoto zoom is often appealing to wildlife photographers as they are extremely versatile and allow you to quickly switch between photographing an animal in its environment, and then zooming in to get a dreamy portrait. The 100-400mm f/4.5-5.6 GM and 200-600mm f/5.6-6.3 are ideal options for this! If you like the idea of getting wider landscape shots of wildlife, a 70-200mm f/2.8 would be a wonderful addition to your kit.
Prime lenses are also, of course, extremely appealing due to their sharpness and improved abilities for low-light situations. If you have the budget, the 300mm f/2.8, 400mm f/2.8, 600mm f/4 and 135mm f/1.8 G Master lenses are all incredible options to consider.
How will you Stabilise?
Knowing how to stabilise your lens is incredibly important for wildlife photography, especially in low-light conditions where you may need to lower your shutter speed. Monopods are a great option for those who want to stay mobile, while tripods are beneficial for video capture, or for slower shutter speeds to create intentional motion blur. Adding a gimbal head to your tripod will also enhance stability while allowing you to pan, tilt, and track animals with ease.
If you’re shooting from a vehicle, a beanbag over the car door can help you get lower to the ground without taking up too much space. And for handheld shooting, techniques like resting on someone’s shoulder, locking your arm around a tree, or bracing your elbows on your knees, are techniques that can help steady your shots when you don’t have the equipment to assist you.

Understanding Animal Behaviour
Research your Subject
Ethical wildlife photography begins with really understanding your subject. If you’re going out with the intention of documenting a specific species, research them beforehand; understand more about their location, the places they inhabit, the issues they face (so that you don’t contribute to them), their unique characteristics etc.
Not only does this make you a more respectful photographer, but it also helps you create more meaningful imagery of your subject; allowing you to tell a deeper story.
Recognise Key Behavioural Cues
Once you have a basic understanding of the species you’re photographing, it’s important to now understand their mannerisms. Doing so means that you’ll be able to identify what the animal is communicating to you so that you can ensure that you aren’t crossing any boundaries or making them feel uncomfortable - keeping you and the animal safe.
Things like ear movements, head shakes, vocal sounds and any other physical cues are important to understand to keep ethics at the basis of your work.
Approach Carefully
When approaching any wild animal, the goal is to go unnoticed. Of course, sometimes this isn’t possible depending on whether you’re in a vehicle or on foot, but being respectful and causing the least amount of disturbance possible should always be your priority.
Being slow, avoiding any loud sounds or sudden movements, turning your engine off if in a vehicle, approaching from downwind, and keeping a very safe distance are all paramount. Rather than bombarding and overcrowding an animal, give it the time and space to come closer to you if/when it feels comfortable to do so.
How to Master Your Settings
Optimise your Shutter Speed and Aperture
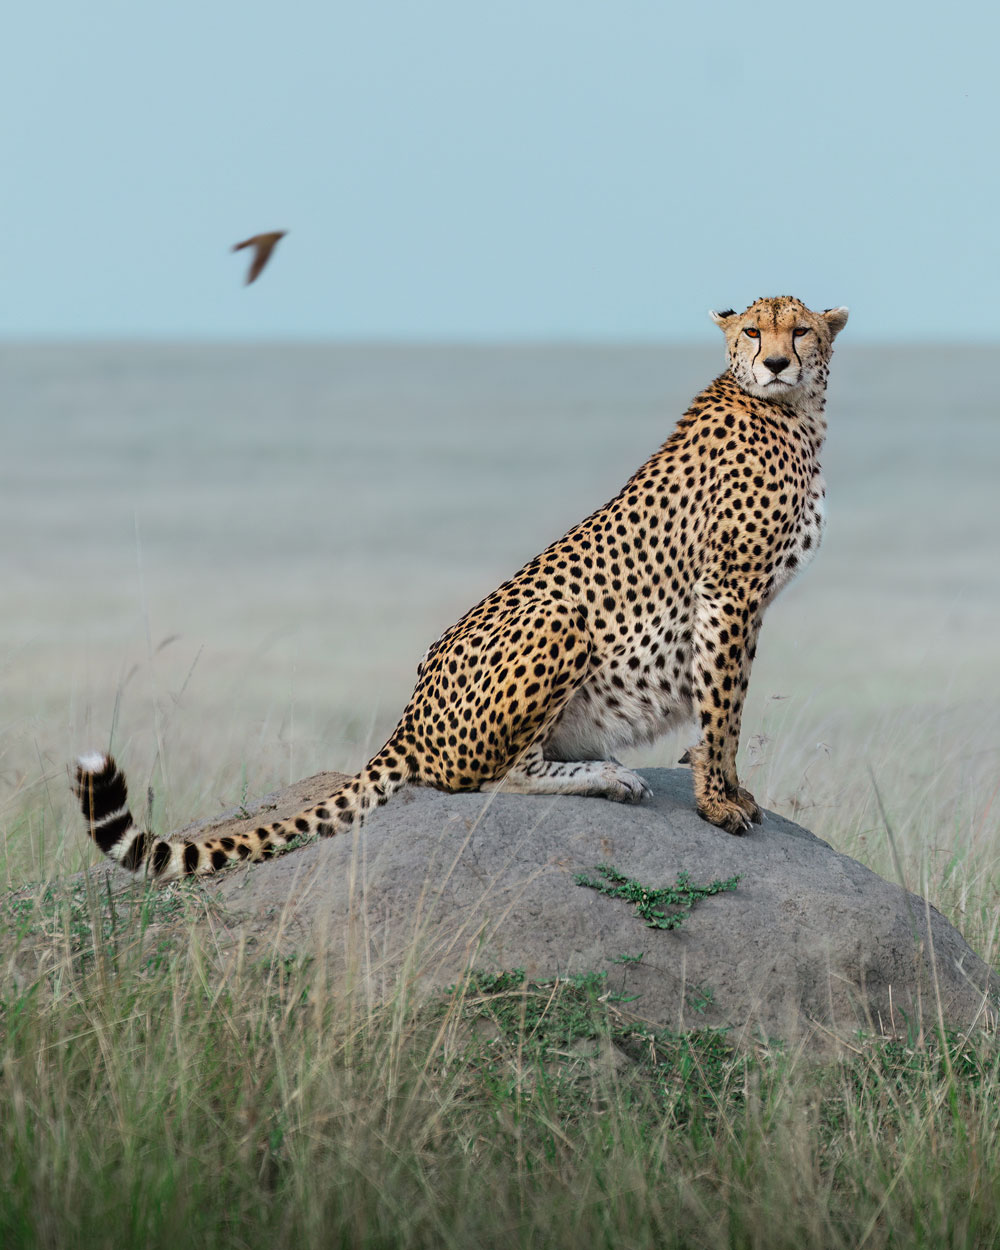
When it comes to aperture, the f-stop you choose is entirely dependent on your personal photography style, the lighting conditions, and how much of the frame you want to have in focus. For me, as a photographer who specialises in wildlife portraits, it is very rare that I don’t have my aperture wide open, somewhere between f/2.8 and f/5.6.
However, the one thing that I do believe to be essential when photographing moving species, is to prioritise your shutter speed. When shooting in manual, you should select your aperture based on your image preference/lighting conditions, followed by the shutter speed that will ensure the freezing of movement (1/2000 sec is my personal sweet spot) and then your ISO should be adjusted accordingly.
In my opinion, a sharp but underexposed image is FAR better than a correctly exposed but blurry one… Sharpness (shutter speed) is priority, always!
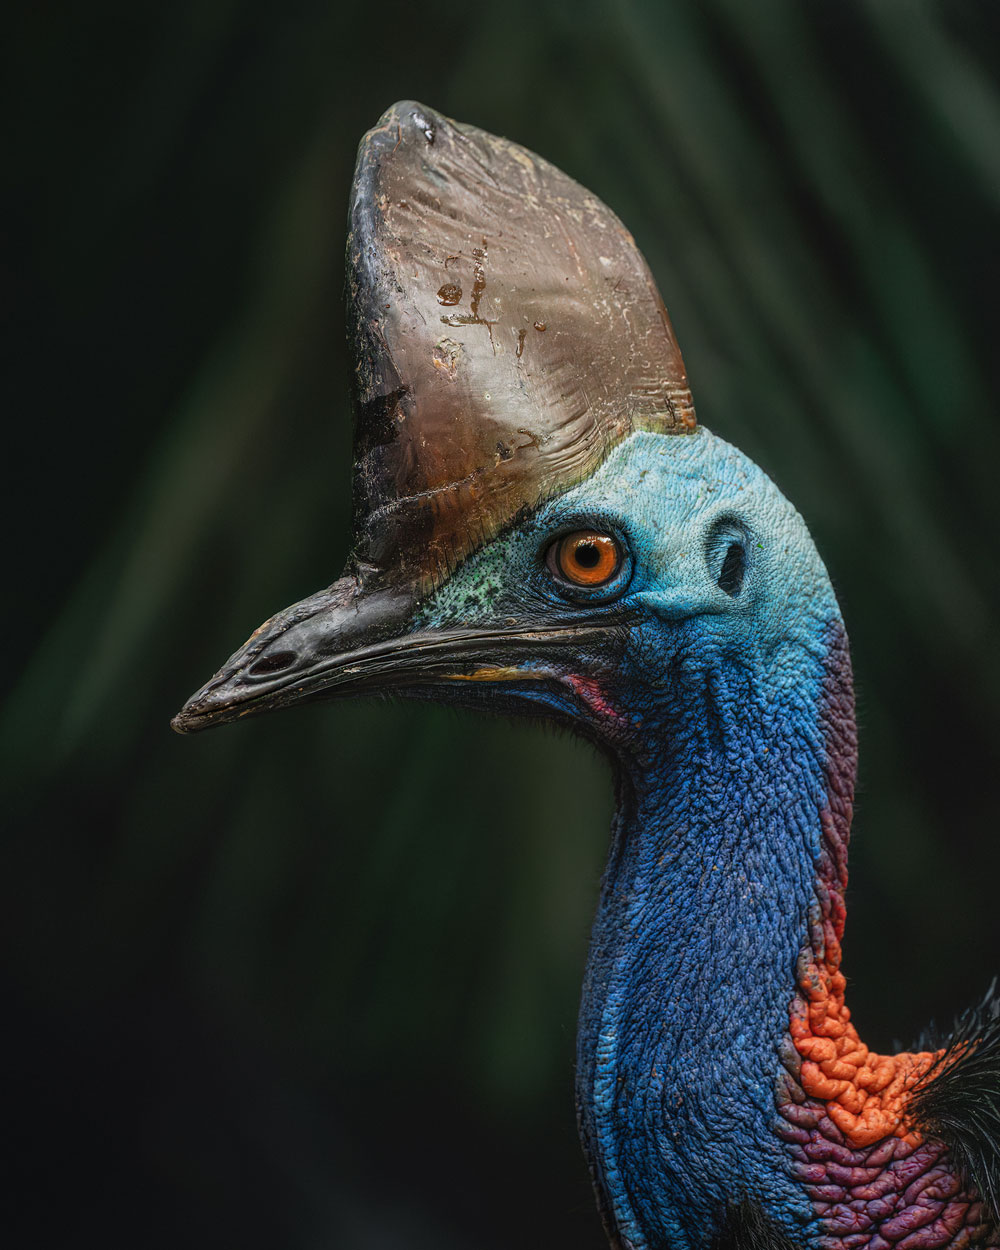
Use ISO Effectively
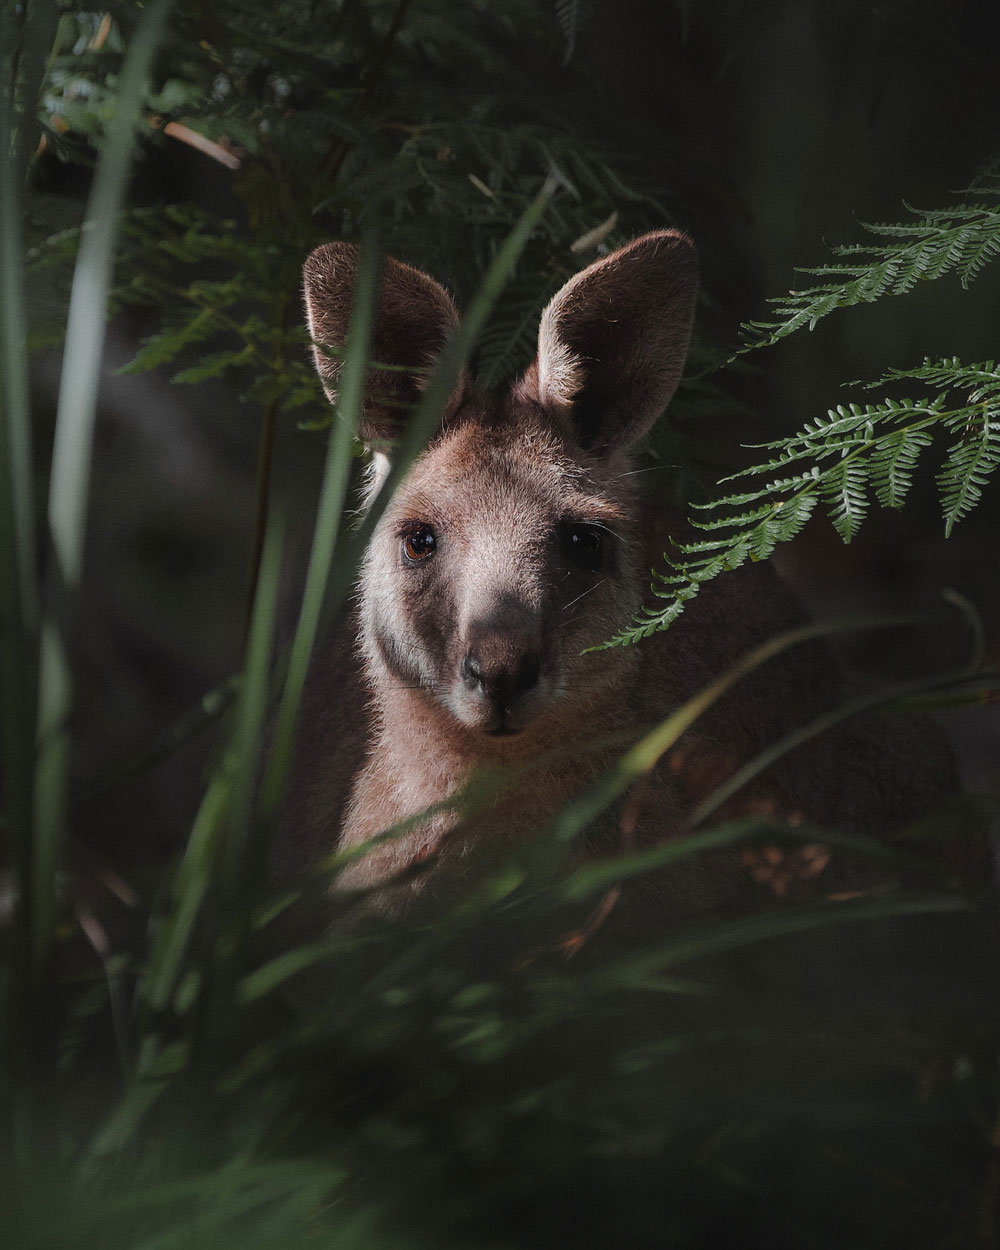
Now that you have chosen your aperture and shutter speed based on your desired image result, now the only thing you need to adjust is your ISO. The rule of thumb is to try and keep your ISO as low as possible in order to reduce noise, but it’s so important to remember that Sony cameras have wonderful lowlight capabilities, as do noise reduction softwares. Sometimes in lowlight situations, you may need to push your ISO much higher than what is often recommended in order to maintain image sharpness, but in my experience, this is no longer something to fear (see example below at 10K ISO).
Nail your Auto-focus Settings
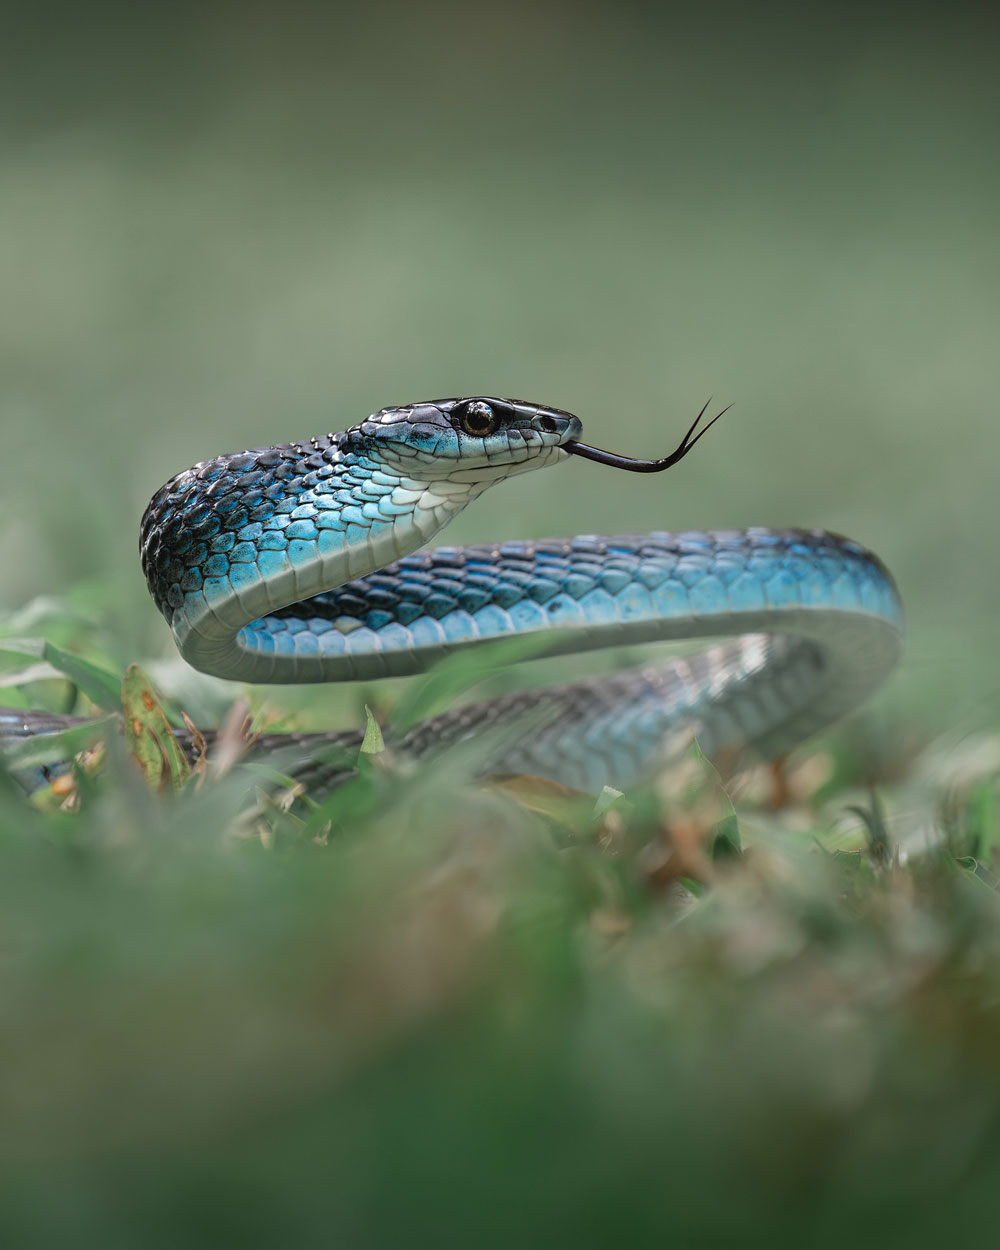
We’re very lucky to have incredible auto-focus software in the newer camera models, particularly in fast-paced fields like wildlife photography. The mode you choose should be dependent on the animal you’re photographing and the environment it’s in. For me personally, I always have it on AF-C, Animal or Bird (of course), face/eye priority to ensure that the most important parts of the animal's features are in focus and tracking with mid-high sensitivity.
In terms of focus modes, the 2 that I personally love from the Sony cameras are the Wide Focus Area (for larger/moving animals, birds in flight etc.) and the Single Spot Focus (for animals in dense foliage or situations where I want more control). Playing around with all of the focus modes is essential to find what works for you. Having them easily accessible with your camera's custom/back buttons will make it much easier to control when out in the field.
Composition is Key
Framing, Leading Lines and the Rule of Thirds
Once you have a little more understanding of camera settings, the next step is to master your composition! Knowing how to set up your shot is the difference between just capturing a moment, and creating an artwork that has impact.
Using the rule of thirds grid on your camera is a tool that can help you create a captivating composition by lining up the important parts of a scene (the animal’s eye, a bird in flight etc.) onto one of the lines or the points in which they meet. Framing the animal with its natural surroundings like foliage, tree branches etc. can help add further interest to your image, similarly when you can use a leading line from a road, a crack in a rock, a rainbow etc. to guide the viewer to the point of interest.
Wildlife composition techniques often just involve experimenting with your angles and being comfortable adjusting your position. Don’t glue yourself to one spot, get creative if you’re safe and able to do so.
Utilise Natural Light and Shadows
Knowing how to make the most of natural lighting is incredibly important in this field. Photographing with the light coming from behind you is the ‘technically correct’ way to expose a scene, but this isn’t the only way. Try and experiment with silhouettes, rim lighting, the light exposing only half of the animal’s face etc. When wildlife are your subject, sometimes you are limited to the direction they’re in, so it’s beneficial to learn how to best accentuate any and all lighting conditions.
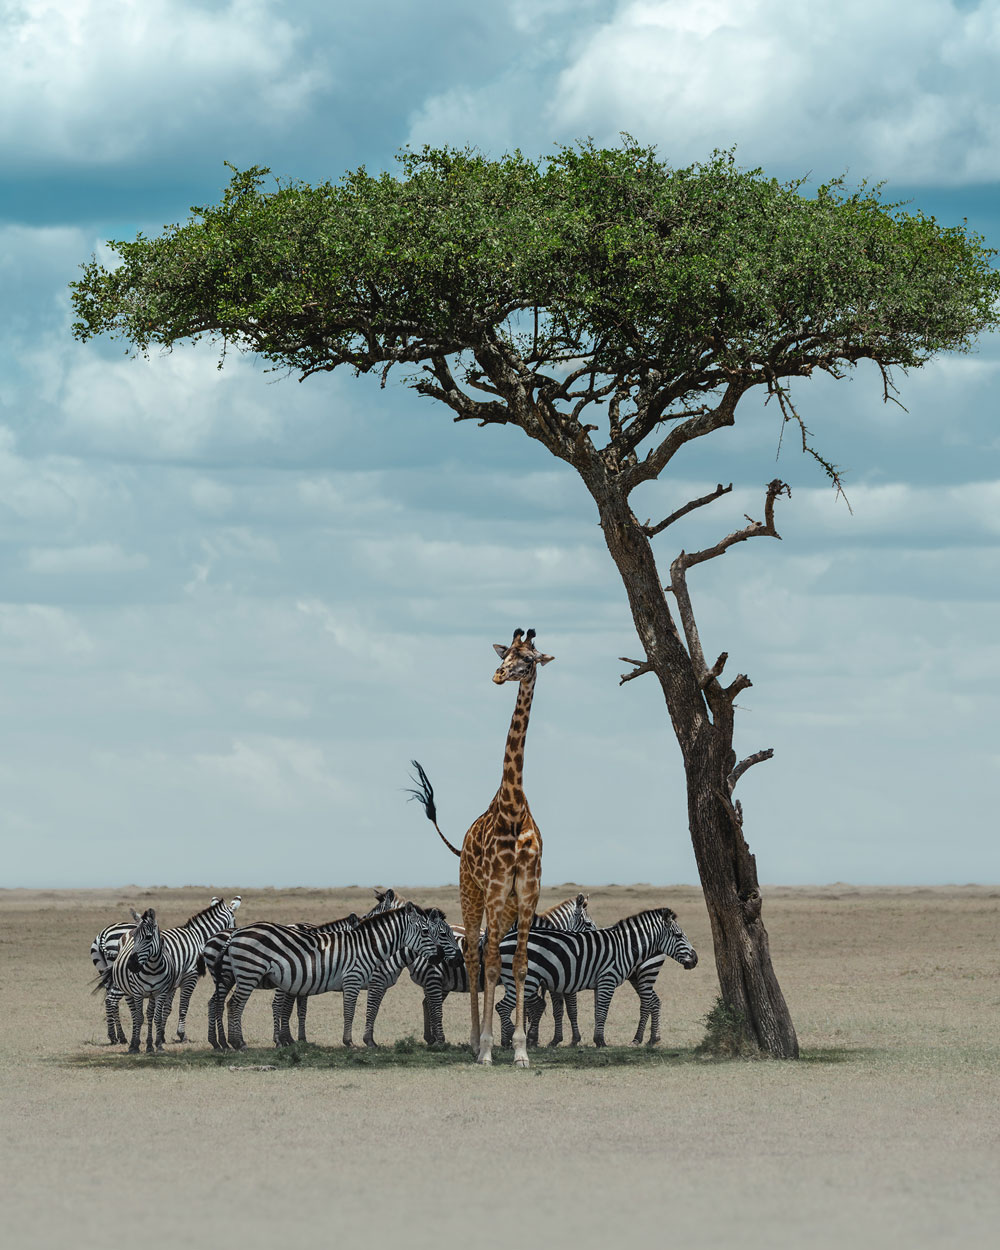
Create Depth and Perspective
Getting to eye level is one of the most vital wildlife photography techniques, as this is what creates the perspective of the viewer being in the animal’s world with them. Rather than just documenting from the perspective of being an observer, the goal is to create imagery that reflects the way they live. Get to their eye level (or create the illusion of it by changing your angle) and add depth to your imagery by adding softness to the foreground with the animal’s natural surroundings.
Bring your Images to Life with Post-processing
Master the Basics of Adobe Lightroom
Lightroom is the bee's knees when it comes to photo editing (in my opinion); the place where you can bring your images to life! The key to mastering the basics of any editing software is to go through every single adjustment tool and experiment with the results - this is how you can really find a style that feels true to you.
Start by going through the global adjustments to bring your image to a state that better matched what you saw in real life. Once you have done so, you can then get creative with colour correction/manipulation, the crop, white balance, accentuating specific areas with masking tools (this is key) and developing your personal style with the tone curve.
Get Creative on Photoshop
For those who love to get creative with their work, Photoshop is a platform that can really help you transform your art! From the basics of removing any dust spots or distractions, to accentuating colours, brightening/darkening the highlights, mid-tones and shadows with the dodge & burn tools… The list really is endless!
Before doing so, it’s important that you have a clear understanding of the direction you want to take your work, and how much you’re willing to change. That decision can come from you, and you only.
Maintain Natural Colours and Detail
In saying all of this, one of the most important things when photographing wildlife is to ensure that you’re staying as true to the animal as possible. This doesn’t mean that you can’t get creative with colour tones, and transform an image into an artistic piece… But if you’re really manipulating a scene such as adding elements that did not exist, or creating a false reality, it’s so important that you are transparent with your audience about the changes you’ve made.
Photographing in RAW means that you can really accentuate the details that nature already perfectly exists. Then your goal should be to celebrate the wild and showcase the natural beauty in an authentic way through your edit, whilst doing so in a way that feels true to you and your art.
Don’t Forget to be Ethical!
Respect Wildlife and their Habitat
Being a wildlife photographer comes with a lot of responsibility, not only to highlight the species we share this planet with, but also to ensure that we are doing so in a way that aids conservation rather than hindering it.
Never bait, chase, yell or disturb an animal's natural behavior. Don’t alter their habitat, invade their private spaces, or use flash photography on species that are sensitive to light. Always be respectful of the wildlife you encounter and the Traditional Owners of the land you’re on. It really is essential!
Minimise Human Impact
Humans and tourism can have a lot of negative impact on wild spaces, so it’s vital (as advocates for the wild) that we do our very best to minimise that in every facet of our work. The basic things to remember are to not overcrowd places of refuge like nests, burrows or dens. Be very cautious of sharing the exact location of endangered species, particularly those that are subject to poaching. And always leave a wild space exactly as you found it.
Go unnoticed in nature as much as humanly possible.
Follow Local Guidelines and Regulations, Always
No matter where you are in the world, it’s vital that you always obey the rules and regulations of the National Parks and habitats you visit (this also applies to drone users). These guidelines are there to keep you and the animals safe, after all.
Practice, practice, practice - and enjoy your time with the wild!
Kate Newman
Kate Newman is a wildlife and conservation photographer from Melbourne (Naarm), specialising in capturing creative portraits of the wild and celebrating the beauty of nature. Kate taught herself the ins and outs of wildlife photography during lockdown in 2020, and in a few short years has been able to turn her passion into a career. Through intimate portraits of species across the globe, Kate aims to facilitate a deeper connection to the natural world and highlight what we need to protect.


