


Sony Alpha Collective photographer Jessica Hirsch (@cheatdayeats on Instagram) dives into a different kind of menu to show how she sets up her Sony cameras to make her dynamic signature-style food shots.
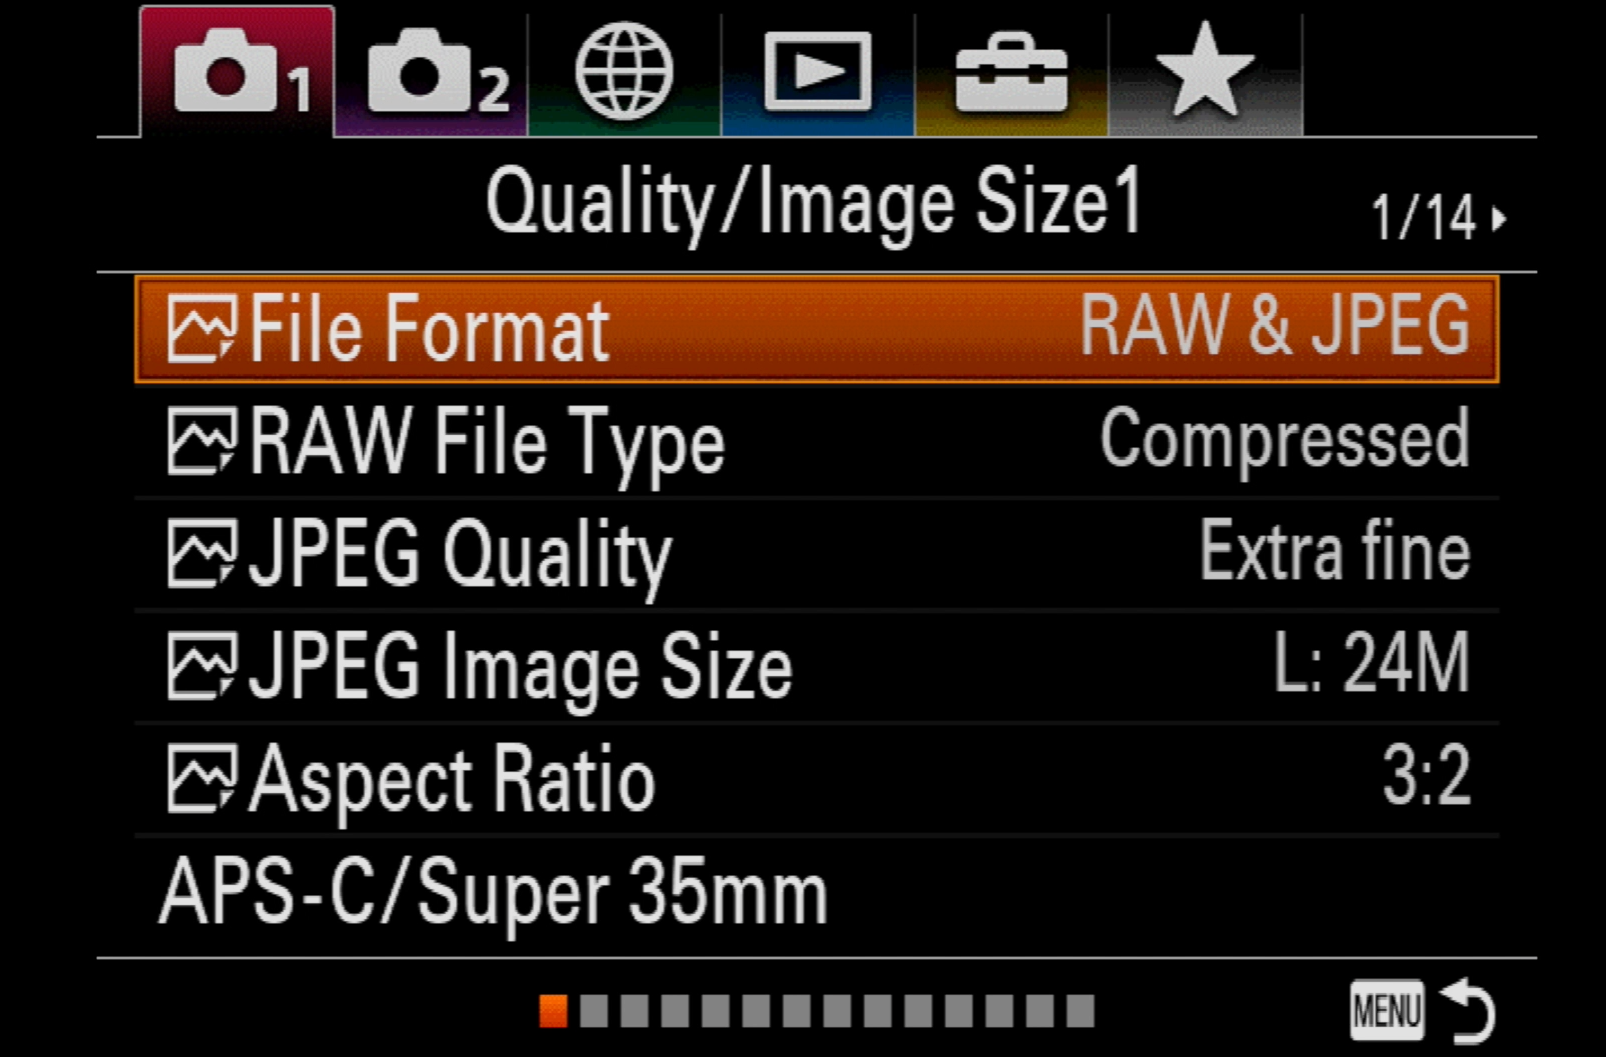
One of the first things that I do is head to my menu and make sure that I am shooting in RAW + JPEG. That's great for doing a quick edit, I'll have the JPEG on my phone and I can just edit there. If I want to get a little bit more into the dynamic range, I will head to the RAW file that's on my computer where I have can bring out the shadows and the highlights.
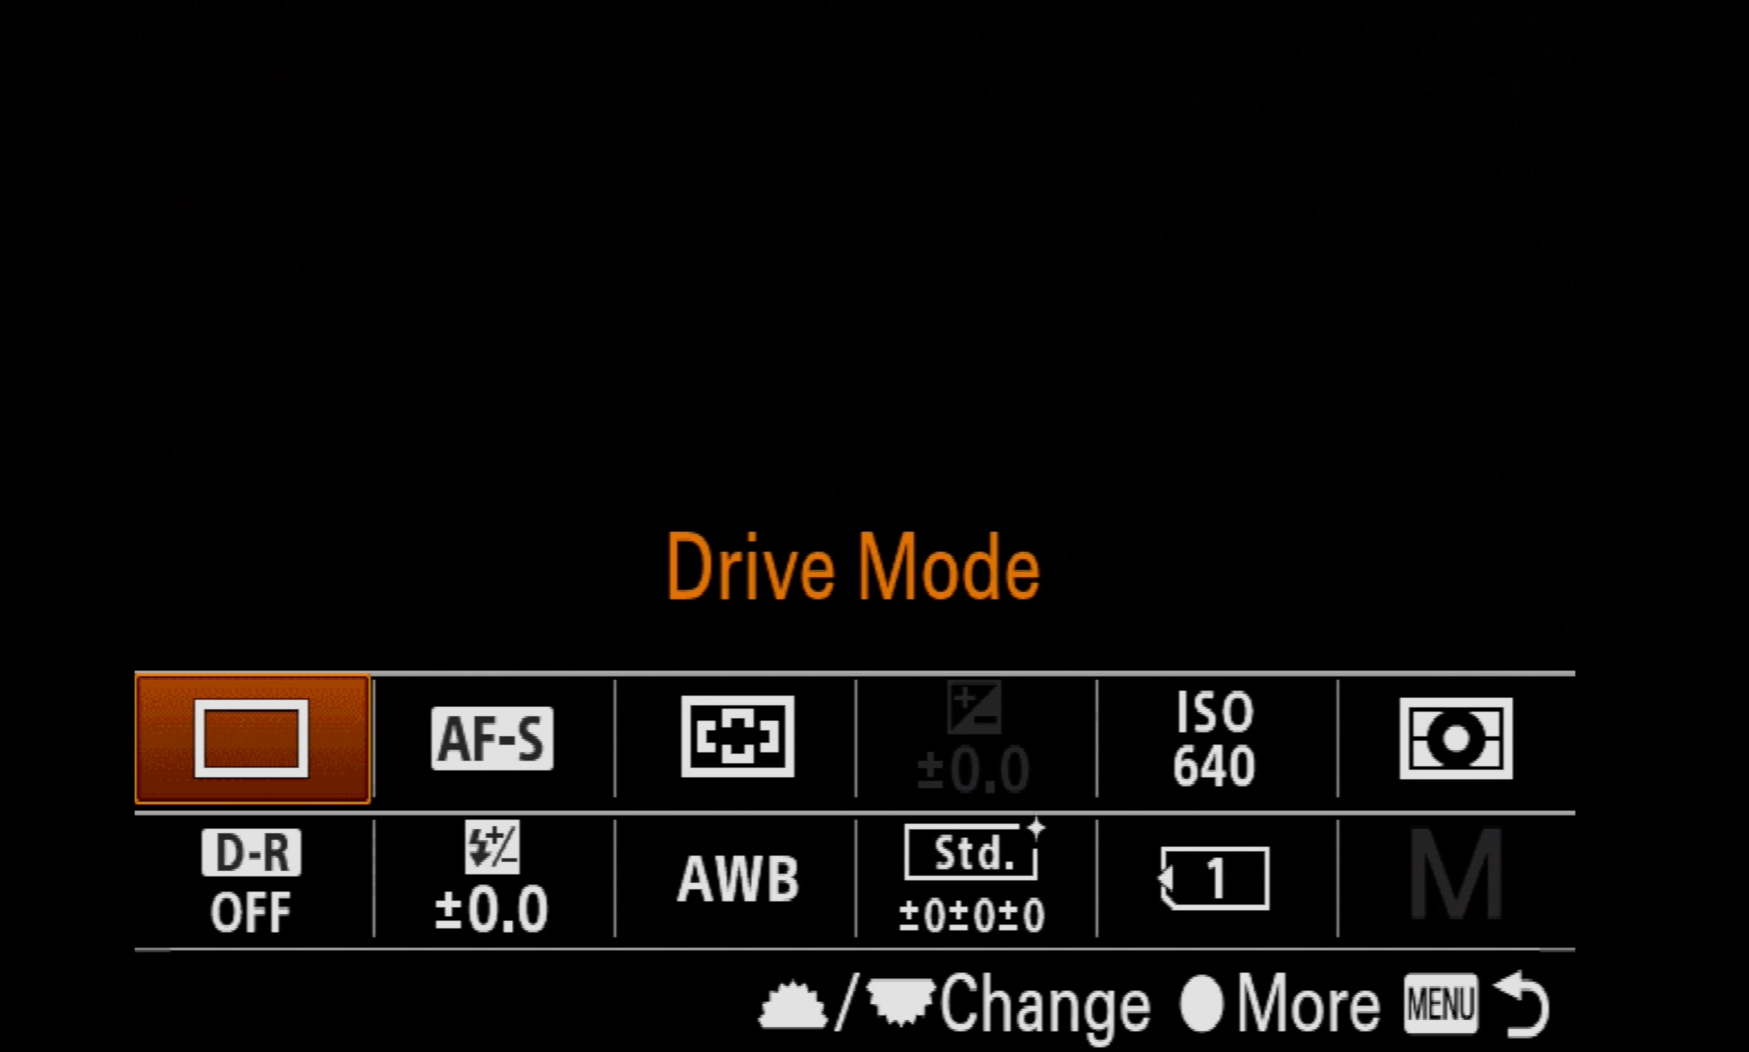
Next I like to make sure I'm in Manual (on the top dial) and I go into the Function settings by pressing the Fn button on the back of my α7R III. I set my Drive Mode to Single Shooting and I also set the Focus Mode to Single-shot AF (AF-S). This allows me to focus on the burger or pizza or something fun like that and shoot one shot at a time.
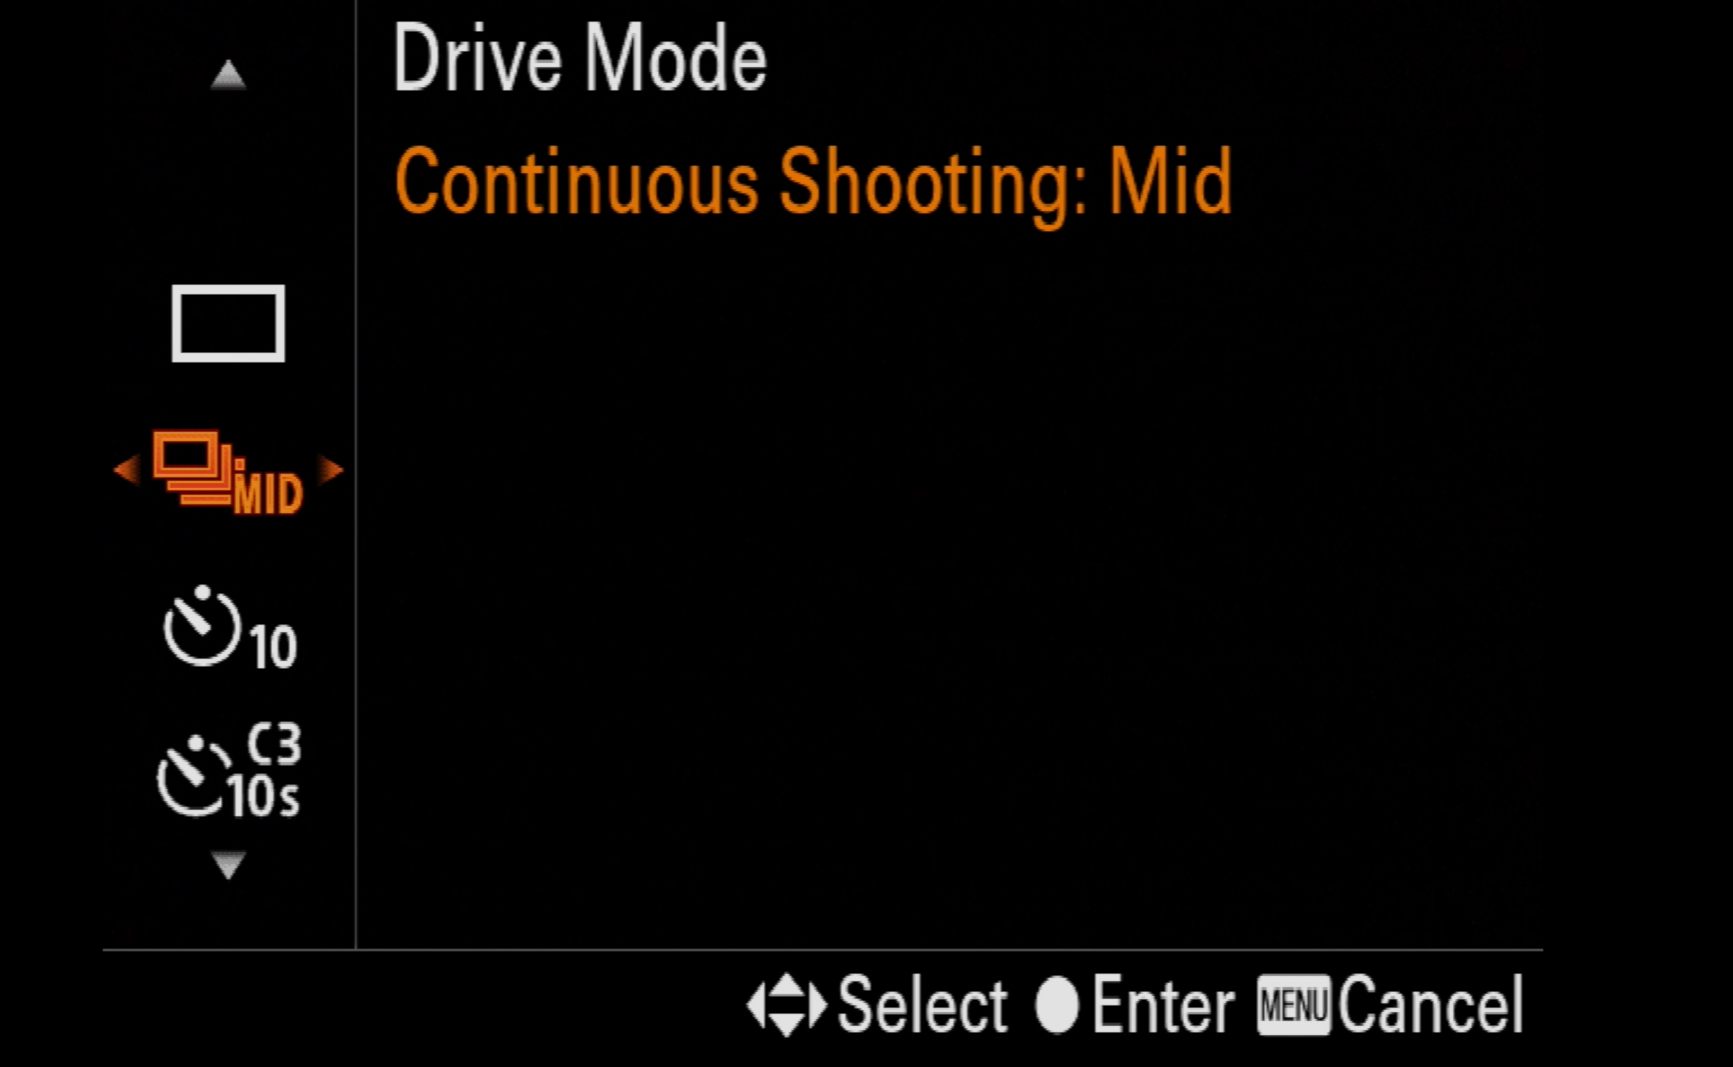
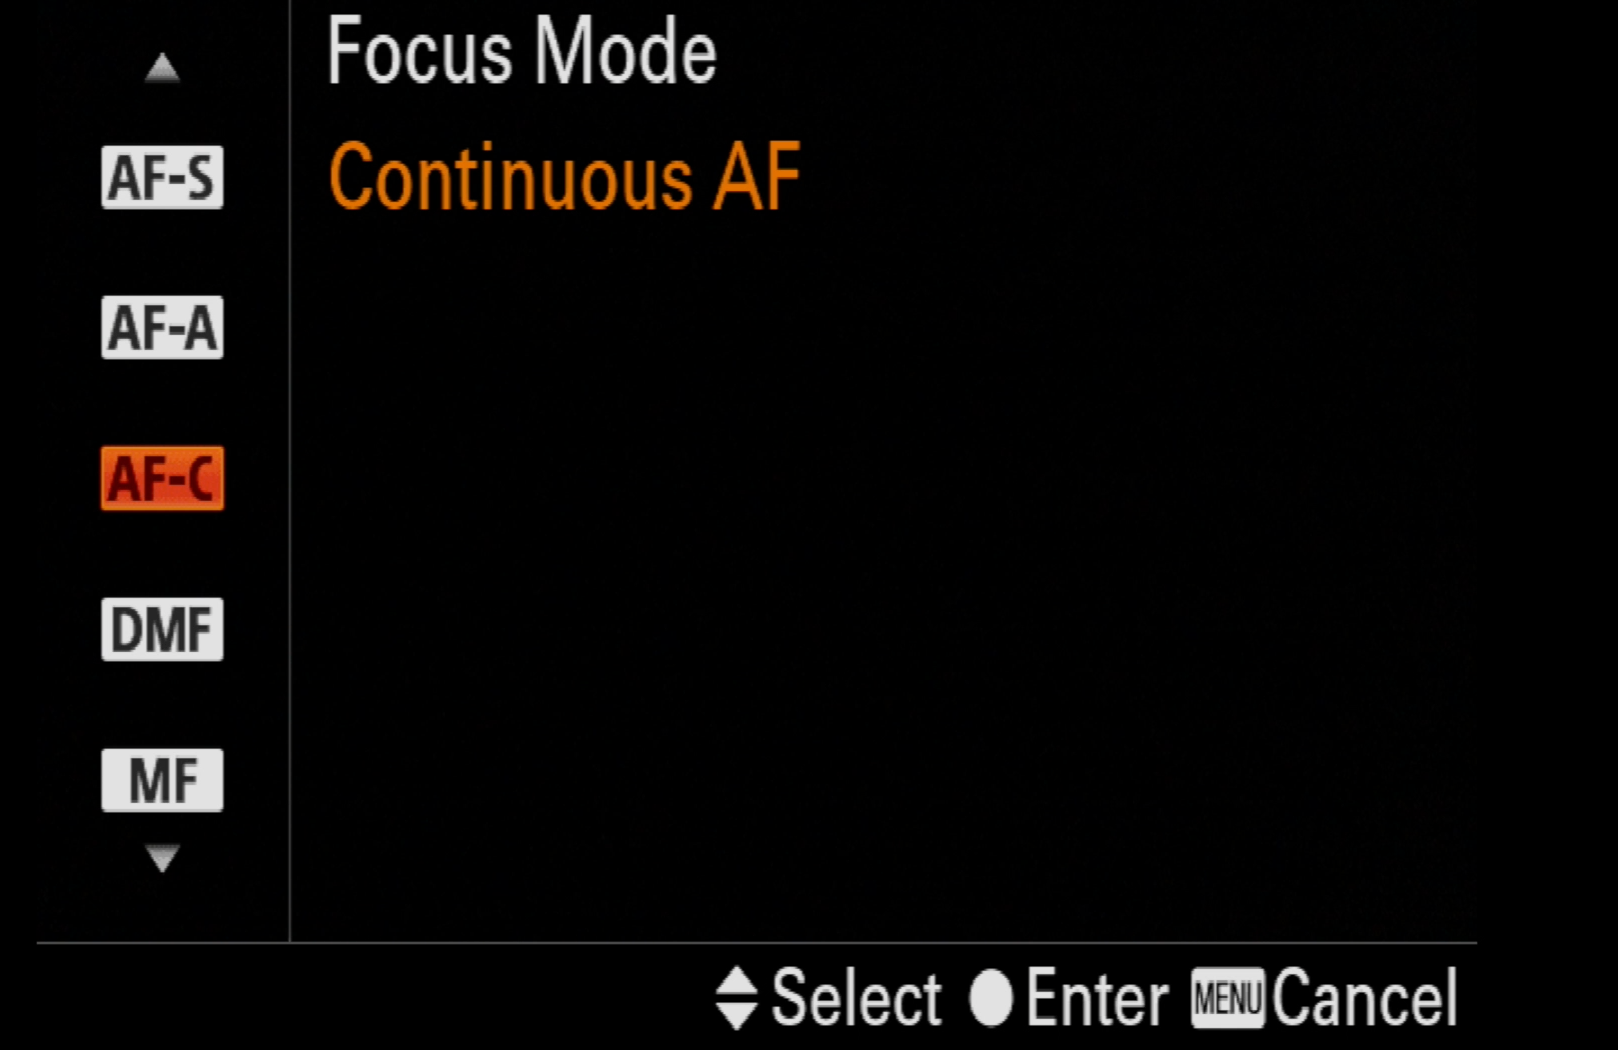
When I'm going to be shooting something where I have a little bit more movement, something like hot fudge pouring over a sundae or maple syrup, I will go back to Continuous Shooting. To do that I I head back to my Fn button and set the Drive Mode to Continuous Shooting. I set it to Mid, and that will take multiple shots at once so it catches the movement. I will also set it my Focus Mode to Continuous AF (AF-C).
Because I'm shooting both stills and video for Instagram, I really love to have the memory recall feature (on the mode dial) because I can go from one to another really quickly without having to go into my main menus to change that. It's especially helpful when a shot is moving fast. Being able to catch that motion in a still and then being able to switch over to video instantly is key.
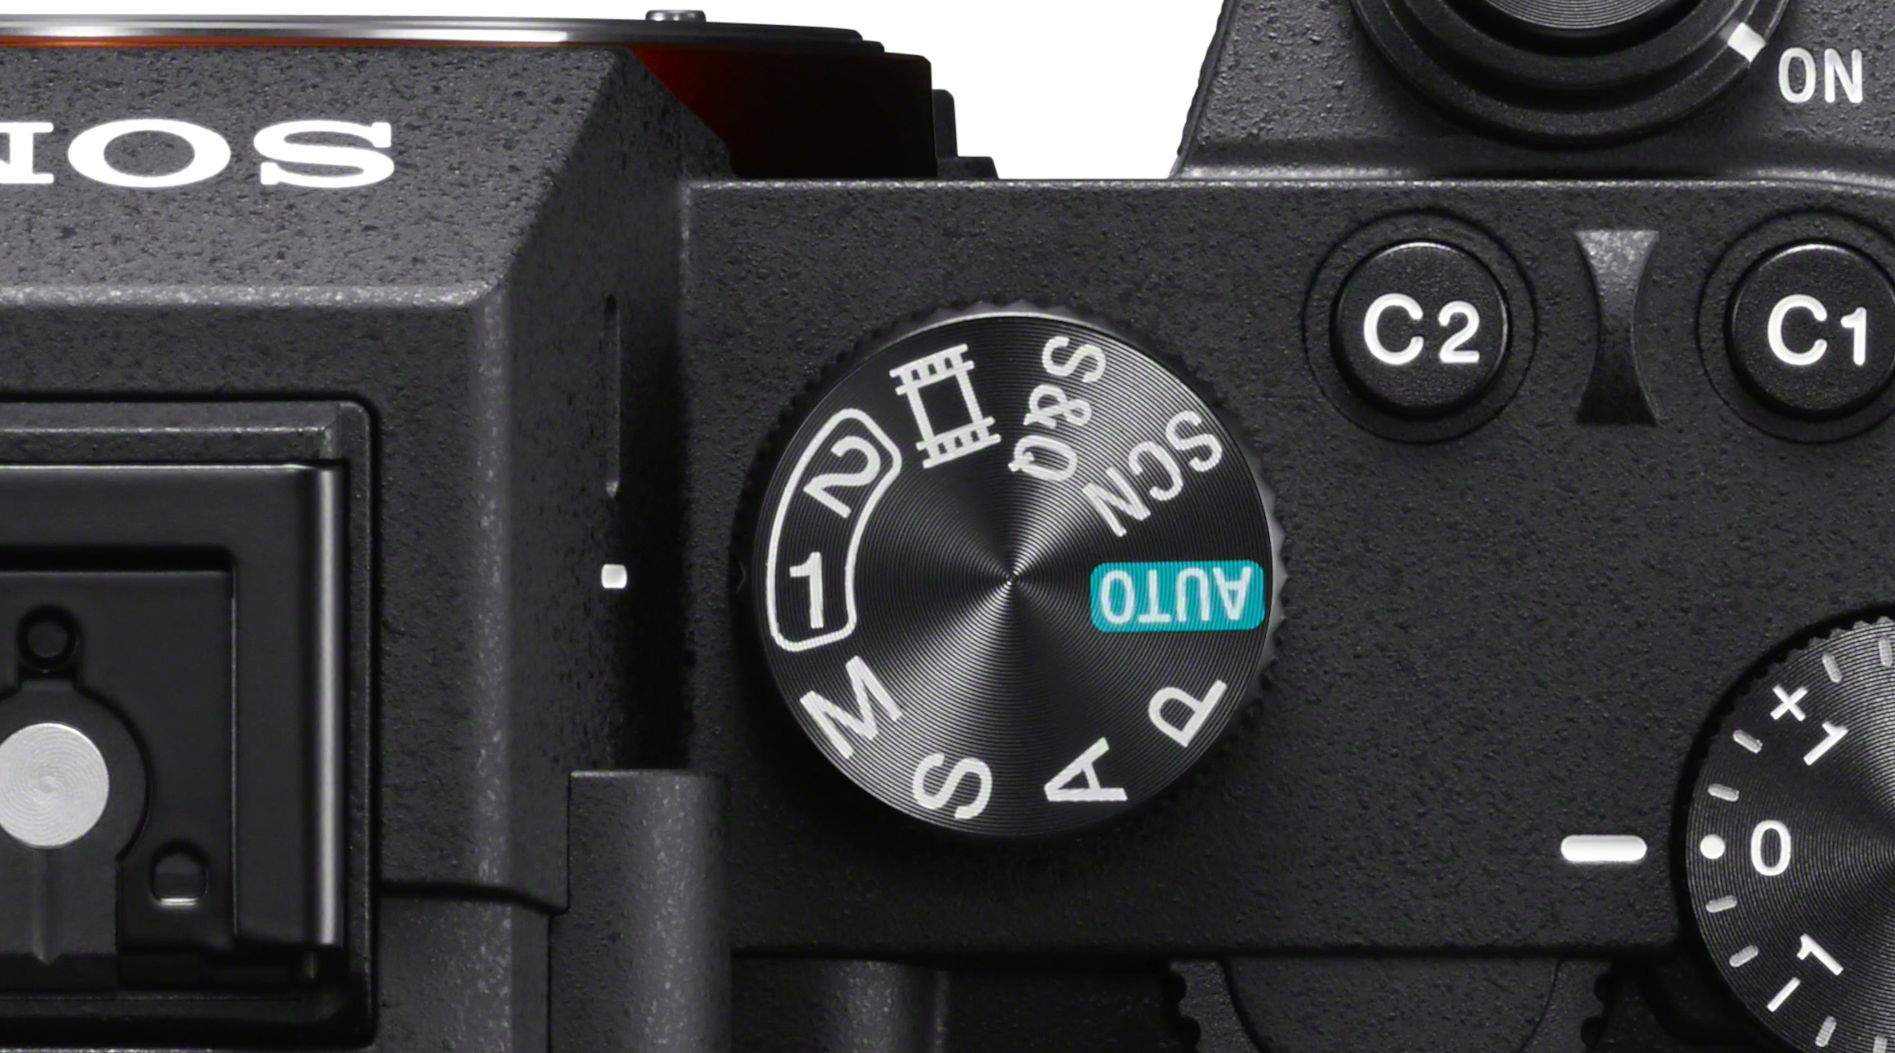
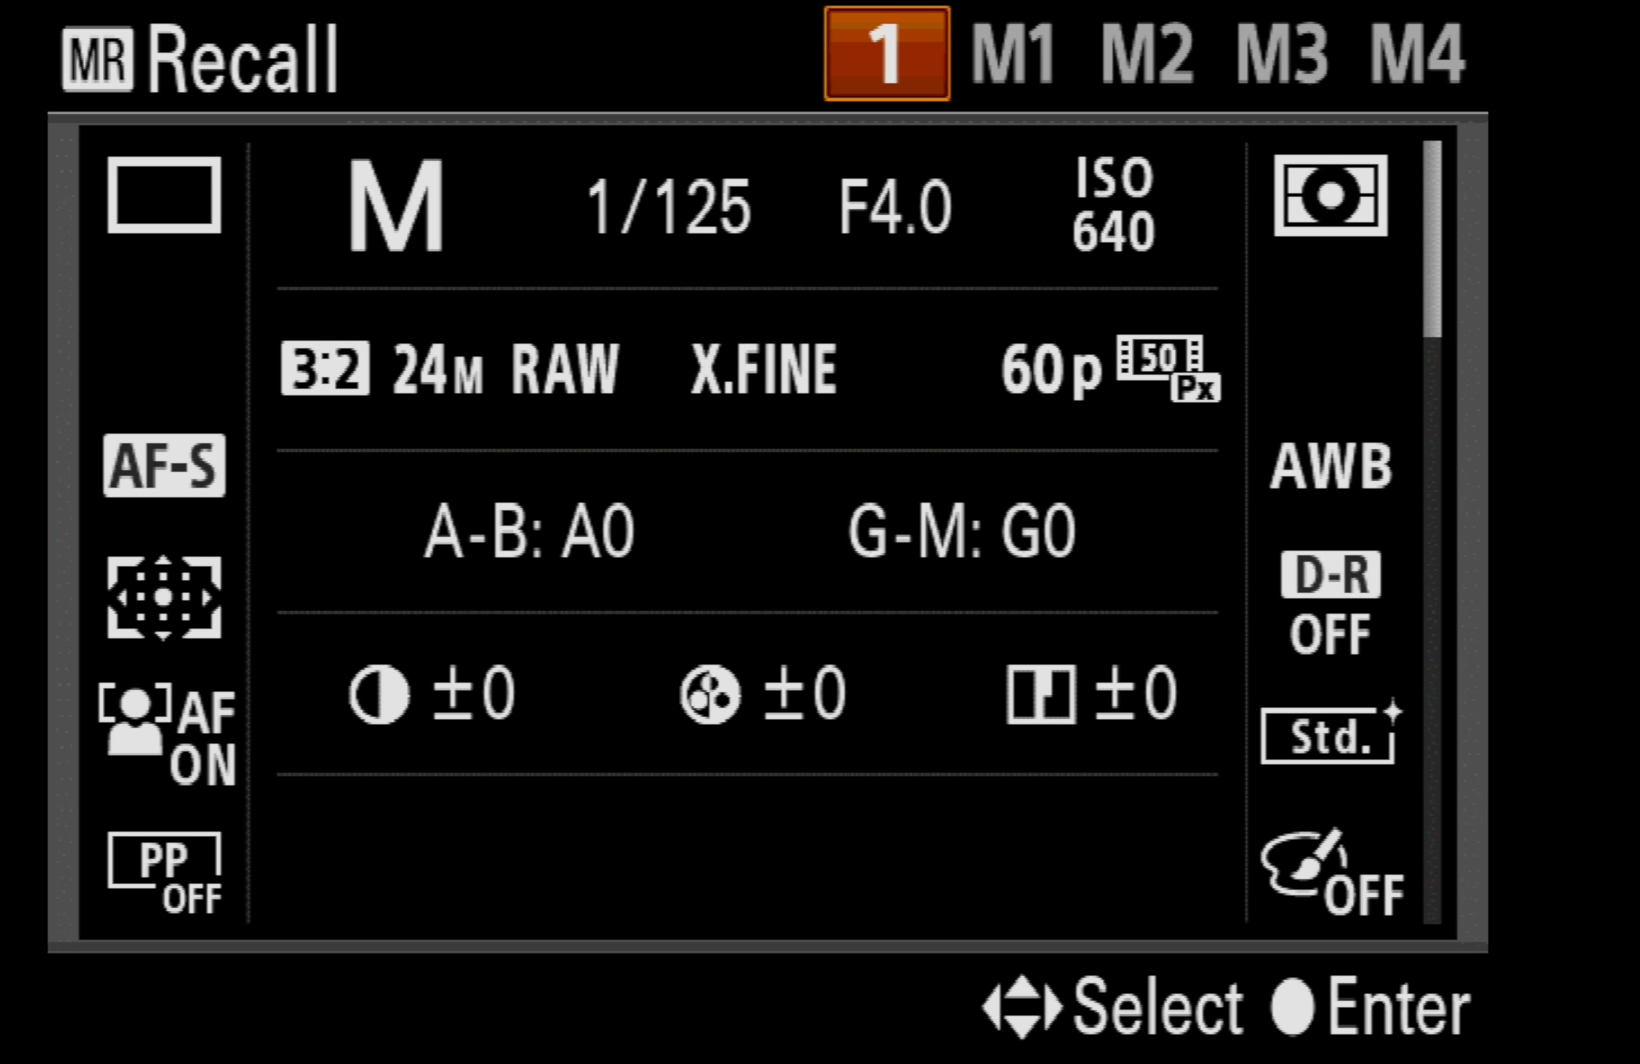
When I go to "1" on the mode dial, that's actually set for shooting slow motion video. I have that at 60 frames per second and I double the shutter speed, to 1/125-sec. I leave my f/stop at "4" and my ISO at 640. When I get ready to shoot, I'll analyze the lighting and how much depth of field I want and I'll change the aperture f/stop and ISO as necessary. I like to set my aspect ratio to 3:2 versus 16:9 because it allows me to get the perfect framing for Instagram.
I use memory "2" for shooting 4K. I have that set at 30 frames per second. Shooting in 4K allows me to be able to zoom in in post if I'm shooting to any situation where I might not want to get my camera too close. For example, if there's fire or steam.

This article was originally published on alphauniverse.com Click through for more


