

Capturing Portrait Images is a fun and exciting way to develop and further your photography skills. When you capture great portraits, it’s not just about having the right gear and settings, but also your ability to connect and get the best out of your model.
Getting started shooting with Portraits can mean working with individuals, families, couples but also professional models.
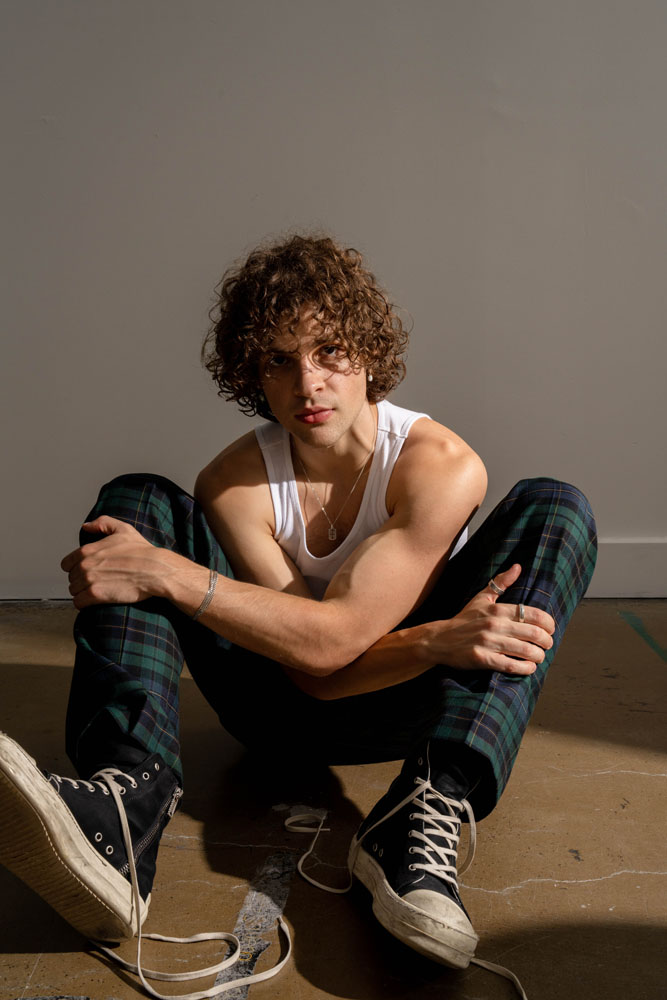
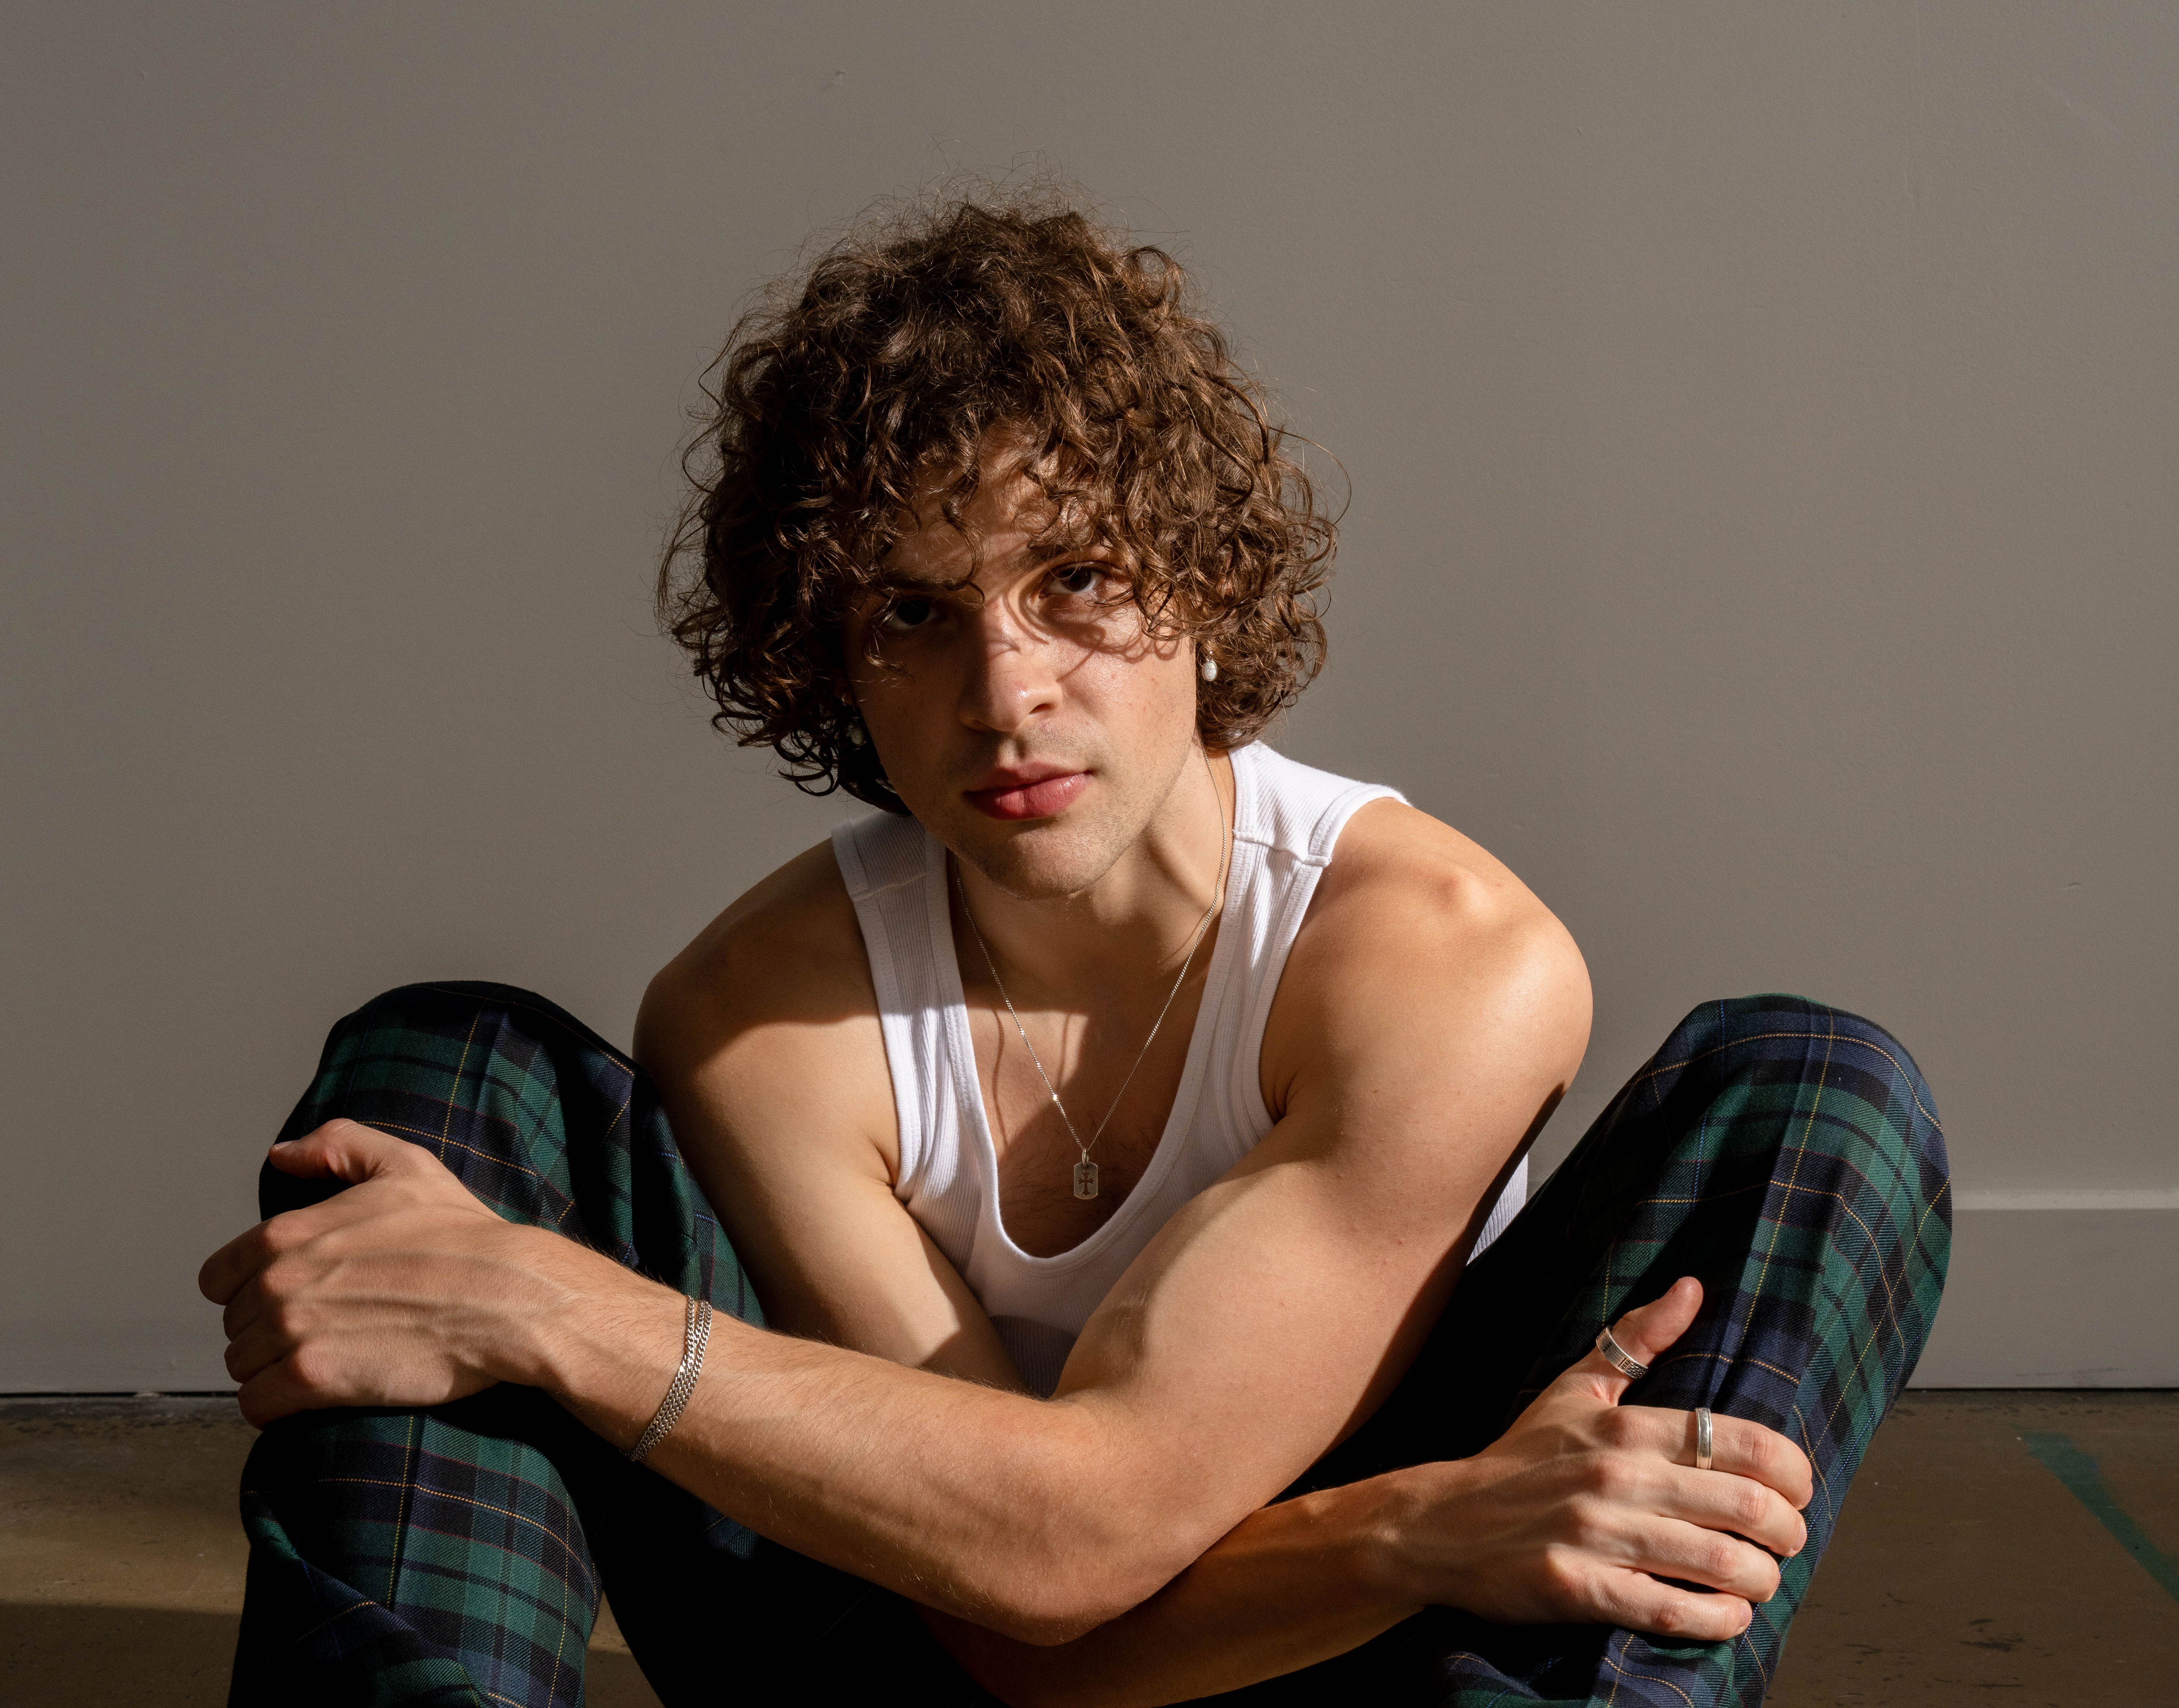
When working to capture models or influencers (“talent”), talent can range widely in look, experience level and style. It’s important to work with and select the right talent for your portfolio and the intended style of your work.
Working with Talent (Models & Influencers)
A great way to build your portrait portfolio is to work with a wide range of talent — whether they are models and/or influencers. When starting off photographing portraits with talent for the first time, it could be a good idea to find emerging talent and ask to work on a ‘TFP basis’. TFP stands for ‘time for print’ - where both the photographer and talent both volunteer each others time.
It’s important to maintain your reputation as a photographer so some general tips from me when working with talent:
- Clearly explain the project, time, location and expectations
- Share if the shoot is paid or TFP/Volunteer
- If it is volunteer or TFP, clearly explain how many images and what talent can expect in return for their time
- Create a moodboard to share with your talent and anyone else in the team to clearly explain what style and vision you are trying to create
- If possible, have a social media presence which clearly shows your face, and displays your work, so you appear more trustworthy when approaching to work with talent (personal branding)
- If any swimwear, or revealing style shots are required, to clearly explain this and consult the talent confirming they are comfortable with the shooting style and desired poses prior to the shoot
- Find great locations as a backdrop to make your portraits pop
- Engage Stylists and HMUA (Hair and Make Up Artists) where appropriate
- Deliver the images back to the client and/or talent where applicable in a timely manner
- If you expect to be credited for the images if used by the talent, share your expectations prior to engaging the talent (ie. I would just ask in return you do credit me in any images you post either in the social media caption or via a tag on the image)
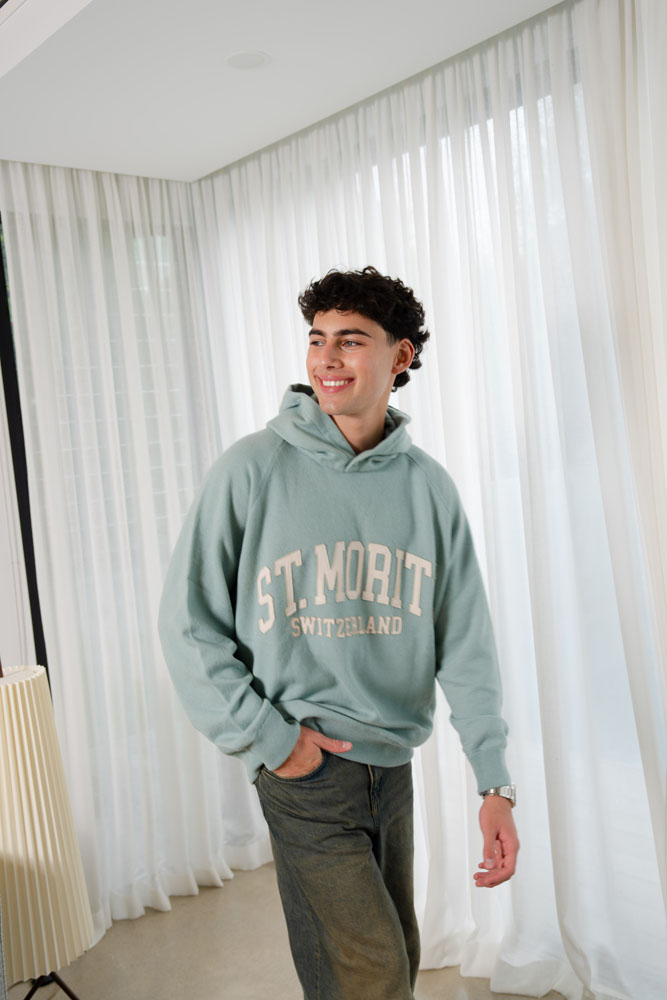
Working with Individuals, Couples and Families
When you capture portraits for individuals, couples and families - this can be a very different experience to working with professional talent. Different people can vary amongst how comfortable they are in front of camera, so it’s super important to build your connection with them and make your subject feel comfortable.
If you are shooting people, it can be great to do a pre consultation call to understand what sort of images they would like and the purpose - is it to celebrate an important milestone? A multi generational family shoot? For a couple, it could be good to understand how they met, and do they want a lot of direction or do they prefer a more candid style?
Deeply understanding the needs of each individual client can be a rewarding way to capture stunning portraits.
There are many distinct styles to portrait images, and to help you achieve it I would recommend the below equipment.

Camera Bodies for Portraiture - High Resolution Full Frame.
The best camera body for portraits is a high resolution camera body with Sony’s AI Autofocus Chip, like the Sony A1 II, A7CR, A7RV.
The Sony A1 II boasts 50 megapixels and the Sony A7CR and A7RV boats 61 megapixels of resolution.
Having the extra megapixels in resolution helps you make sure your images are high quality, and suitable for high resolution print or publishing work later. It also allows you to do some cropping or aspect ratio adjustments in post production whilst retaining a usable amount of resolution.
Sony’s state of the art AI Autofocus Chip is available on selected camera models. The Sony AI Autofocus chip can be set to ‘Human’ and the camera will track your portrait subject to a razor sharp level.*

Choosing the Right Lenses
Using a high resolution camera body for portrait is great, but to get the most of out it you will need a high quality lens. Sony’s G Master series are known for their top of the range sharpness, bokeh and fast autofocus motors.
I would recommend the 24-70 GM II 2.8 for general portrait work, it’s my workhorse.
For those wanting a wider aperture and still the flexibility of a zoom lens, there is the 28-70 F2 G Master. For a longer zoom, the Sony 70-200 GM II 2.8 or Sony 50-150mm GM F2 is a great choice.
For prime lenses, I would recommend the Sony 50mm f1.2 GM and Sony 85mm 1.4 GM II. These prime lenses are perfect for portraiture and boast outstanding optical quality.
Compared to previous general primes, chromatic aberration (unwanted green and purple fringing) is significantly reduced, as well as outstanding improvements in sharpness.
Lens quality is really important even when shooting outdoors, flare and bright light can easily reduce contrast and ruin a portrait image. Sony’s G Master lenses feature excellent flare control with the Nano AR coating which suppress internal reflection and reduce unwanted glare.
Great outdoor portraits often contain bokeh. “Bokeh” describes the out of focus areas when shooting on a wide aperture, and the bokeh balls that forms.
The quality of Bokeh is created by the lens, with advanced optical elements like Advanced and Extreme Aspherical elements (reducing chromatic aberration and promoting smooth bokeh), and circular aperture blades contributing to outstanding bokeh in Sony G Master lenses.
Fast and accurate autofocus help make sure you get the perfect image, look for Sony lenses with XD linear motors which provide fast, accurate and near silent focusing.
Flash
Using Flash in portraits can create extra mood, contrast and fill light. At night, it’s often essential for portraits — but did you know you can also use flash during the day as “fill flash” or fill light?
If you’re starting off, you can use TTL mode on your flash which means Through the Lens metering. The camera will measure the level of brightness in your environment and make a calculation on the appropriate level of Flash brightness.
Not all Flashes are made the same though, the higher the GN or Guide Number, the brighter the flash is. Sony’s genuine flashes have advanced technology using the Multi Interface Shoe to be able to provide a much more accurate TTL calculation with compatibility on face detection.*
I use the Sony HVLF60RM2 - it’s super bright, powerful and great for shooting events and weddings.

Accessories
Using a battery grip for your camera can help you comfortably shooting images in portrait orientation for long periods of time. You can also place a second battery in the battery grip enhancing or doubling your shooting time.
I would also recommend a high capacity, high speed memory card to allow you to capture lots of
The Right Portrait Settings
If you’re just getting started with portrait images, I would recommend you shoot on Aperture Priority (A mode).
This will allow you to set the designed Aperture (f-stop) of your lens, whilst allowing the camera to set the shutter speed and ISO (when in ISO Auto).
You can control the brightness with the exposure compensation dial on the top right hand corner of your Alpha camera. I personally recommend starting your exposure compensation dial at -0.7, where the camera will shoot slightly darker than normal, but this will protect your highlights (bright areas) from loosing detail. You can then adjust the exposure from there.
Shoot in RAW to provide the best quality and creative control once you edit your image in Lightroom or Capture One.
I also recommend AF Area Wide, and the Sony camera’s intelligent autofocus systems will generally do an excellent job of detecting faces. If your portrait subject is moving around set your AF Mode to AF-C which will provide continuous focus and the camera will track your subject.
Depth of Field
Depth of field is a key control in choosing the aesthetic of your portrait image.
Shallow depth of field means a shallow focus plane, where only the subject is in focus and the background and foreground is blurred. Shallow depth of field is usually achieved with a wide aperture (low F stop like f1.4). This affect can be used to create beautiful blurry background, with bokeh balls.
Choose an aperture like F1.2 or F1.4 with a prime lens to create beautiful shallow depth of field images, with your subject in focus and your background blurry.
You can also create deep focus by closing your lens aperture to a high F Stop (i.e F11 or F16). This lets less light into your camera sensor but creates deep focus allowing the background and subject to be both pictured sharply.
Now that your gear is ready enjoy shooting!