

Travel photography is more than just pointing your camera at something interesting. It’s about capturing the feeling of a place, the people you meet, and the small details that make your trip magical.
Travelling is what got me into photography. The adventures that I set out on thousands of miles away from home, where the landscapes and cultures were so very different from home in Australia. I wanted to share these moments and inspire others that anything is possible and everyone should seek out their own adventures.
Travelling can offer so many new experiences and photography genres that you might not have expected. Immersing yourself into an unfamiliar environment lends towards experimenting and adapting to changing conditions. My enthusiasm for photography grew with my travel and my interests grew from landscape to street to portrait to architecture to wildlife and beyond.
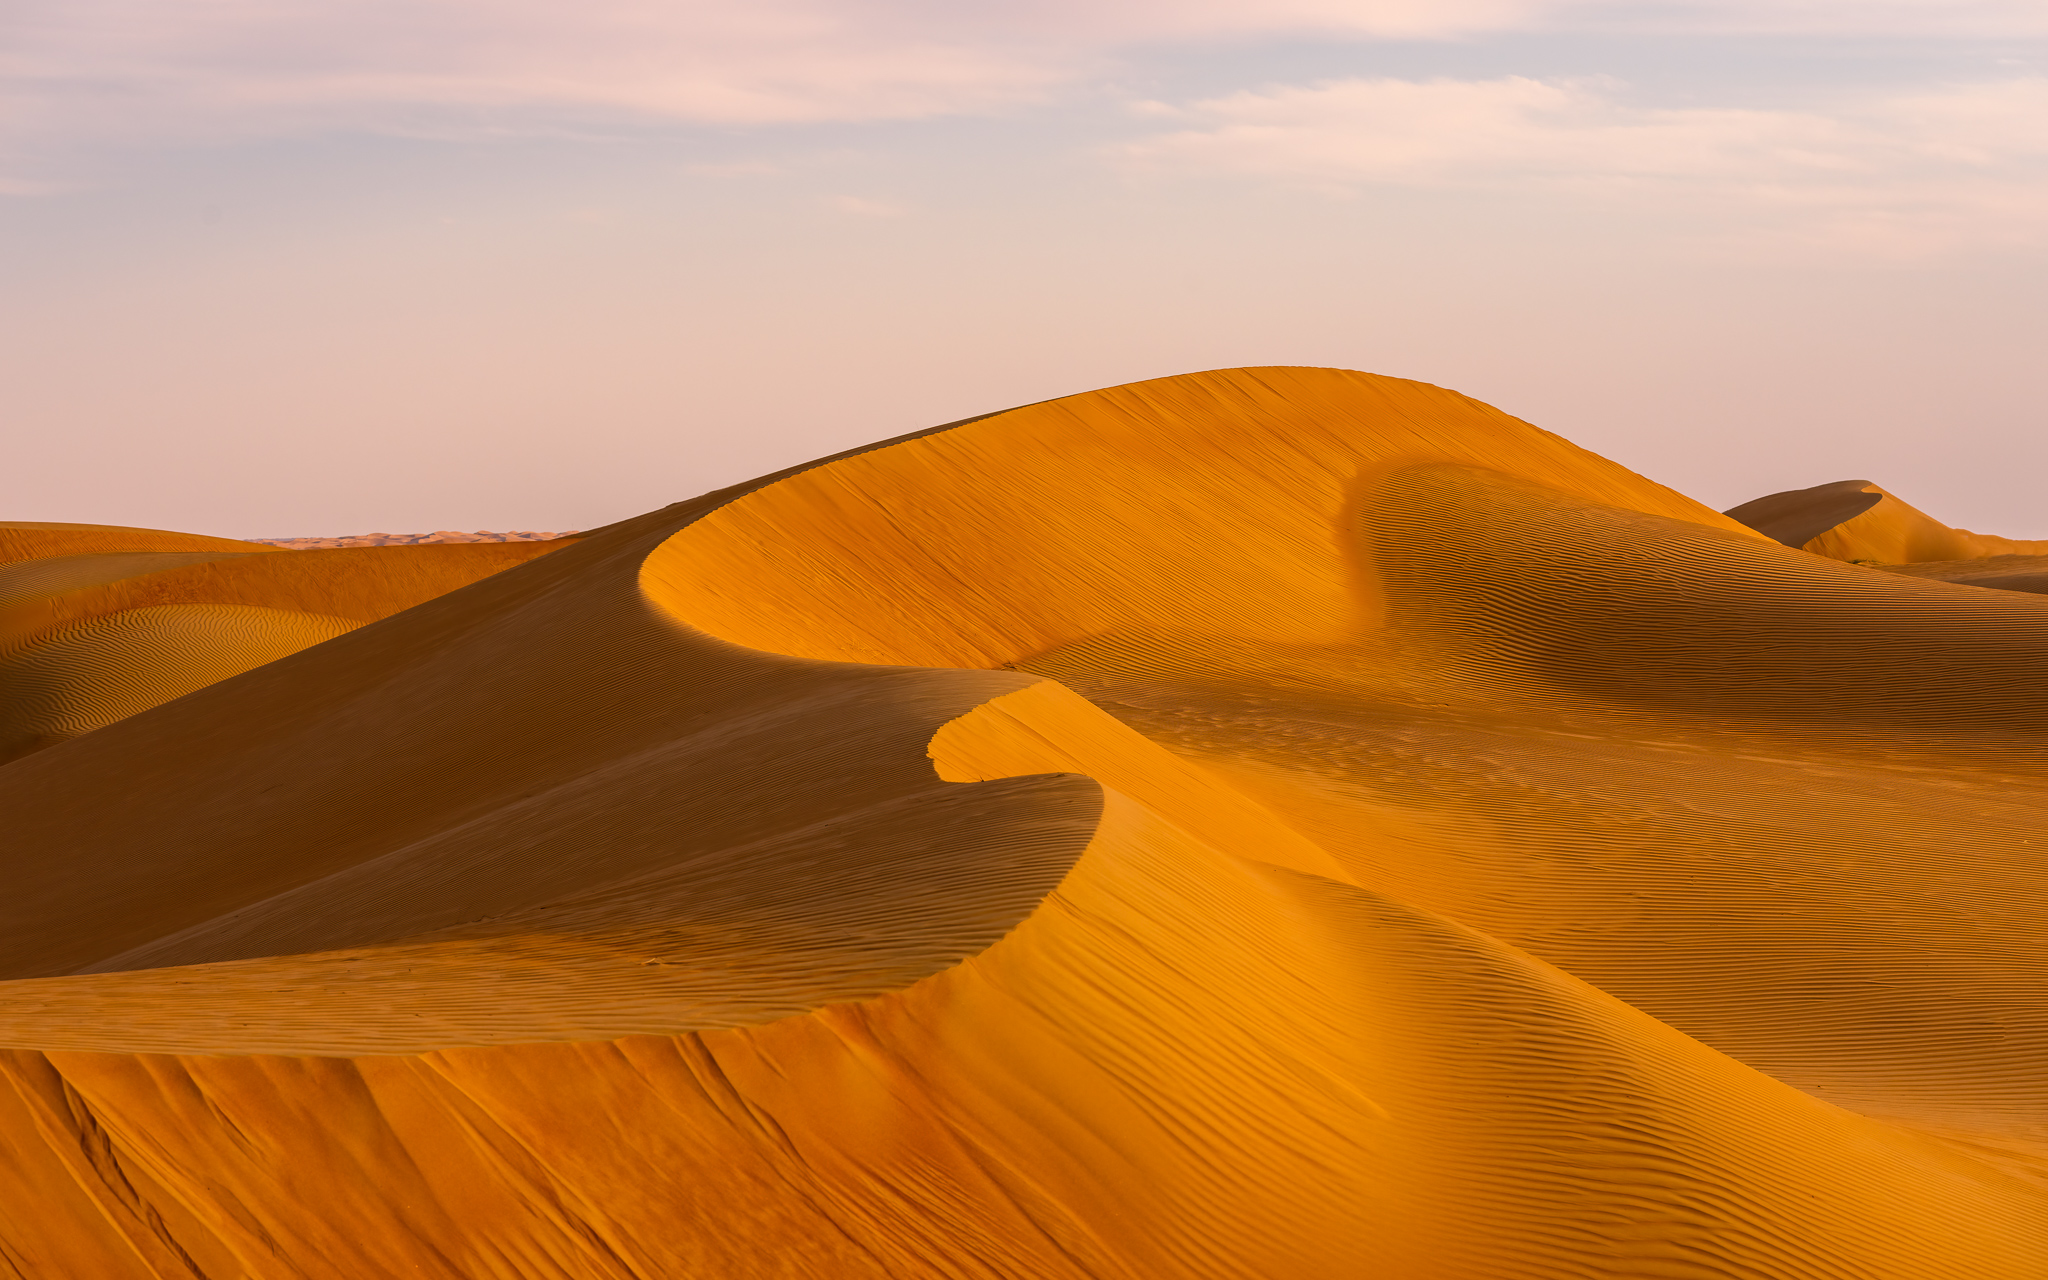
So if you’re just getting started, this guide is here to help. I’ll walk you through how I approach shooting while traveling and how to get the most out of your Sony Alpha gear, whether you’re in the middle of a buzzing street market or standing alone in a quiet desert at sunrise.
1. Plan Before You Shoot: Why Preparation Matters
Do Some Research
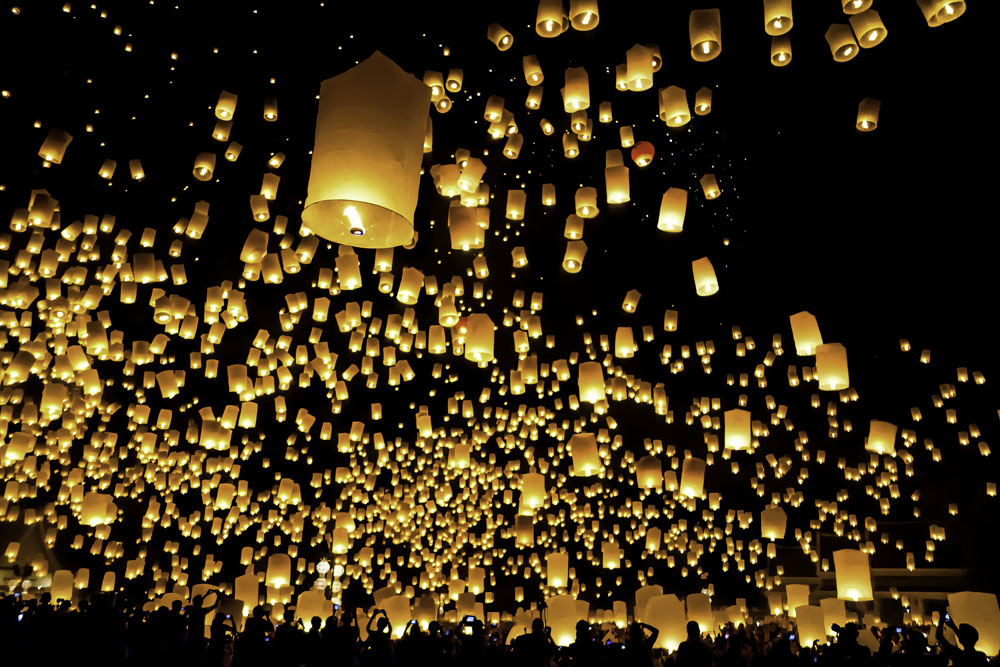
There are certain places in the world where nature or cultural events occur only during a brief window each year. These moments, whether it's the vibrant Yi Peng Lantern Festival in Chiang Mai, Thailand, where thousands of glowing lanterns light up the night sky in November, or the dramatic migration of animals across African plains, are uniquely photogenic and often fleeting. From seasonal transformations like Japan’s cherry blossom (Hanami) season to rare wildlife events or traditional festivals, doing your research and planning ahead ensures you’re in the right place at the right time to capture these once in a lifetime moments.
Doing your research ahead of time ensures you don’t miss these fleeting opportunities. Learn when and where these events take place, and plan your travel dates accordingly. It can make all the difference between an ordinary trip and an unforgettable photo adventure. Timing matters.
Before your trip, take a little time to learn about your destination. This will help you decide where to go and when to shoot for the best lighting.
Try:
- Searching for photo spots on Instagram, Google Maps, or travel blogs.
- Using apps like PhotoPills (to track sun and moon positions) and Windy (for checking the weather).
- Learning about sunrise and sunset times, as well as any cultural events or rules that might affect when and where you can take photos.
Set Small Creative Goals
Don’t just take random photos, go in with a plan. Here are a few goals that help beginners stay focused:
- Aim for at least one great photo per location. For example, capture the Eiffel Tower at night, or a quiet beach at sunrise.
- Record short video clips and “b-roll.” These are little details or motion shots you can later use to create a travel video.
- Take 3 different types of shots at each place:
- Wide Shot: Shows the entire scene (e.g., a mountain range).
- Mid Shot: Focuses on your main subject (e.g., a person or building).
- Detail Shot: Close-ups like textures, street signs, or food.
This “rule of threes” helps tell a fuller story and gives you options when editing or sharing online.
2. Join a Photography Workshop
If you’re new to travel photography, joining a photography specific tour can be a game changer. These tours are organized by professional photographers and give you:
- Access to the best locations at the right time.
- Guidance from experts on how to improve your shots.
- A group of fellow photographers to learn from.
- Logistics managed so you can focus on taking pictures.
Check out options through Sony Scenes or look for local workshops that match your skill level.
3. Choose the Right Gear for the Trip
One of the biggest challenges for any travel photographer is striking the perfect balance between bringing enough gear and not overpacking. It’s frustrating to miss a great shot when you left the lens you need at home. It's equally exhausting to carry a heavy bag full of lenses you barely use.
My approach is to pack equipment that covers a range of scenarios without trying to overlap, then for any specific situations that I need certain gear. This usually means 2 camera bodies (having a backup is always a good idea) and a set of lenses from wide angle (16-35mm) to a mid range (24-70mm) to a tele-zoom (70-200 or 100-400mm). I might pack a prime lens for a specific shot/idea/session I have in mind.
I've captured award-winning images using gear that wasn't the newest or most expensive. While having high-end equipment is a bonus, it's not essential to achieving your creative vision. You can still produce stunning results with whatever tools you have available.
Your gear should match your travel style and destination. Here's how to think about it:
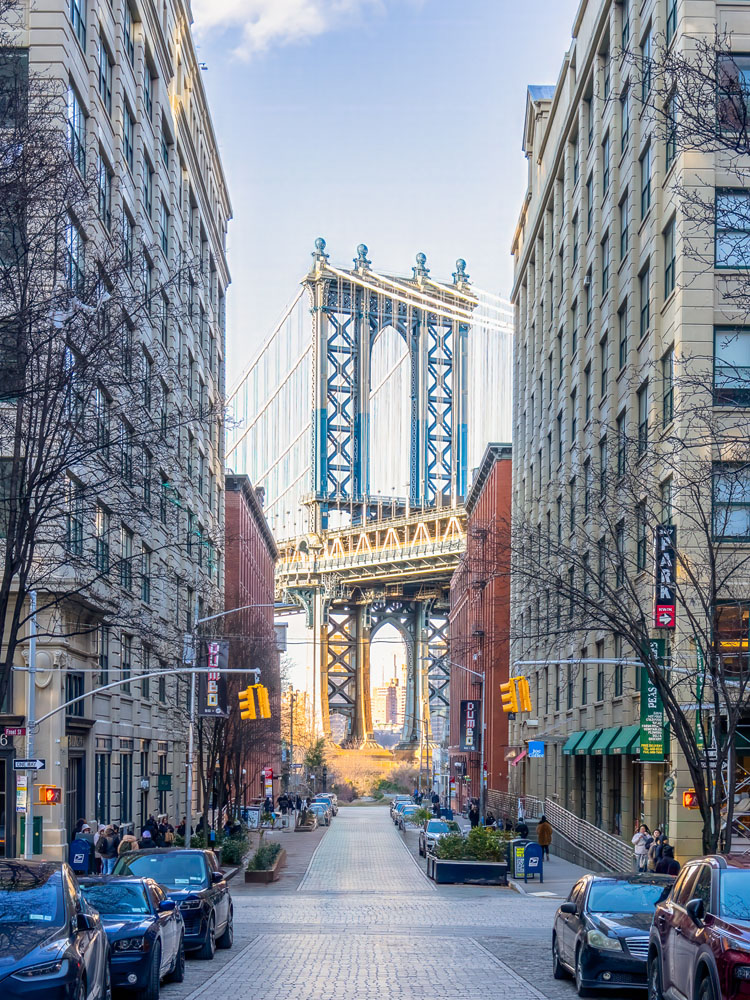
For City or Street Photography:
The ideal street photography setup strikes a balance between discretion, speed, image quality, and portability. Consider a camera and lens combo that lets you move freely, react quickly, and blend into your surroundings. A compact, flexible setup helps you capture authentic, candid moments without drawing attention or making your subjects feel self-conscious when a camera is pointed in their direction.
- A zoom lens like 24-70mm or 24-105mm gives flexibility for both wide and close-up shots.
- A small prime lens (like a 35mm f/2.8) is lightweight, fast, and discreet, great for candid shots.
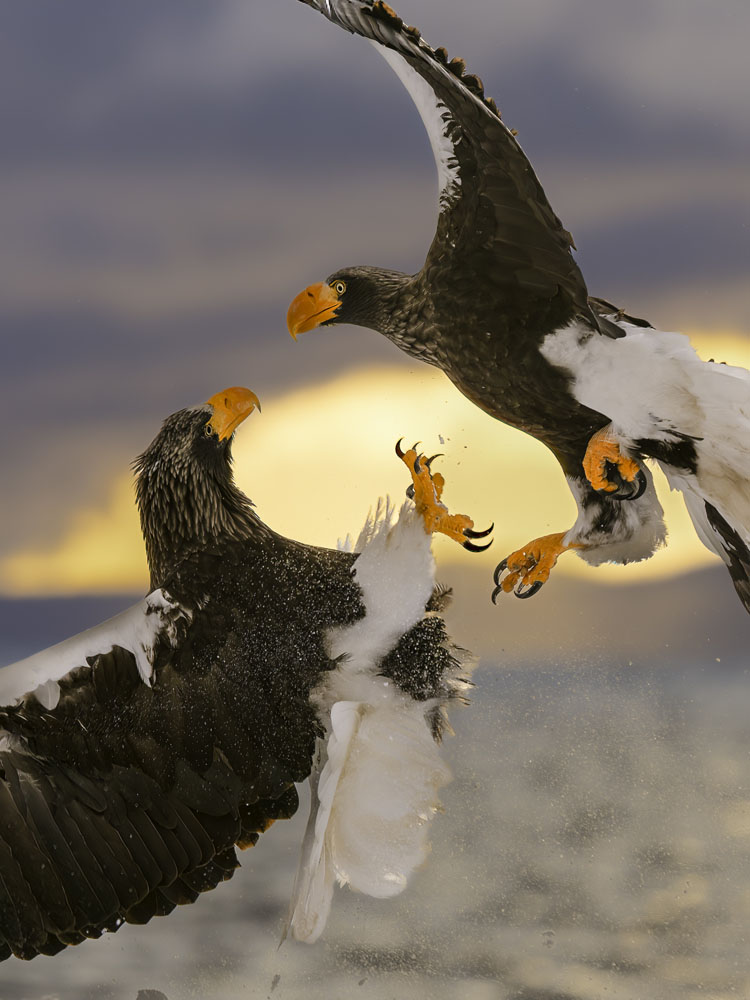
For Wildlife or Safari:
Wildlife photography is often done from a safe distance, both for your safety and the well-being of the animals. This is where telephoto and zoom lenses (like a 70–200mm or 100–400mm) become essential. They allow you to capture detailed, powerful images of animals without needing to get too close. Using a lens that’s too wide can result in your subject appearing small in the frame, easily lost in the surrounding environment. Shooting from afar also allows you to observe and capture more natural, candid behavior, as animals are less likely to be disturbed or aware of your presence.
When I'm shooting wildlife, I usually bring along the 1.4x teleconverter just in case the animals are farther away than expected. It’s a simple gear swap that can make a big difference, giving you that extra reach to improve your compositions without missing the moment.
- Use a telephoto lens like 70-200mm or 100-400mm.
- A beanbag or monopod can help stabilize your camera inside a vehicle.
For beginners, a Sony a6000 with the 70-350mm lens is a fantastic wildlife setup. It’s lightweight but gives you serious zoom power.
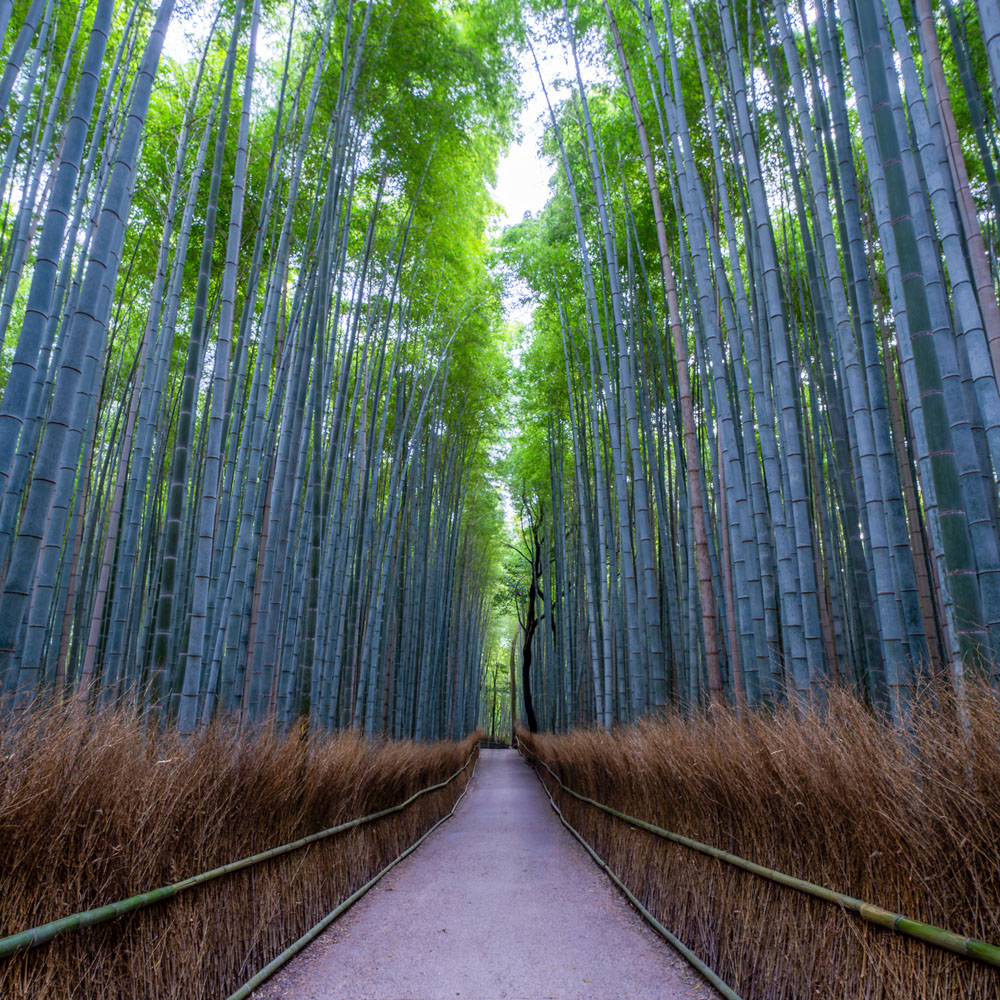
For Landscapes or Nature:
A landscape photography trip calls for gear that prioritizes exceptional image quality and is built to handle the tough conditions of the outdoors. Your equipment should be rugged, weather-sealed, and reliable in environments like mountains, coastlines, deserts, or forests, where you might encounter dust, rain, wind, or cold. Durability and performance are key to making the most of the ever-changing light and dramatic scenery.
Landscape photographers often find themselves chasing the best light during the golden hours, sunrise and sunset, when the lighting is soft, warm, and dramatic. These times of day can bring rapidly changing weather and temperatures, especially in mountainous or coastal regions. Early mornings might start off cold and damp, while evenings can cool down quickly after the sun dips below the horizon.
I recommend dressing for changing conditions to stay comfortable. A breathable base layer, an insulating mid-layer, and a waterproof outer shell can help keep you comfortable and focused on shooting, not on the cold or wind. Don’t forget gloves that still allow you to operate your camera, a hat for warmth or sun protection, and sturdy footwear if you’re hiking to a location. Being properly dressed not only keeps you comfortable but also increases your chances of sticking it out to capture the perfect shot.
- Bring a wide-angle lens like 16-35mm to capture wide scenic views.
- Use ND filters and polarizers to improve sky, water, and light balance.
- A tripod is a must for long exposures and sharp shots.
Always bring spare batteries, memory cards, and a lens cloth,especially in remote areas.
4. Pick the Best Sony Alpha Camera for You
Sony offers several types of Alpha cameras. Here’s a beginner-friendly breakdown:
|
Camera |
Best For |
Why It’s Great |
|
Sony A1 |
Professionals |
Super high-end. 50MP, 8K video |
|
Sony A7IV |
Hybrid photo & video |
33MP, great all-rounder |
|
Sony A9 Series |
Action & wildlife |
Super fast autofocus |
|
Sony A7R Series |
Landscapes |
Ultra high resolution (61MP) |
|
Sony A7C Series |
Travel & street |
Compact full-frame |
|
Sony a6000 Series |
Beginners |
Affordable, lightweight APS-C |
For beginners, the Sony A7C (compact full-frame) or a6400/a6700 (APS-C) are excellent starting points. They’re small, versatile, and beginner-friendly.
5. Pack Light: Know When to Travel Heavy or Simple
My approach is to keep things practical: choose a lens setup that covers a wide range of focal lengths, typically something wide, mid-range, and a telephoto, without too much overlap. This way, you're prepared for most situations without weighing yourself down. Carrying too much gear not only slows you down, but it can take the joy out of exploring and shooting. Travel light, stay versatile, and focus on enjoying the experience while still being ready for that perfect shot.
If You’re on a Photo-Focused Trip:
- Consider packing two camera bodies (for backup or switching lenses faster).
- Carry a full gear bag with filters, tripod, and multiple lenses.
If You’re on a Vacation:
- Bring one compact camera and lens. Less weight, more fun.
- Choose a zoom lens that covers wide to telephoto.
- Just carry essentials: a spare battery, memory cards, and cleaning cloth.
Don’t let gear get in the way of the adventure. The best photos come when you’re relaxed and enjoying the moment.
6. Set Up Your Sony Camera Before You Leave
As a travel photographer, I’ve learned that every time I pick up my camera, the subject matter can change dramatically, from landscapes and street scenes to portraits and wildlife. To keep up with this variety, both my gear and camera settings need to be flexible, just like my creative approach. That’s why customizing camera buttons and menus is so valuable. It allows quick access to the settings I need, so I can adapt on the fly and stay focused on capturing the moment.
Sony cameras can feel complex at first, but with a few simple tweaks, you’ll shoot faster and smarter.
Customize the Fn (Function) Menu:
Set quick-access options like:
- ISO (controls brightness)
- White Balance (adjusts color tone)
- Drive Mode (single vs burst shots)
- Focus Mode (AF/MF)
- Picture Profile (for video color style)
Use Memory Recall (MR on Mode Dial):
You can save your favorite setups as presets:
- MR1: Landscape mode (wide-angle, low ISO)
- MR2: Street mode (faster shutter, manual focus)
- MR3: Low light or night shooting
Custom Buttons (C1–C4):
Assign common tools like:
- Eye-AF: For automatic face and eye focus
- Focus Magnifier: Helps with manual focus
- AF/MF toggle: Switch quickly between auto and manual focus
If you use more than one Sony camera, try to keep button layouts the same so you don’t get confused when switching.
7. Know Your Files and Storage
When I first started shooting landscapes in Iceland, I upgraded to a higher-resolution Sony Alpha body, thinking it would give me even more detail in those epic scenes. What I didn’t consider was how much larger the image files would be, and how that would affect my workflow in the field. I had brought along a couple of older, slower SD cards, and every time I took a burst of images or tried to review a shot, I had to wait… and wait. The camera’s buffer filled quickly, and it slowed me down right when the light was changing fast.
That experience taught me the importance of using fast, high-quality memory cards that can keep up with the demands of modern sensors. I also started shooting in RAW more consistently because I realized how valuable that extra flexibility is when editing landscapes later, especially in a place like Iceland where the skies and terrain are so dynamic. For beginners, it might seem like a small detail, but having the right cards and using the right format can make a huge difference in both capturing the moment and making the most of it later.
Choose the Right Memory Cards:
- UHS-II SD cards are fast and good for most shooting.
- CFexpress A cards are ultra-fast and used for high-end video.
Shoot in the Right Format:
- RAW files hold all the photo data—best for editing later.
- JPEGs are smaller and ready to share immediately.
- Many Sony cameras let you shoot both RAW + JPEG.
Record Great Video:
- Most Alpha cameras shoot high-quality 4K.
- Try S&Q mode for slow-motion or time-lapse.
- Use S-Cinetone or S-Log3 picture profiles if you want cinematic video color.
8. Use the Sony Imaging Edge Mobile App
I’ve found the Sony Imaging Edge Mobile app to be a really useful tool, especially when I forget to bring my remote control, great for group shots, self-portraits, or long exposures when I don’t want to touch the camera and risk shaking it. Another benefit is being able to transfer photos straight to my phone to review, edit, or share on the go. It helped me understand which images worked and which didn’t, without waiting until I got back to my laptop.
This free app makes shooting and sharing easier on the go:
- Remote Control: Use your phone to snap photos from a distance. This works great for group shots or selfies.
- Instant Transfers: Send photos to your phone right away for editing or posting.
- Geotagging: The app adds GPS data so you know exactly where each photo was taken.
You can even set it to auto-transfer low-res previews while you shoot!
9. Travel Light with Smart Accessories
When I first started travel photography, I made the mistake of packing way too much gear, multiple lenses, a big tripod, backup everything. It was heavy, tiring, and honestly took the fun out of shooting. I spent more time switching lenses than enjoying where I was.
Now I keep it simple. One camera, one or two lenses, and that’s it. On a trip to New York, I only used my Sony A7CR and a 35mm lens. It was all I needed. I could move around easily, react to moments quickly, and enjoy the experience more. Traveling light helps me focus on the photo, not the gear.
These simple items make a big difference:
- Lightweight tripod (carbon fiber or aluminum)
- Lens wipes and microfiber cloth
- Power bank (for charging phones or cameras)
- Memory card wallet
- Comfortable camera strap or sling bag
Packing smart makes photography more enjoyable and stress-free.
Final Thoughts: Let Photography Enhance the Journey, Not Distract from It
For me, photography has always been more than just taking pictures. It’s about documenting the world around me, preserving moments in time so they can be shared with future generations and with people who may never get to see these places themselves. One of my biggest motivations is to inspire others by showing what’s possible with a camera and some creative curiosity.
As you travel and explore with your Sony Alpha camera, remember that the goal isn’t just to get the perfect shot, it's to tell a story and connect with the experience. Let your camera be a companion in your adventures, not a distraction. Be present, stay curious, and let your photography reflect not just what you saw, but how it felt to be there.
- Practice at home before your trip so you're not fumbling with buttons.
- Focus on a few key shots instead of trying to capture everything.
- Most importantly, enjoy the experience. The best memories are part photo, part feeling.